Windows error 0x00000709 is a commonly found error that is generally associated with printer settings, specifically setting a default printer. It does happen at other times however those instances are far less common. If you are having trouble with Error 0x00000709 Operation could not be completed, follow the steps in this guide to rectify the issue.
How to Fix Windows Application Launch Error: 0xc00007b 0xc000007b.
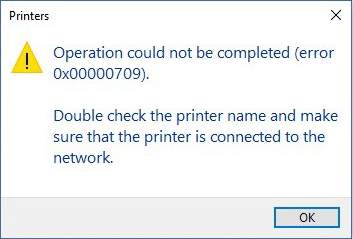
As well as error code 0x00000709: Operation could not be completed, you may also come across another error without a code, It will be an Access Denied error. If you are also seeing this error you can follow the steps in the Registry tweak section of this article. Before you start any of the steps in this guide, make sure you have double checked the physical connections on your device. If all is good you can proceed with the below steps.
Enable Hidden Administrator Account.
A simple fix you can try is to enable the Hidden Windows Administrator Account and try to make the changes using it. If this doesn’t work continue through the fixes using your normal account. If that fails try again using the Hidden Admin Account to run through the steps.
Set Default Printer as Administrator.
This fix is specifically for the times you see Error 0x00000709 when dealing with a printer. If you are getting the error code for other reasons that aren’t printer related, skip to the Repair corrupted System Files steps.
If you are trying to set a default printer and the process is failing every time, follow these steps closely as they will grant your full admin rights which should fix the problem.
- First, go to Control Panel > Hardware and Sound >Devices and Printers. (depending on your view settings, the path might be Control Panel > Devices and Printers instead)
- From this section, right-click on the printer you are trying to set as default and select See what’s printing.
- From the navigation menu, click on the Printer and select the option to Open as Administrator.
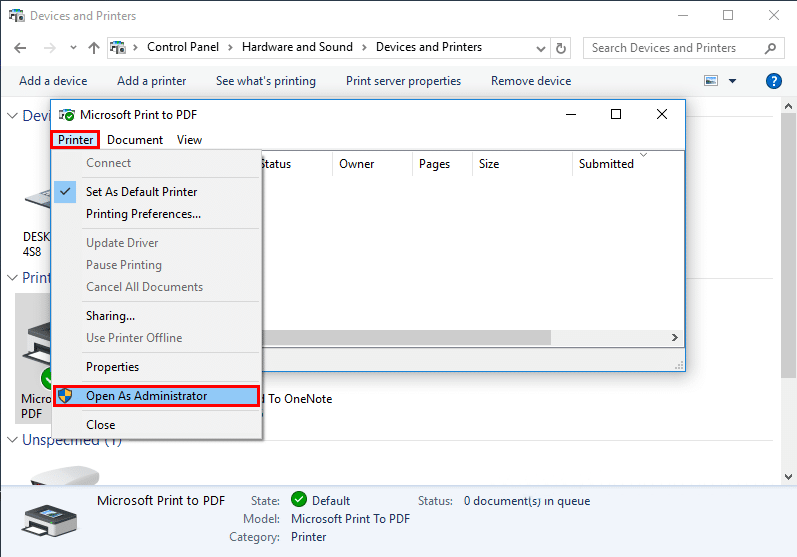
- Finally, click on the Printer and select Set as Default.
This small change should fix: The operation could not be completed error.
Fix Error 0x00000709 Using the Windows Registry
As a precaution, before starting this fix you should make sure you have a backup of your Windows registry, in case you need to restore it if you make an error or something goes wrong. Below are the steps you can follow to make a backup of your Windows Registry.
- From the Start menu type regedit.exe into the search box and press Enter. (If you are asked for an administrator password, enter the password)
- From the open Registry Editor Window, make sure My Computer is selected then go to File > Export.
- In the Export Registry File dialog box, select the location to which you want to save the backup copy, then type a name for the backup file in the File name field. Once that is done, click Save.
Once you have a backup, you can also take the added precaution of making a system restore point which can be done equally as easy. Open the Start Menu, type Restore, from the options that appear select Create a Restore Point. Now all you have to do is follow the instructions given by Windows.
Ok With all the Precautions out of the way we can begin the process of tweaking the Windows Registry.
- Press Window Key + R to open the RUN tool.
- Type regedit into the box and press Enter. This will open the Windows registry editor.
- From this screen navigate to:
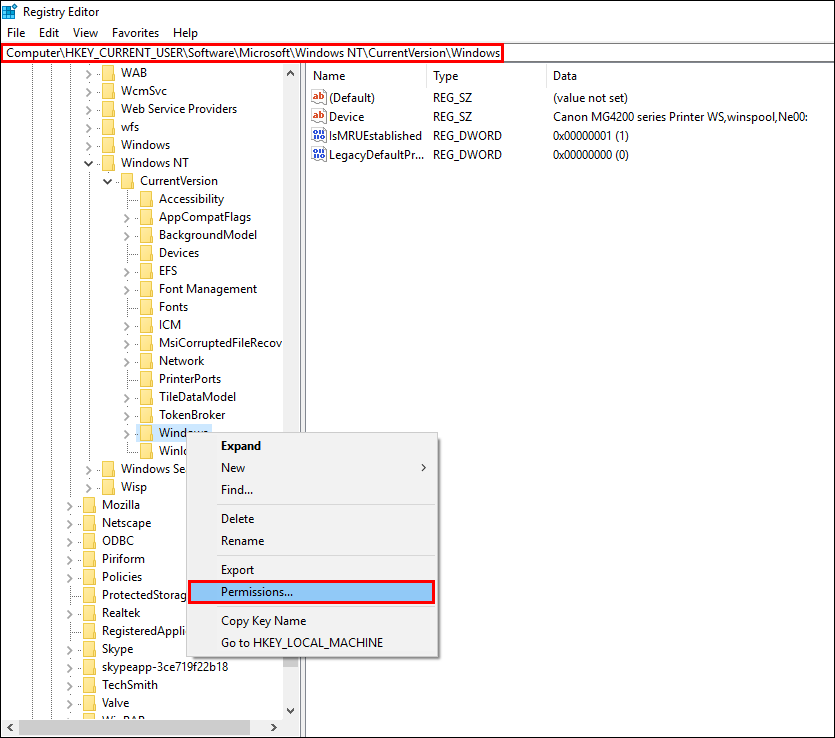
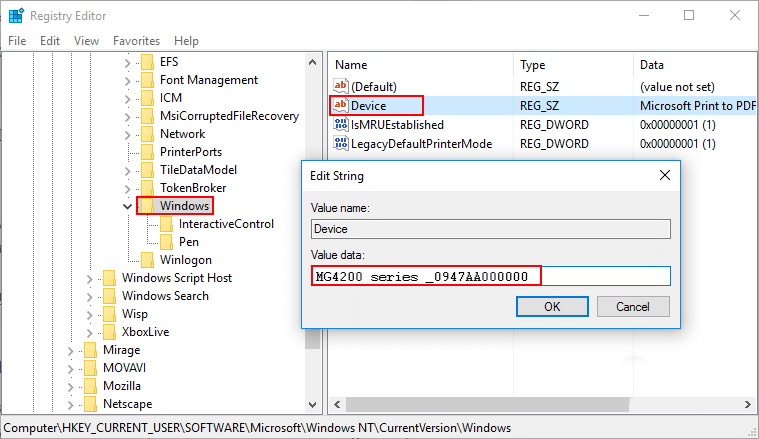
HKEY_CURRENT_USER \ Software \ Microsoft \ Windows NT \ CurrentVersion \ Windows.
- Once at the Windows key, right-click on it and select Permissions.
- Change this to Administrator and mark Full Control. (Also make sure you select your user name and mark full control, then save the changes)

- This should fix the problem.
If it doesn’t and you still can’t change the default printer you can try two things. First go back to the same location as above in Windows registry. Click on Windows, you will see a couple of Strings, double click on Device and change its value to: The printer name you want to set as default. For example: MG4200 series _0947AA000000. So, Just put this name as value. (I’d suggest copying and pasting the name)
The second options is to delete Device, LegacyDefaultPrinterMode and UserSelectedDefault, then try the process again.
Repair Corrupt System Files.
If you are still receiving error messages, you can run SFC and DISM commands, to repair corrupt system files. This should get rid of Error: 0x00000709: Operation could not be completed.
Fix using the SFC Command.
Before starting these steps, make sure you have a backup of your data, in case something goes wrong. You should also have a restore point set. If you aren’t 100% sure how to create a restore point, open the start menu, type Restore, then select Create a Restore Point when it shows on the list. From the new window that appears click Create in the bottom right section of the screen, then follow the instructions given by Windows. Once you have successfully made a restore point you can continue with the steps below.
- Press Windows Key + X and open Command Prompt as administrator.
- In the Command Prompt window type: sfc /scannow and press Enter (You’ll have to wait some time for the process to finish.
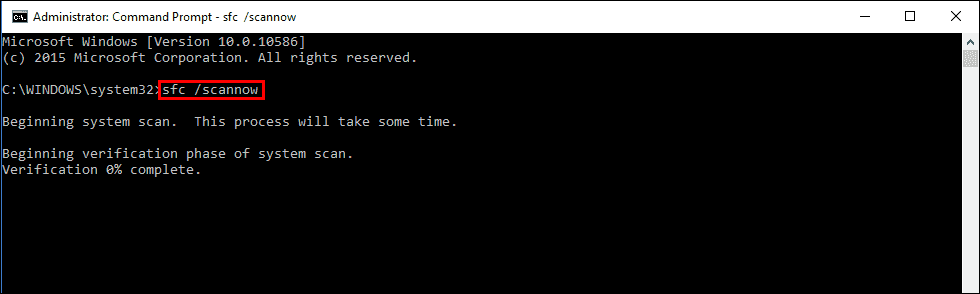
- If your PC is in full working order, without any corrupt or missing system files, the scan will show the message: Windows Resource Protection did not find any integrity violations.
- If there are problems the message will be: Windows Resource Protection found corrupt files but was unable to fix some of them. (If this is the message you see continue with the steps below)
- Boot your computer into safe mode. If you are running Windows 7 or older, restart your computer and continuously press F8. The Advanced boot will display when it boots. Select Safe Mode with command prompt and press Enter. If you are using Windows 8 or 10 you will need to use a different method which can be found here:
Advanced Startup options for Windows 8 and 10.
- Once you are booted into Safe Mode, open command prompt as admin again and run the: sfc /scannow command another time. This will repair corrupted Windows system files.
Fix using the DISM Command.
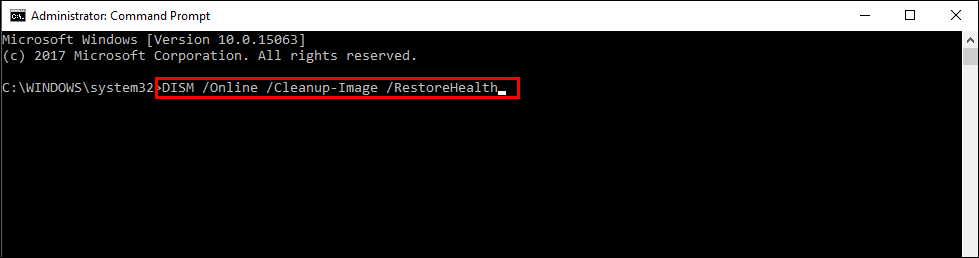
If the SFC command didn’t fix any corruption problems you can try running the DISM command to fix SFC problems.
- Open Command Prompt as Administrator.
- Type: DISM /Online /Cleanup-Image /RestoreHealth into the window and press Enter.
- Wait for it to run…………………… It takes some time……………….
- Once it’s finished Restart your Computer.
- Now you can run the SFC command again.
You can now try to make the changes to your printer. If none of these fixes work for you, you might have to raise a ticket at the Microsoft support page.