If you often find yourself creating System Restore points because you are forever making risky changes to your computer. Or if you just want an easy way to create system restore points in case something happens. This guide will show you how to add the Create a Restore Point option to your Windows context menu. (right-click menu)

How to Add Extra Libraries to the Windows 10 Quick Access Area.
The System Restore point tool isn’t by any means a new feature of Windows 10 and has been around for nearly 17 years now. If you aren’t familiar with the option, it allows you to save the current layout of your system which you can use to revert back to a previous state should something go wrong down the track. It's a super useful tool for anyone making changes in the Windows registry or people who might be installing risky software.
System Restore points contain a complete copy of Registry settings, drivers and various other important system files. In order to add a system restore point to the Windows context menu, you will need to make sure you have administrator rights and have System Restore Enabled. Ironically it’s also important that you first make a restore point before continuing with the steps in this guide as the Registry Editor is a powerful system tool and if changes are made incorrectly, can cause system damage.
To make a System Restore point, open the start menu, type Restore, then select Create a Restore Point when it shows on the list. From the new window that appears, click Create in the bottom right section of the screen, then follow the instructions given by Windows. Once you have successfully made a restore point you can continue with the steps below.
How to Add Create a Restore Point to Windows Context Menu.
With a restore point set, you can now open the Windows Registry Editor. To do this, press Windows Key + R to open the Run tool. Next, type regedit into the Run tool text box and press Enter. When the registry tool is open, navigate to the following location:
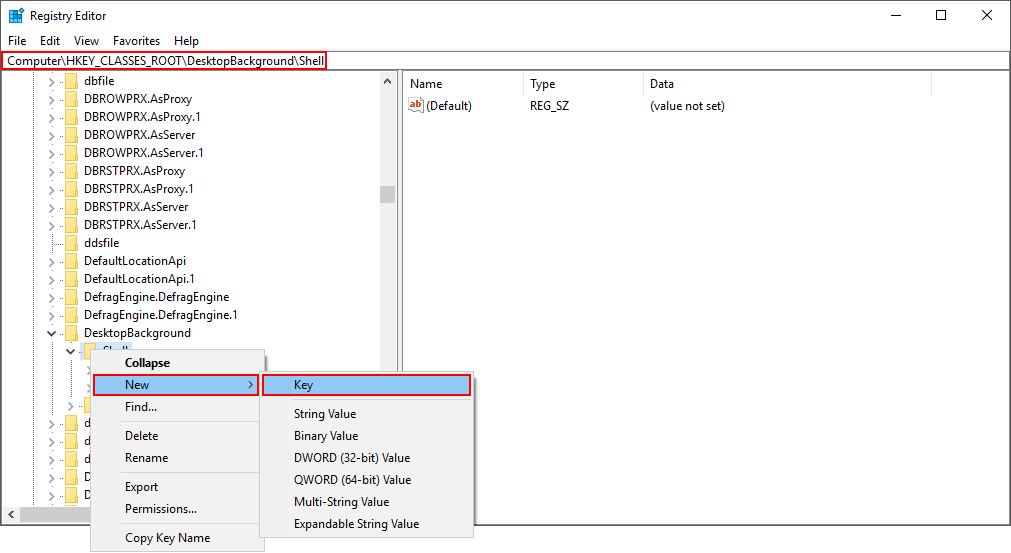
HKEY_CLASSES_ROOT\DesktopBackground\Shell
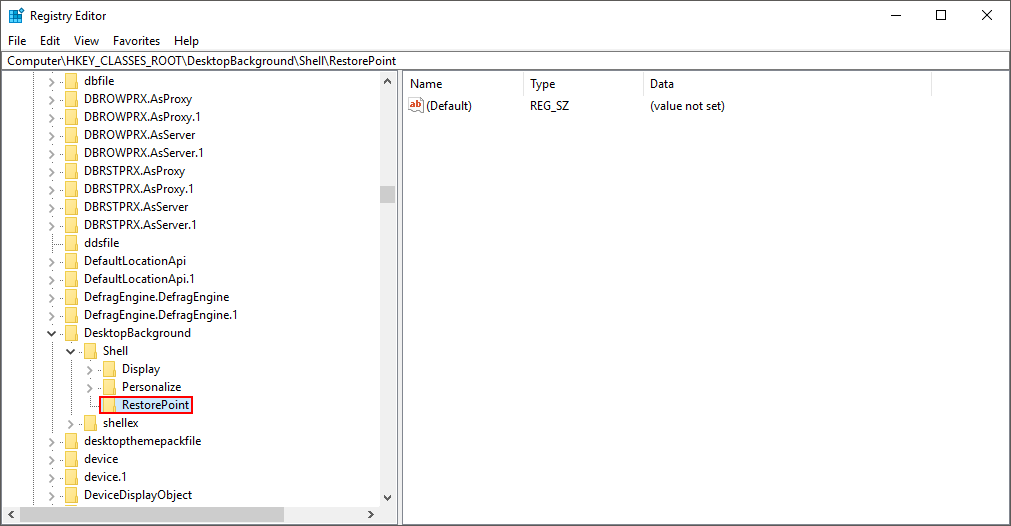
Inside the Shell Key, create a new key called RestorePoint.
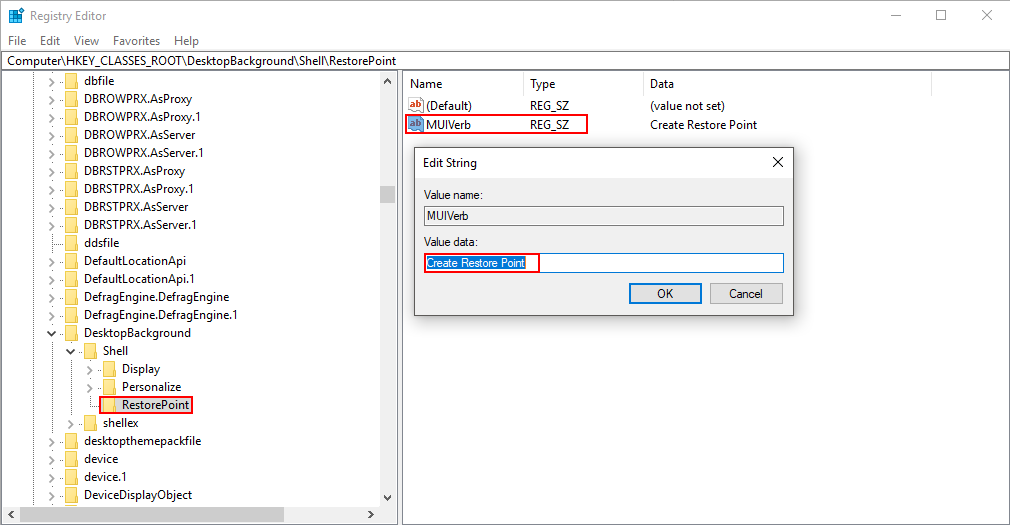
Now, on the right, create a new string (REG_SZ) name it: MUIVerb and set it to the line: Create Restore Point.
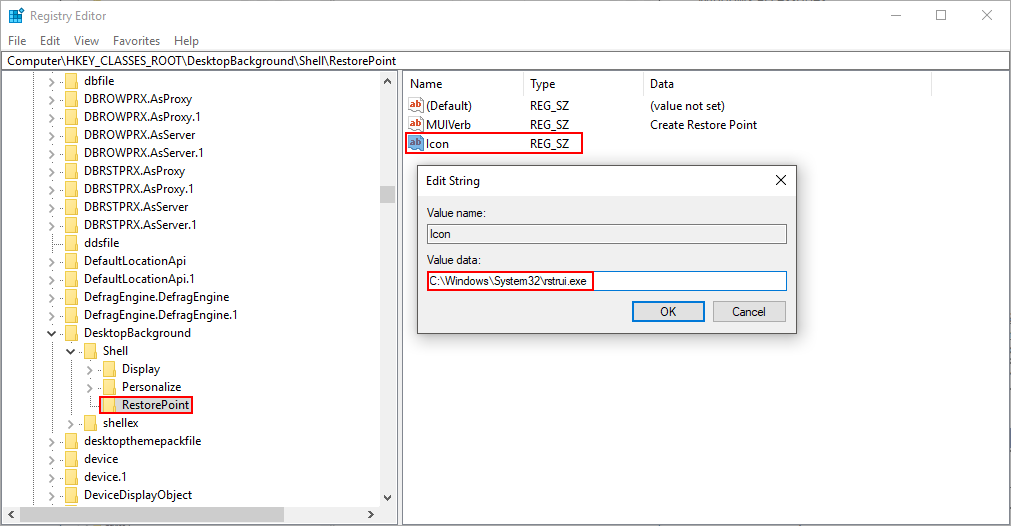
Next, create a new string value Icon and set it to the below value:
C:\Windows\System32\rstrui.exe
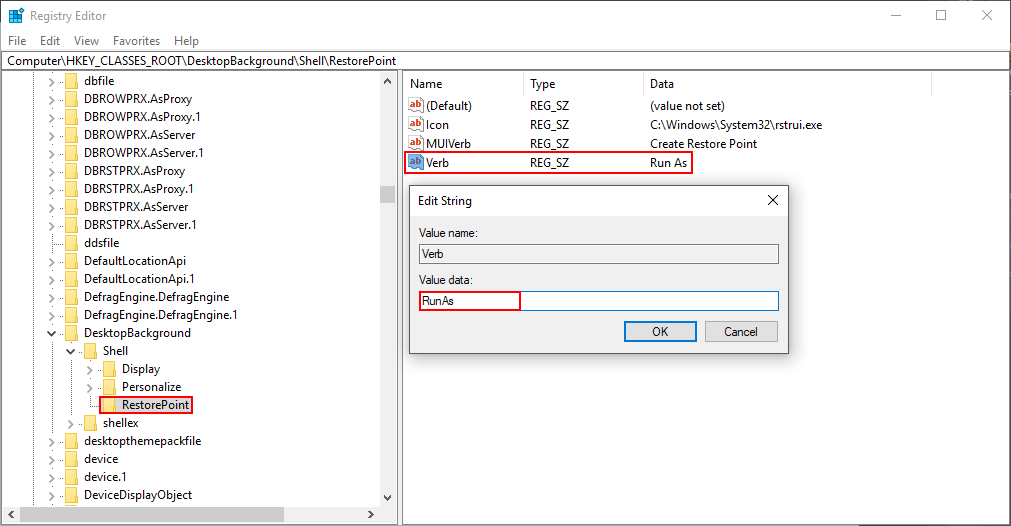
Create a new string value named: Verb and set the value data to RunAs.
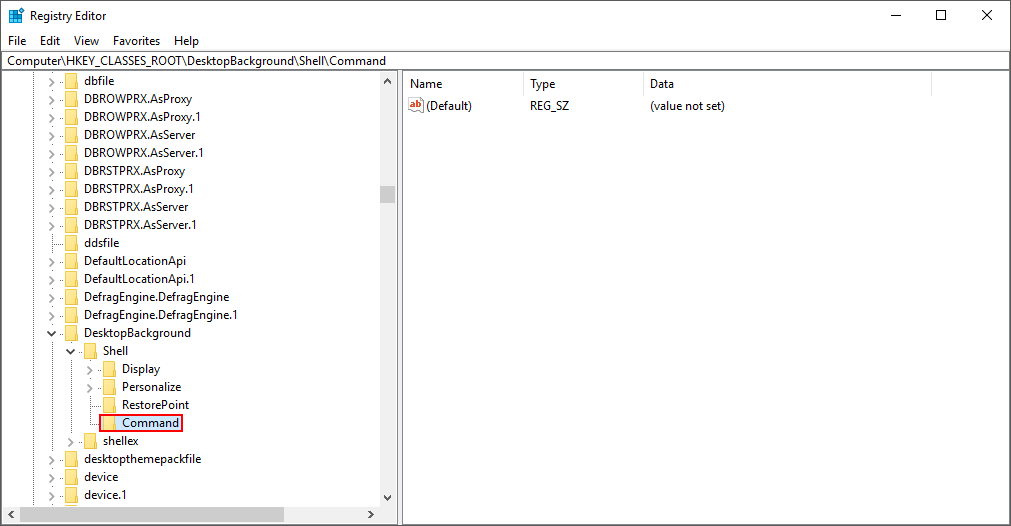
Under the RestorePoint key, you created, create a new subkey and call it Command.
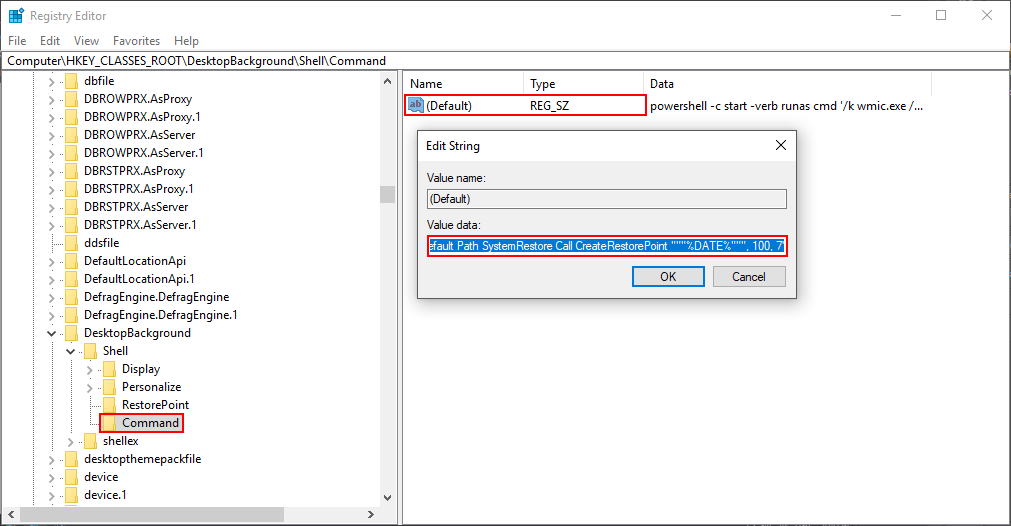
On the right, modify the default (unnamed) parameter and set it to the following value.
powershell -c start -verb runas cmd '/k wmic.exe /Namespace:\\root\default Path SystemRestore Call CreateRestorePoint """%DATE%""", 100, 7'
As soon as you have entered the final value, you can right-click on your desktop and see the newly added System Restore point option.
