If you have a shared computer running Windows 11, you may wish to make some changes to the way files and content are shared between local users. You can set everything to private which prevents all users from seeing each others content or you can enable shared folders which will allow public folders and their contents to be shared.

Related: How to change the shortcut for switching keyboard languages on Windows 11.
There have been a lot of subtle changes on Windows 11 that a lot of people are still getting familiar with. The Settings app has been overhauled and a lot more components from the Control Panel have been shifted into Settings and removed from Control Panel. One of the biggest changes to Windows 11 has been folder sharing for users on a local device. It’s now possible to better manage public and private folders on WIndows 11 allowing local users to completely hide their content or share it publicly.
This means that when a file or folder is placed in the Public folder, it can be viewed and used by anyone else who has a user account with access to it on the computer. This shared folder on Windows 11 is located on the same drive where Windows is installed C:\Username\Public. Within this folder are several different premade folders that allow for quick and easy file sorting. The Windows 11 Public subfolders are:
- Public desk
- Public documents
- Public downloads
- Public music
- Public images
- Public videos
These folders can also be shared over a local network, either openly or with password protection. How you choose to configure this is entirely up to you though. Users with the correct privileges can also manage new folders within the public folder. By default, public folder sharing is disabled on Windows 11, which means that to make use of it you will have to enable it.
How do you activate the Shared Public Folder of Windows 11?
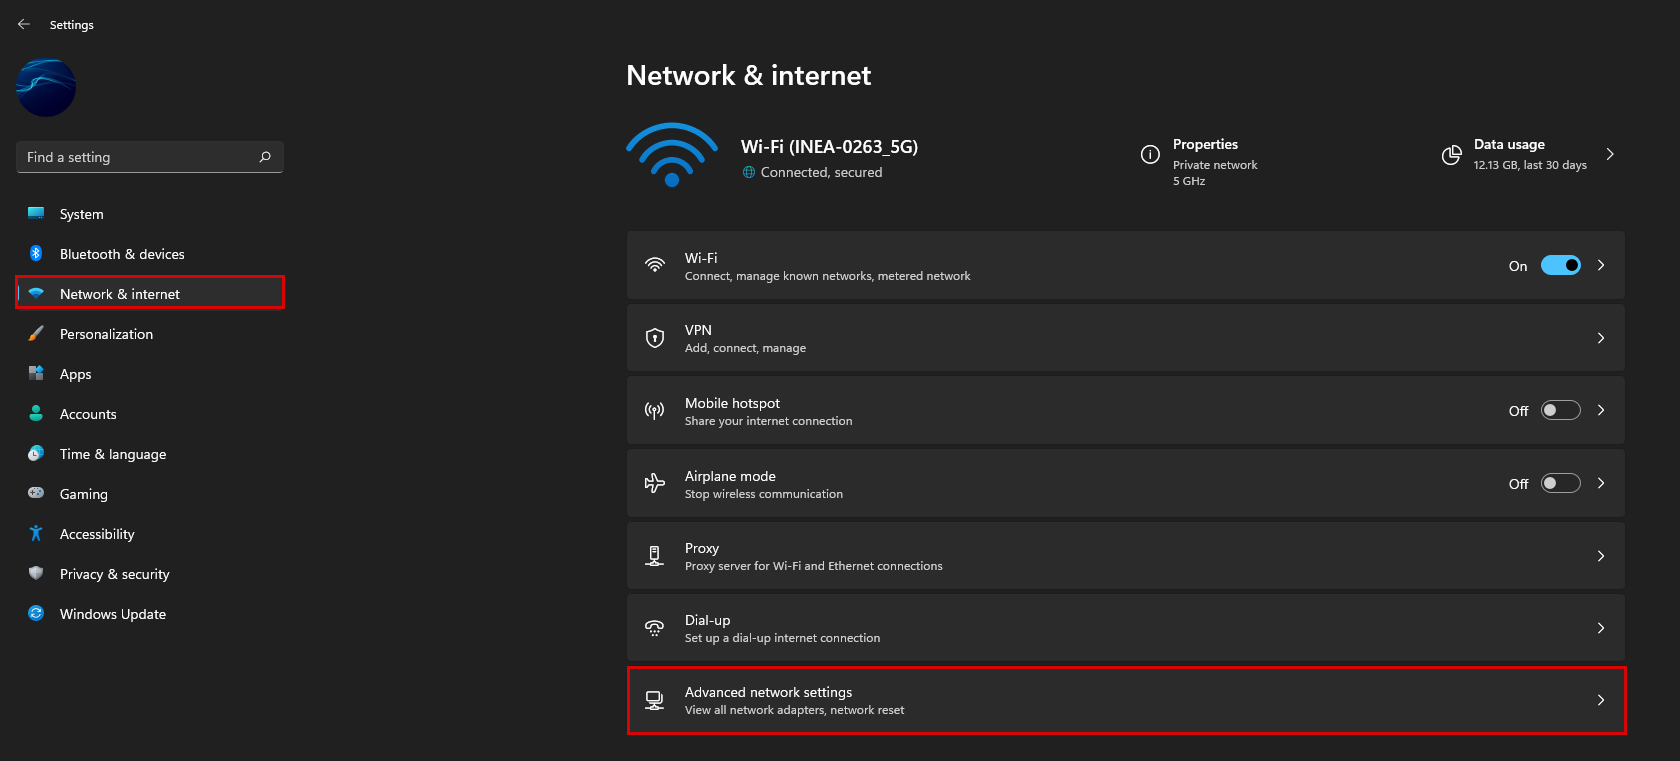
- To begin, open the Settings app on Windows 11 by pressing Windows key + I. Once the Settings menu is open, change to the Network and Internet tab in the left-hand pane.
- Now in the central pane click Advanced network settings.
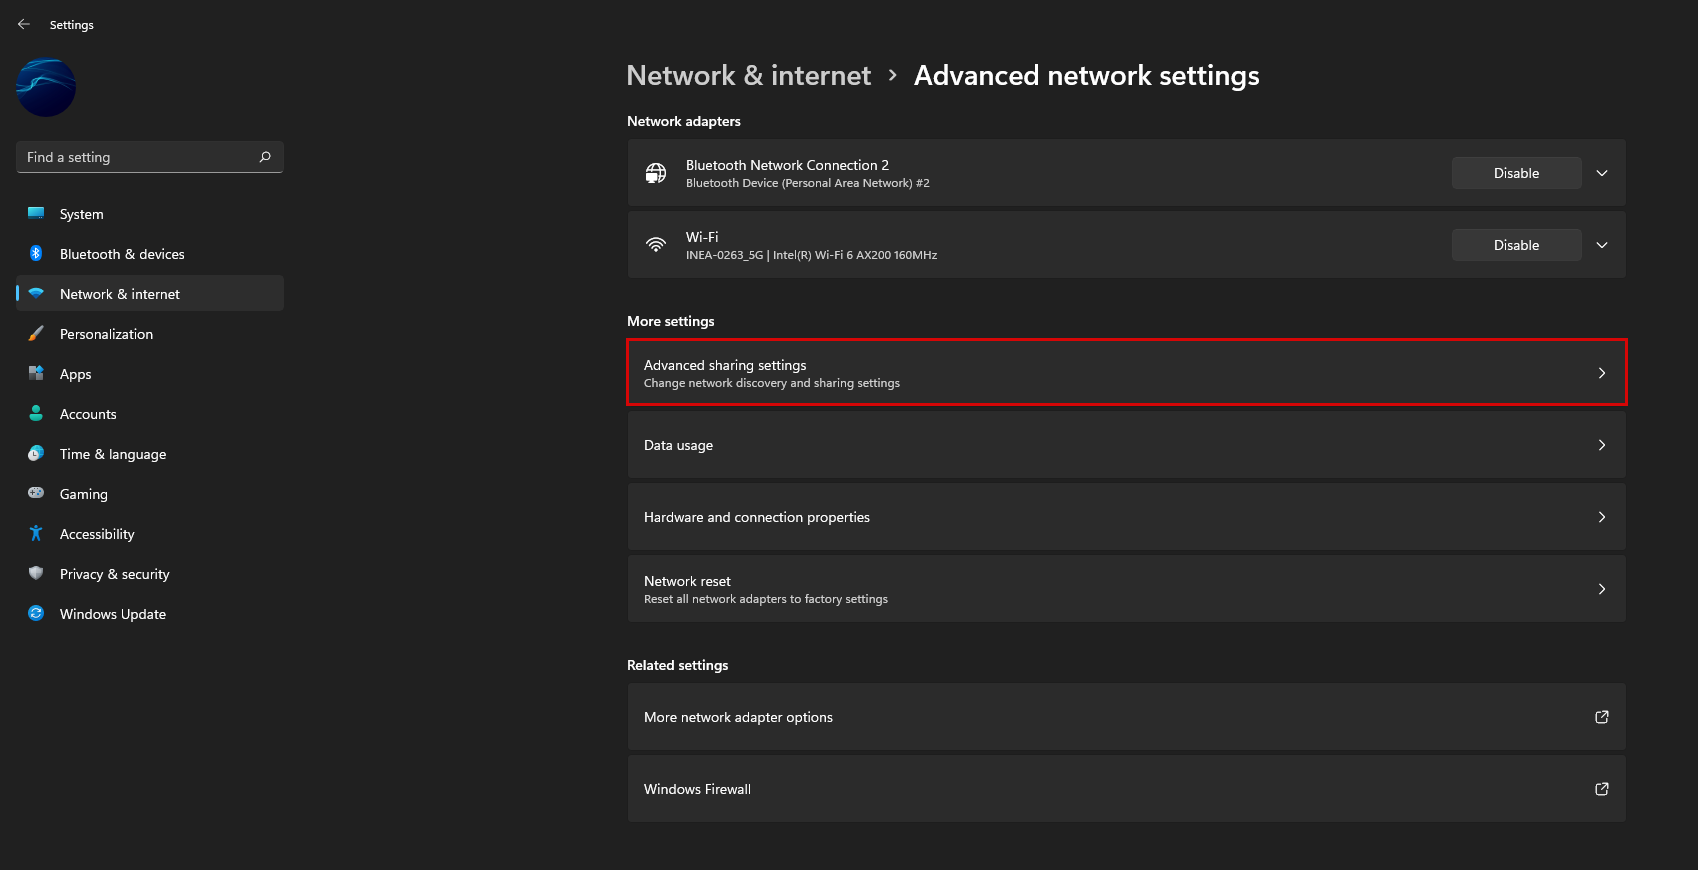
- Then Advanced sharing settings.
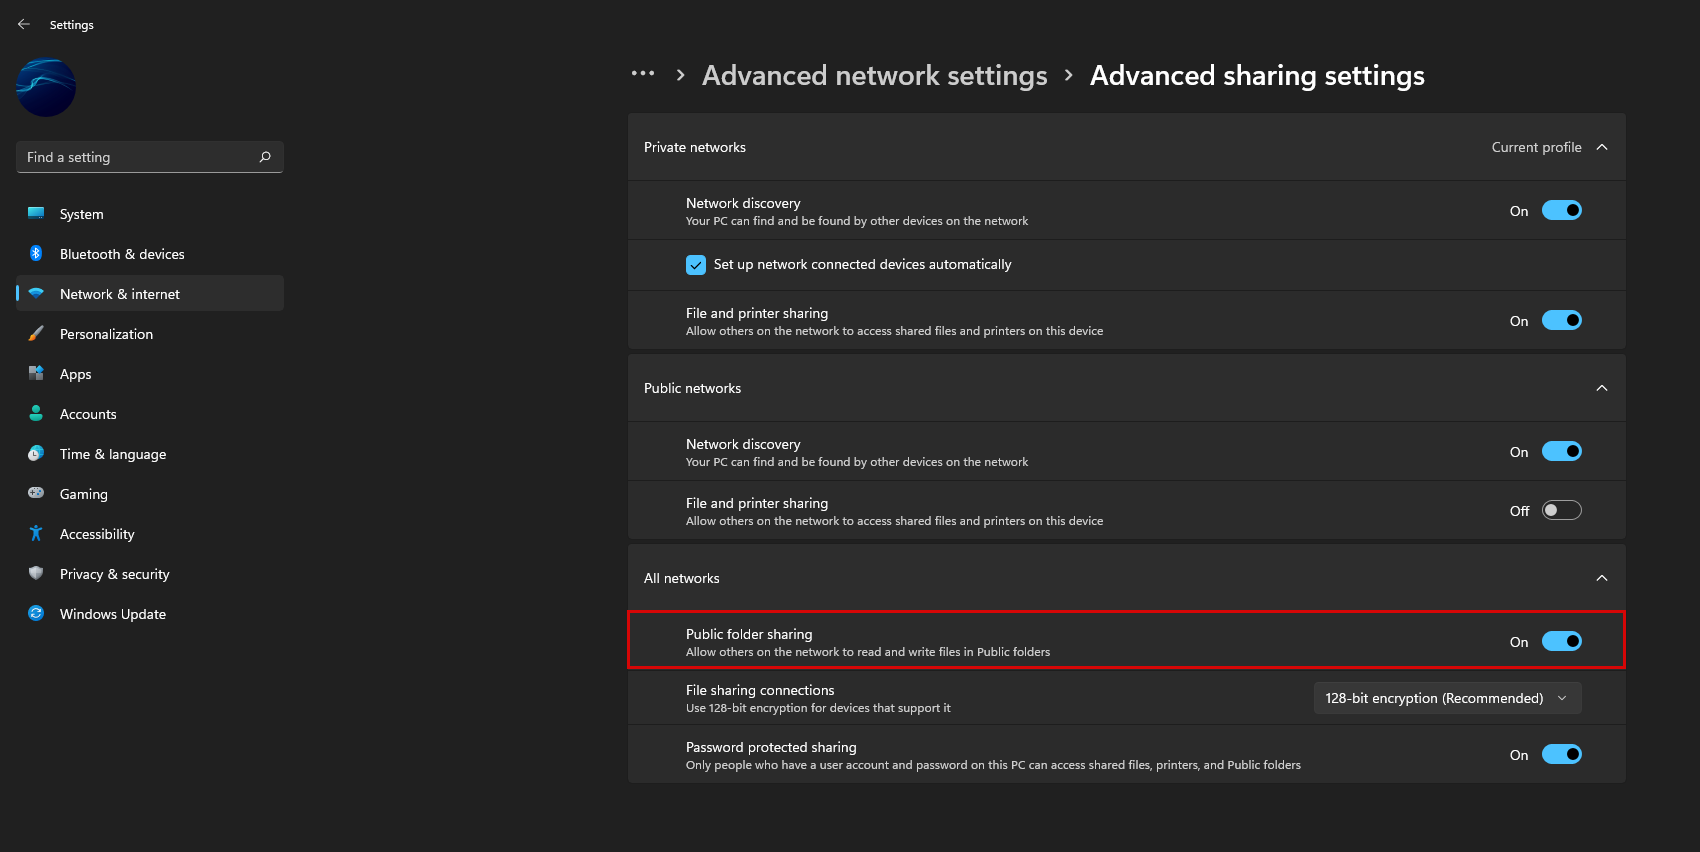
- Here you will see three different sections Private networks, Public networks and All networks. Expand each section to see what your configurable options are.
- What you choose to do is entirely up to you, however, if you wish to enable Public sharing you’ll need to flip Public folder sharing toOn under the All networks tab.
- Once the function is activated, the rest of the users of this Windows 11 computer will be able to access the contents of the shared folder publicly.
Note: If you don’t want any network sharing and just want the files shared locally between users, just disable Network discovery for Public and Private networks and the contents of the device will only be available to local users.
How do you disable Shared Public Folders on Windows 11?
If you would rather disable Shared Public Folders on Windows 11, simply follow the steps shown above and flip the toggle next to Public folder sharing to off. Alternatively, you could just enable password sharing to get the best of both worlds.