If you are using Windows 11 on a system with NVIDIA graphics you may currently be having some major performance issues when playing certain games. God of War being a classic example. This isn’t an entirely new problem for Windows 11 however, it is the first time in ages that it has affected NVIDIA hardware rather than AMD hardware. Thankfully, there is a way to solve the problem.

Related: How to solve save formats missing in Photoshop.
Windows 11 is no stranger to major performance issues with specific hardware types. When it first launched there were major issues with AMD CPUs that lasted for months and months. While the issue has been solved it took quite a long time to figure out and would come and go randomly for a period of time. This time around, however, the performance issues are affecting NVIDIA graphics cards and causing major frame rate drops in games with particularly bad performance and AAA titles like God of War.
The exact reason for this has yet to be discovered, however, Microsoft is aware of the problem and is working on a fix for bad NVIDIA GPU performance on Windows 11. The issue started with the major Windows 11 22H2 update which is rolling out at the moment. So if you haven’t yet updated to Windows 11 22H2 and you have an NVIDIA GPU you should postpone the update for a while. What if you’ve already updated to 22H2 can you fix poor performance in games still?
Fix Windows 11 22H2 breaking game performance with NVIDIA GPUs | Game FPS dropping after updating Windows 11 fix.
Quick steps for uninstalling Windows 11 updates.
- First, open the Settings App.
- Next, click Windows update.
- Click Update history.
- Now scroll down the page until you see Uninstall update.
- Here you will see all the updates that you can remove from your computer.
- Now simply click Uninstall next to an update and follow the steps shown by Windows and the process will complete.
How do you uninstall bad updates on Windows 11? Remove a bad Windows 11 update.
To start the process of uninstalling updates on Windows 11, you’ll need to do the following.
- First, open the Settings app by pressing the Windows Key + I on your keyboard or by searching Settings from the Start menu.
- Next, click Windows Update in the left-hand pane of the main Settings screen. This will take you to a new page where you will need to click Update history.
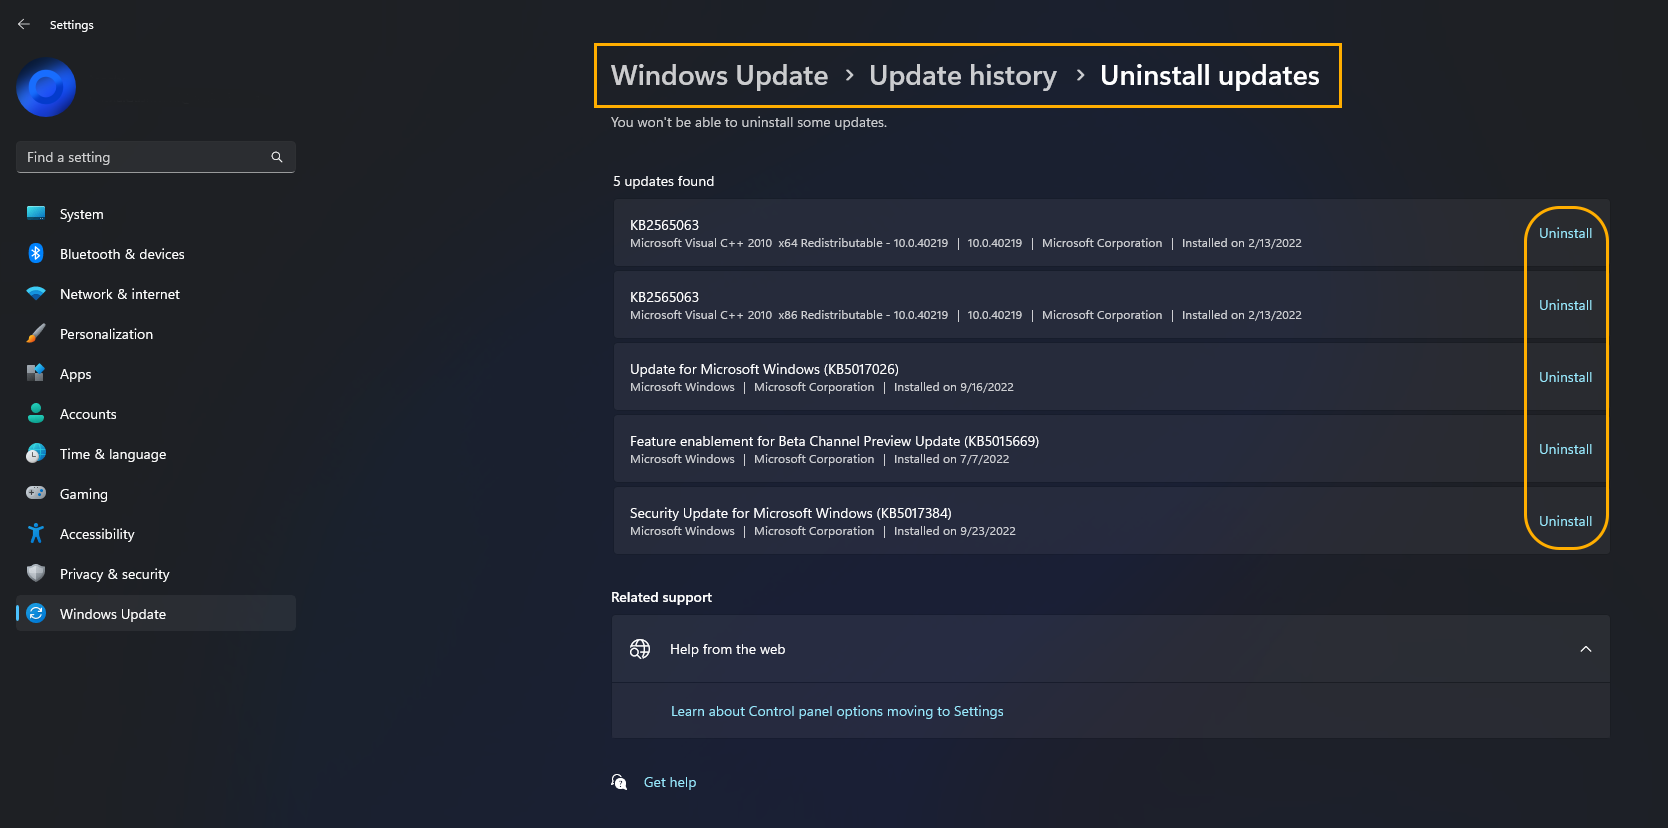
- Once you have clicked Update history, scroll down to the bottom of the page and click Uninstall updates.
- Here you will see all the updates that have been installed which you can Uninstall.
- Now simply uninstall the last update that was installed and work your way back until the problem goes away. Sometimes it might take a few versions.
Note: When selecting an update to uninstall, it’s usually best to remove the most recent update first then work your way back until you see the issue you are having solved.
Why can’t I find or uninstall a specific update on Windows 11?
If you are having problems trying to find a specific update on the list it is probably because the update removal period has expired or you have removed the backup files that allow you to remove updates. Using Storage sense to clear Temporary Files will remove the files needed to uninstall updates. Sadly once you have cleared the data you can’t remove any updates.