If you have updated to Windows 11 and are also someone who moves between Time Zones quite often or simply lives near a Time Zone border. This article will show you how to manually change WIndows 10 from automatic Time Zone configuration to manual configuration. This will allow you to lock a time zone in place regardless of where you’re currently located.

Related: How to fix Windows 11 stuck on the Lock Screen or Welcome Screen.
Time Zones can be a tricky thing to navigate if you are constantly on the move or live close to a Time Zone border. Automatic Time Zone settings will also cause Time Zones to get stuck if you lose Internet connectivity when moving between locality. Although they will usually update as soon as a connection is restored, this isn’t always the case. Windows 10 had a bad habit of missing time zone changes.
Surprisingly there are quite a few different ways you can change Time Zone settings on Windows 11, however, for this guide we’ll only be covering the quickest and easiest options that 99.9% of people can and will use. Although a lot of things have remained unchanged on Windows 11, most of the Settings app has been rearranged and redesigned so follow along as we guide you through the new method to manually update your Time Zone on Windows 11.
Quick steps to manually change your Time Zone on Windows 11:
- Open Settings.
- Go to Date & Language in the left-hand pane.
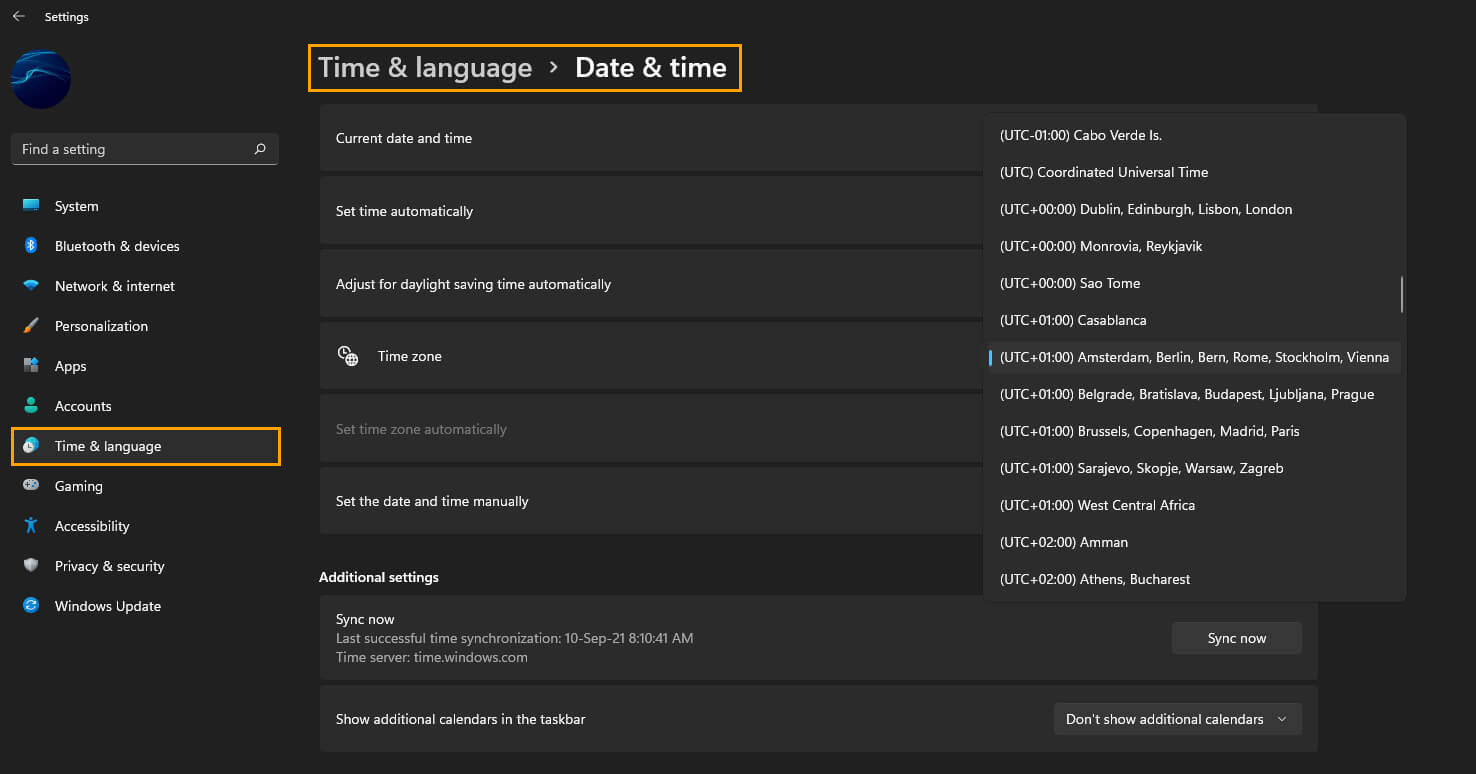
- Click Date & Time in the central pane.
- Flip the toggle next to Set time automatically to Off.
- Use the drop-down menu beside Time zone to select your preferred Time Zone.
Optional: If you want to manually set the time, click Change next to Set the date and time manually, then adjust the time using the pop-up window.
How do you change from Automatic Time Zone settings to Manual Time Zone Settings on Windows 11?
To change your Windows 11 Time Zone settings from Automatic to Manual, you’ll need to do the following.
- First, open the Settings app, then change to the Date & Language tab in the left-hand pane.
- Next, click Date & Time in the central pane, then flip the toggle next to Set time automatically to Off. This will allow you to use the manual option.
- Now use the drop-down menu beside Time zone to select your preferred Time Zone.
Optional: If you want to manually set the time, click Change next to Set the date and time manually, then adjust the time using the pop-up window.
While you are here don’t forget to take into account daylight savings settings when you make the change. I personally leave it set to automatic as there is no way I’ll ever remember to change the time manually when required.
How do you change from Automatic Time Zone settings to Manual Time Zone Settings on Windows 11 from Control Panel?
If you’re more of a Control Panel person (I don’t blame you, I am too) You can do the following to change the Time Zone settings from Automatic to Manual on Windows 11.
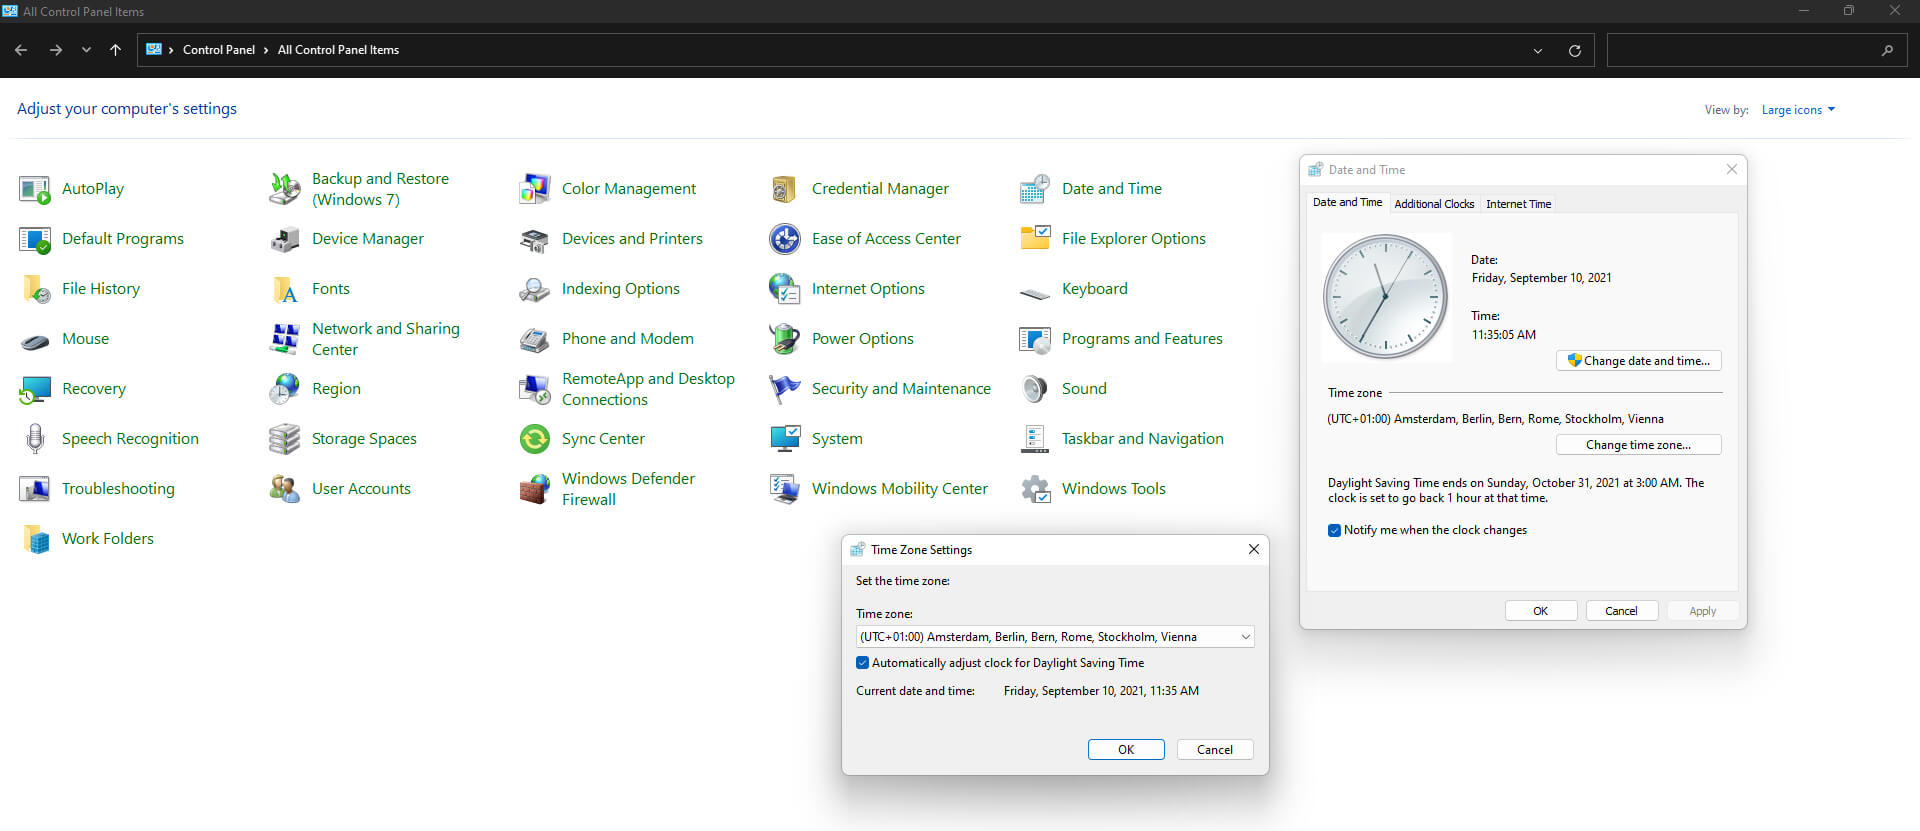
- Open Control Panel, then click Date & Time. This will open a new pop-up window showing all of Windows time settings.
- Here simply, click Change date and Time then choose the settings that work best for you in the new window that appears.
While you are here don’t forget to take into account daylight savings settings when you make the change. I personally leave it set to automatic as there is no way I’ll ever remember to change the time manually when required.