By default, when you install a program to a location on your computer it's there to stay. Unless of course, you decide to uninstall it and reinstall it to a new location. This isn’t the easiest or most efficient way to move programs from one location to another. Thankfully there is a way to move individual programs or programs in bulk, using a method originally developed for Steam game management.
How to Edit the Windows Hosts File When It's Used By Another Process.
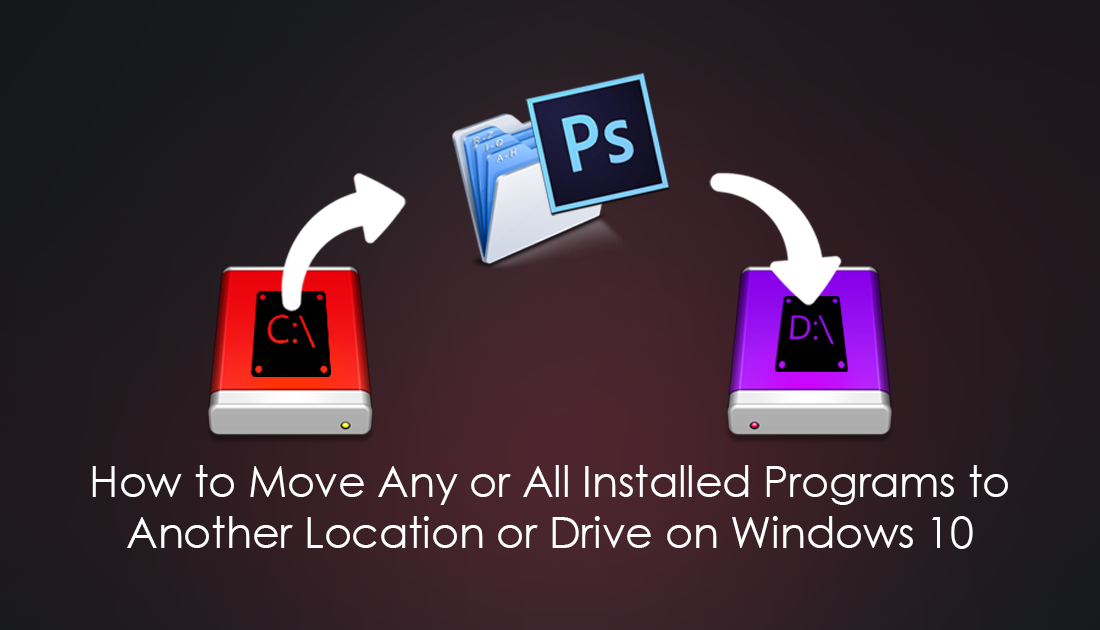
As a Windows user, you are probably aware that moving programs from one location to another is a painful task almost always involving an uninstall and reinstall. For users who are currently using small capacity SSD drives and are running out of space, this guide will be the godsend you are looking for to quickly and easily regain space on your System Drive. For example, you will be able to move programs installed under the Program Files or Program Files (x86) folder in C Drive to an alternate folder, D Drive for instance.
Seeing how Windows doesn’t include the option as a standard feature, you will need to use a third-party program called Steam Mover. Steam Mover was originally developed and designed to move Steam games and apps to other locations. It’s also a super easy way to move almost any program installed on Windows.
Steam Mover works by allowing you to first select an input location where your programs are installed followed by an output location. After that, you have the option to either select all the programs found in the input location or specific programs.
Note: You won’t be able to move Windows 10 Store Apps.
Can You Move Programs From One Location on Windows to Another Without Reinstalling? Yes! Heres How!
Before starting, there is one important factor to take into account when moving programs from one installation location to another. You can only use this software on NTFS formatted drives. Fat32 drives won’t work. This shouldn't be too much of an issue though as 99% of your drives are probably NTFS, USB drives and some external hard drives being the exception.
Before starting the process of moving programs from one installation location to another, it's important to make a System restore point, just in case something goes wrong. To make a System Restore point, open the start menu, type Restore, then select Create a Restore Point when it shows on the list. From the new window that appears, click Create in the bottom right section of the screen, then follow the instructions given by Windows. Once you have successfully made a restore point you can continue with the steps below.
Once you have a restore point set, make sure all the programs you wish to move aren’t running on your system. Next download Steam Mover, extract the files, then right-click on the .exe file and select Run as Administrator. If you don’t run the program with admin privileges it won’t work correctly.
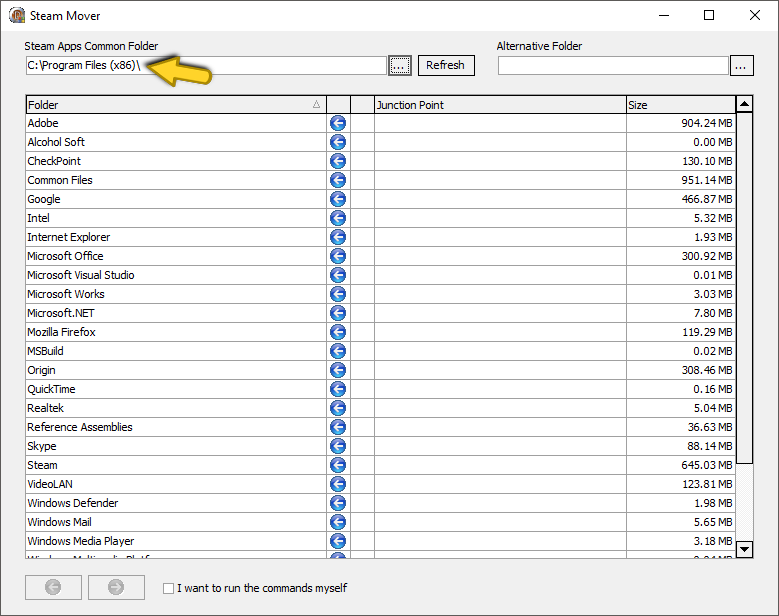
From the main Steam Mover interface, there are two sections, the left section allows you to select a folder that contains the installed programs. Once selected, a list of all the installed programs in that location will be visible.
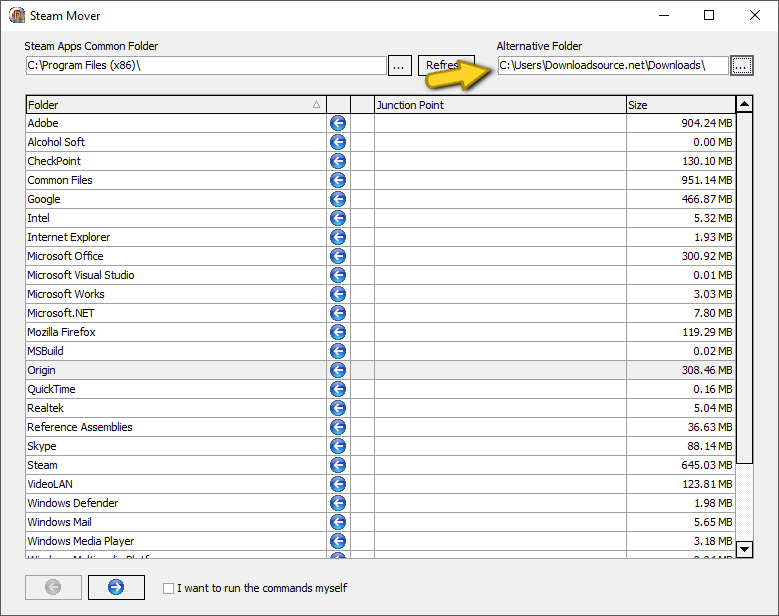
Now using the right section select a destination folder, you can create a new folder should you not have done so yet.
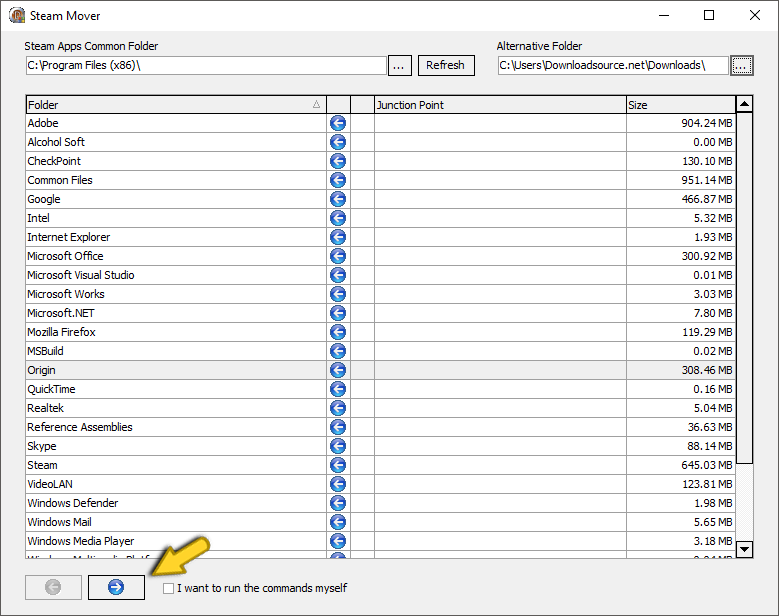
When the destination folder is selected, use the left section once again to select programs that you want to move. Once with is done, click Next at the bottom left side on the interface. (Blue Arrow)
Steam Mover will now start moving the selected program files one by one to the destination folder you selected. Depending on how many programs you selected, will affect how long the process takes. If you really want to, you can Run the commands yourself, however, it’s not recommended and rather time-consuming.