Table of Contents
If you have programs, apps or games installed on your computer that always show a UAC prompt when they start on system boot. This article will show you how to quickly and easily configure them to automatically accept the UAC prompt and start quietly in the background like all other apps, games, and services.
Related: How to set up and use SCRCPY for Android versions 5 to 10. SCRCPY v1.17 & newer
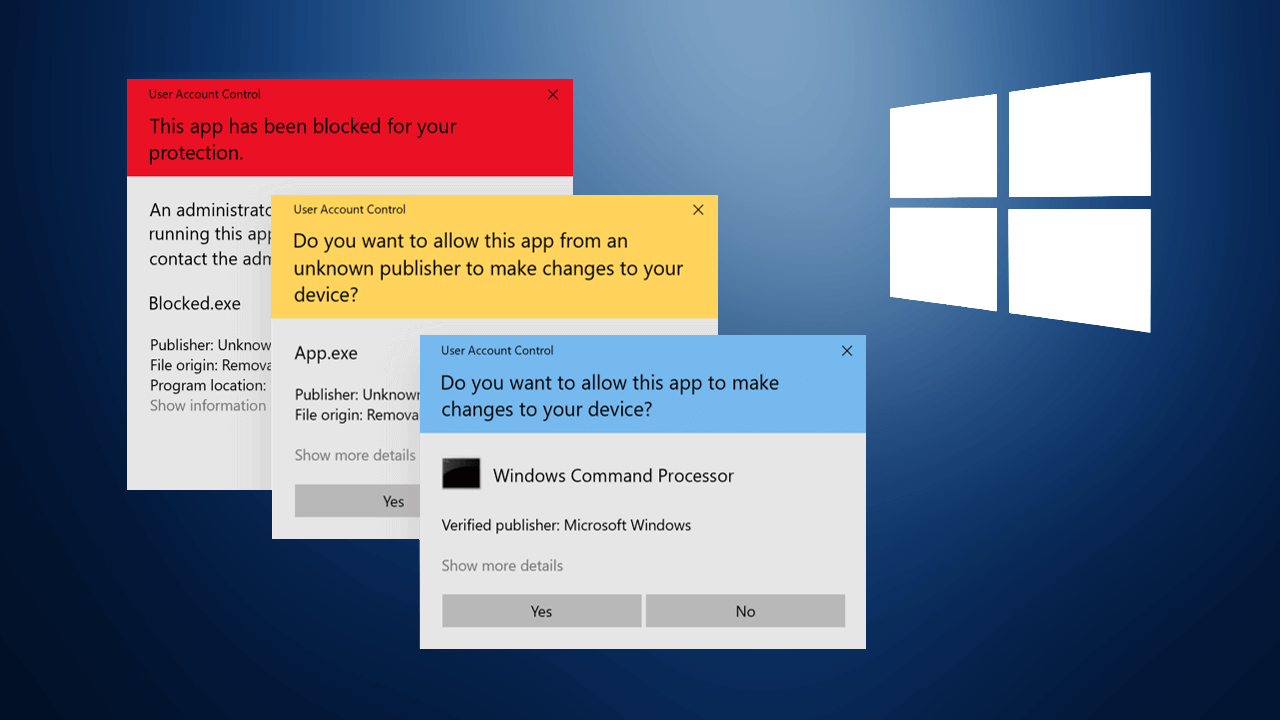
User Access Control (UAC) notifications on Windows 10 are one of the operating systems most important security features and help users identify the validity of software they are installing and running on their device. Blue notifications from verified publishers are generally considered safe while yellow prompts should generally be considered as cautionary.
As important as UAC notifications are, there can sometimes become an annoying hassle to accept each and every time you open a program, app or game on your device. Before you go ahead and completely disable UAC notifications and prompts on your system, which is a very bad idea for the record. You should consider making an exemption for the specific software that always has a prompt, even those that show a UAC notice at system boot.
How do you hide or automatically accept UAC prompts from programs, apps, games at system boot on Windows 10?
If you have a program that starts with Windows and shows a UAC notification during boot, you can do the following to make sure the prompt is automatically accepted.
To begin, the first thing you need to do is make sure you disable any autostart options from within the program or app. Once you have disabled autostart from within the program you’ll need to do the following.
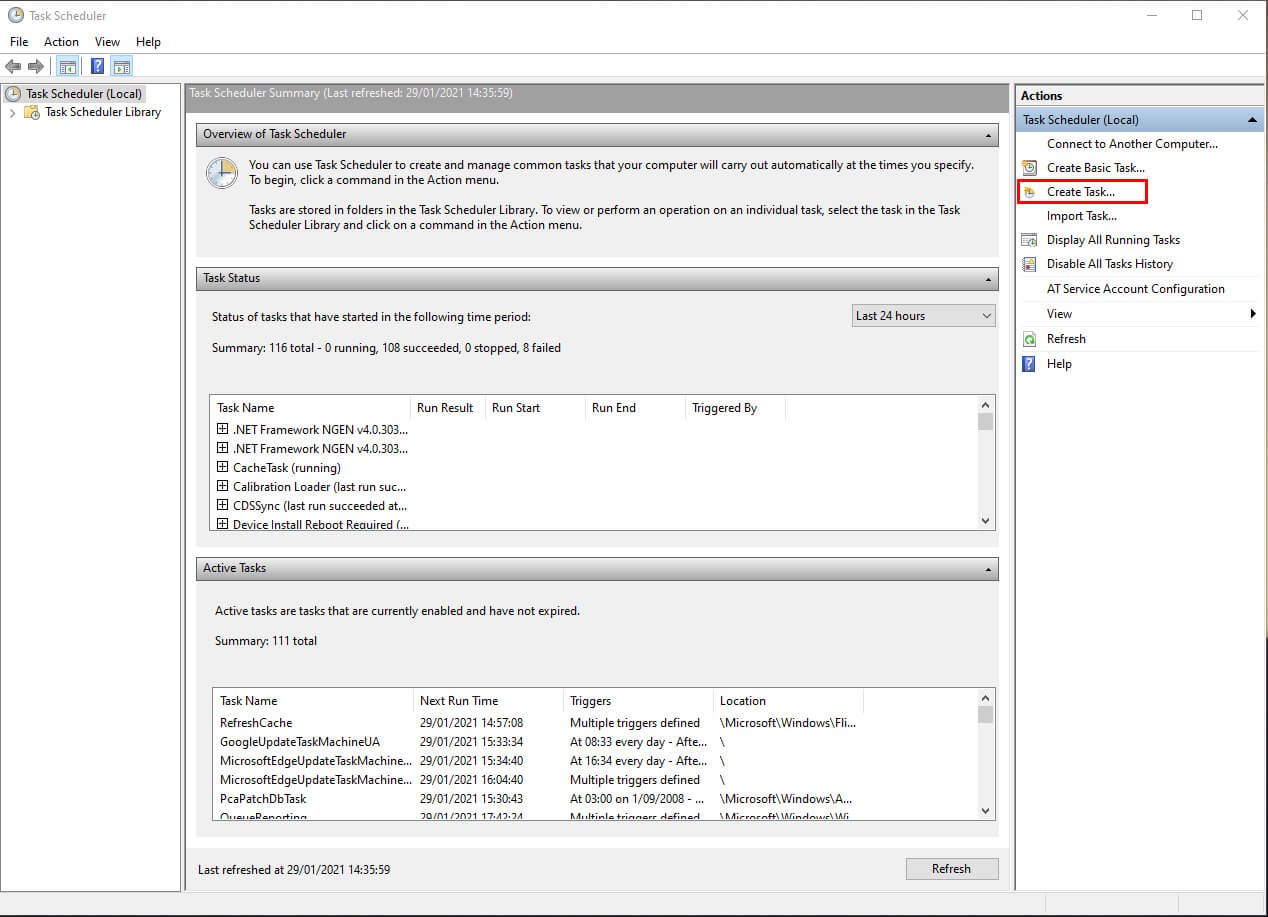
- Open the start menu, type Task Scheduler, then select it when it appears.
- Next click Create Task on the right side of the screen, below the Action tab.
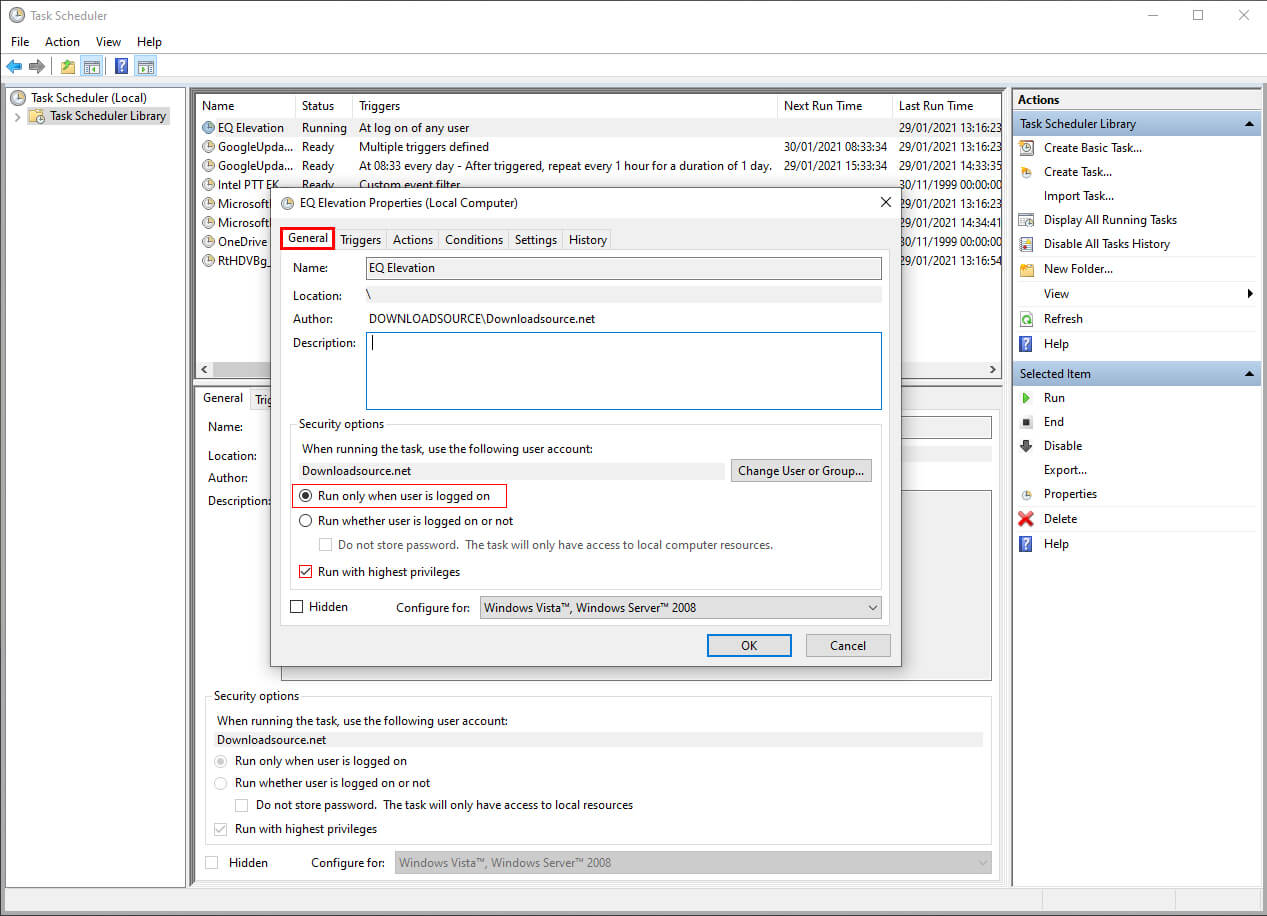
- In the new window that appears, name the task something easy to identify. Then make sure the checkbox next to Run with highest privileges is ticked.
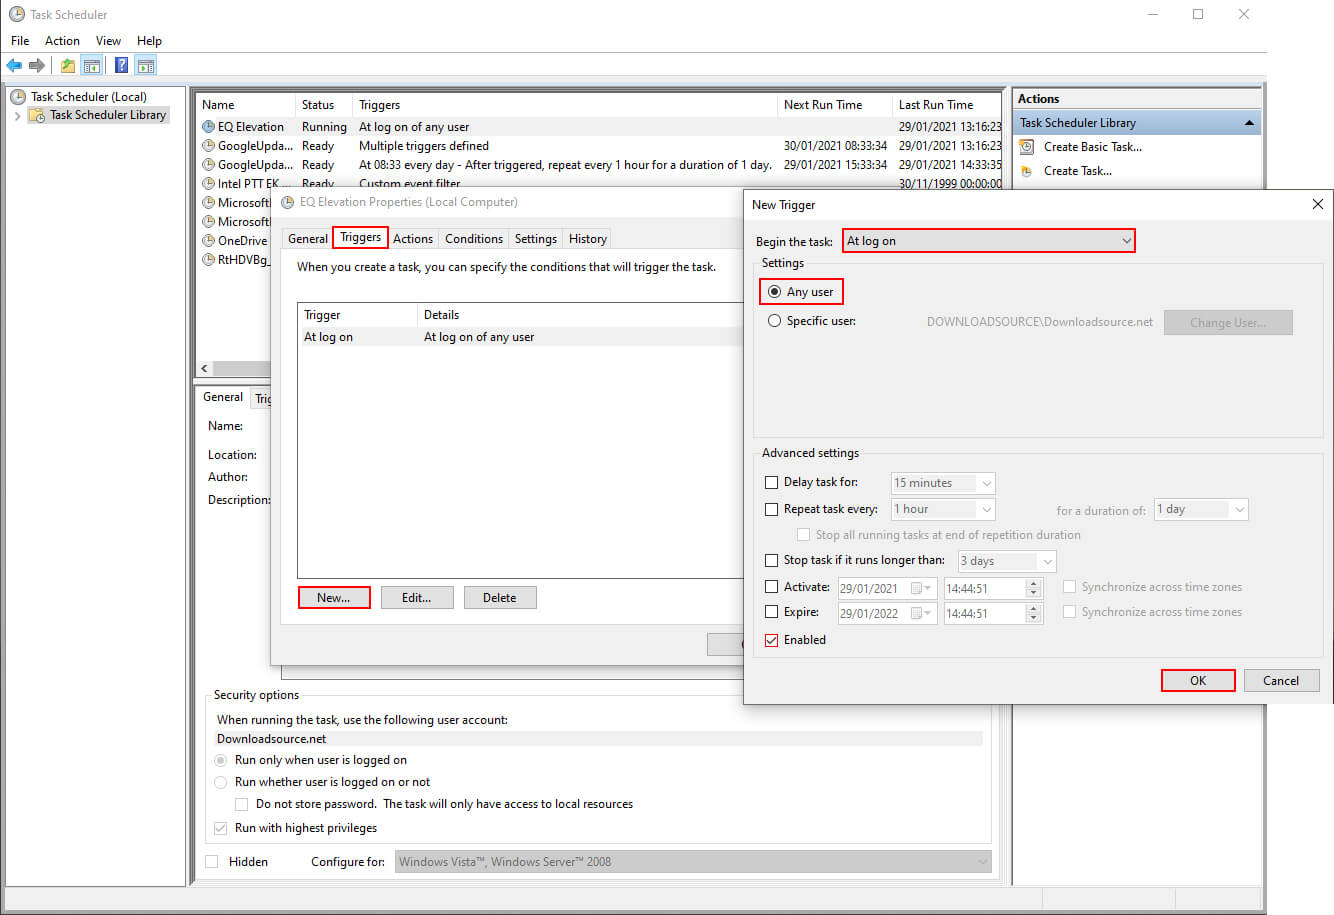
- Now change to the Triggers tab, click New and set the task to start at log on (not startup). Then make sure it’s set to Any user and Enabled at the bottom.
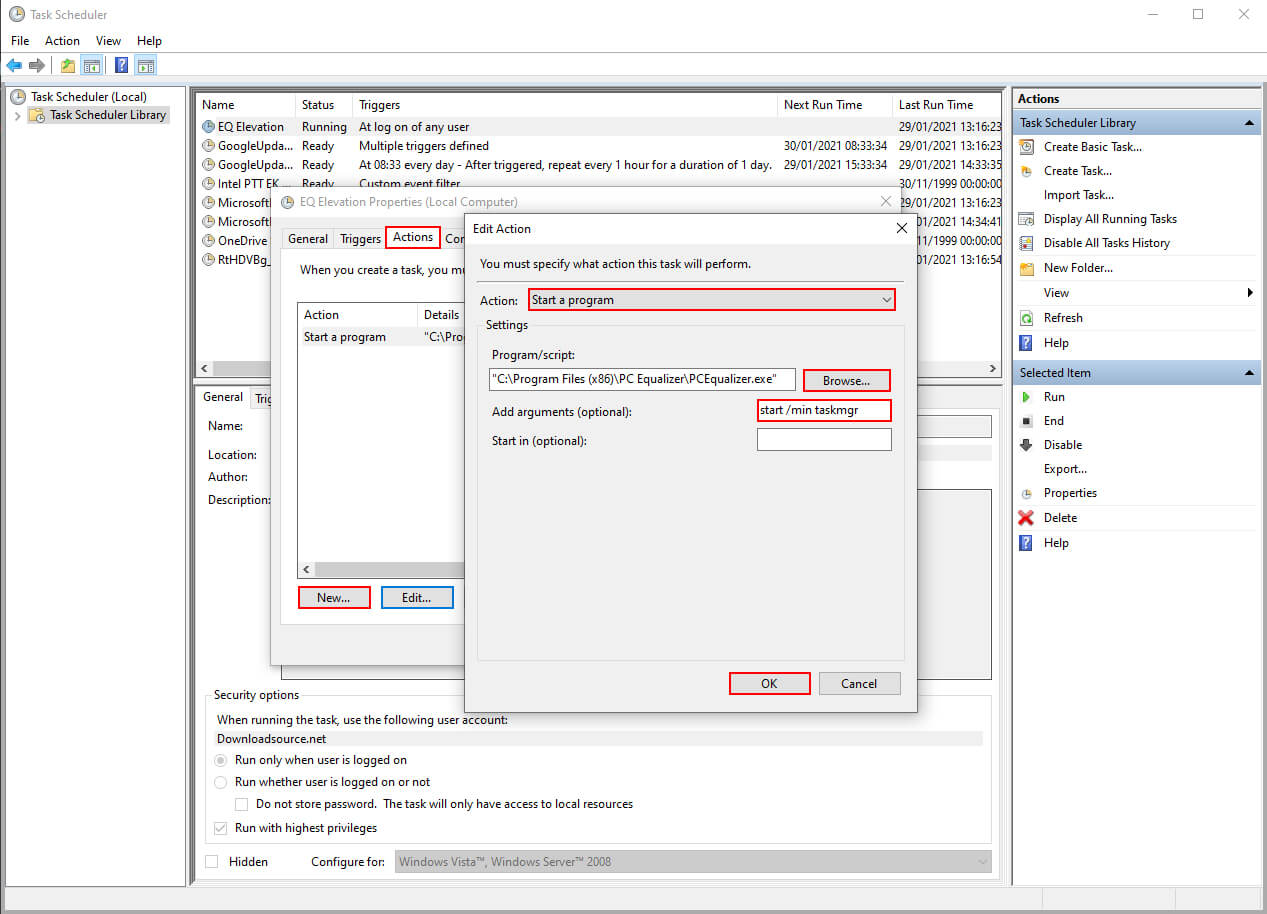
- Change to the Action tab, click New then set the Action to Start Program. Below this use the Browse option to select the .exe for the program you want to start.
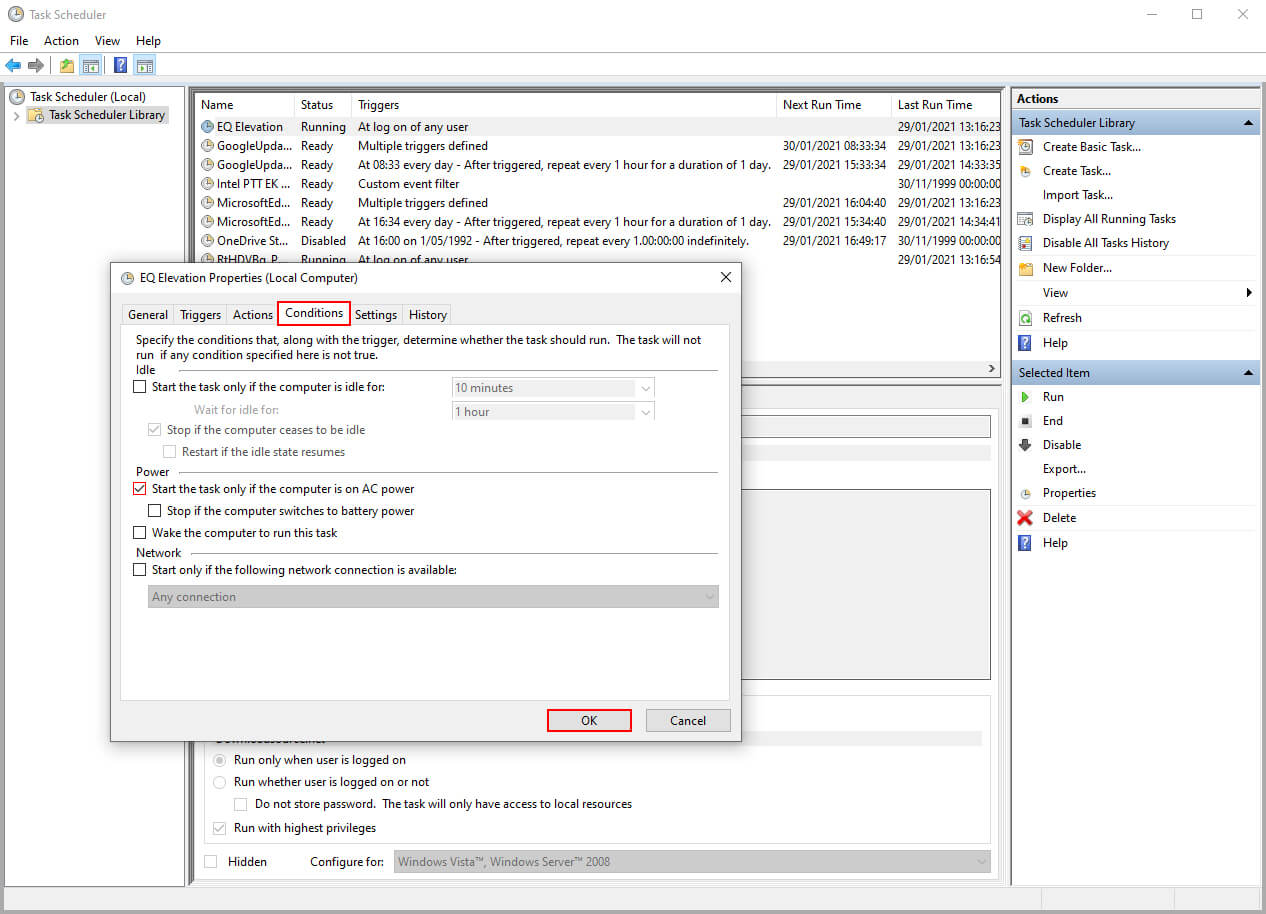
- Change to the Conditions tab and make sure it is configured exactly like the screenshot below.
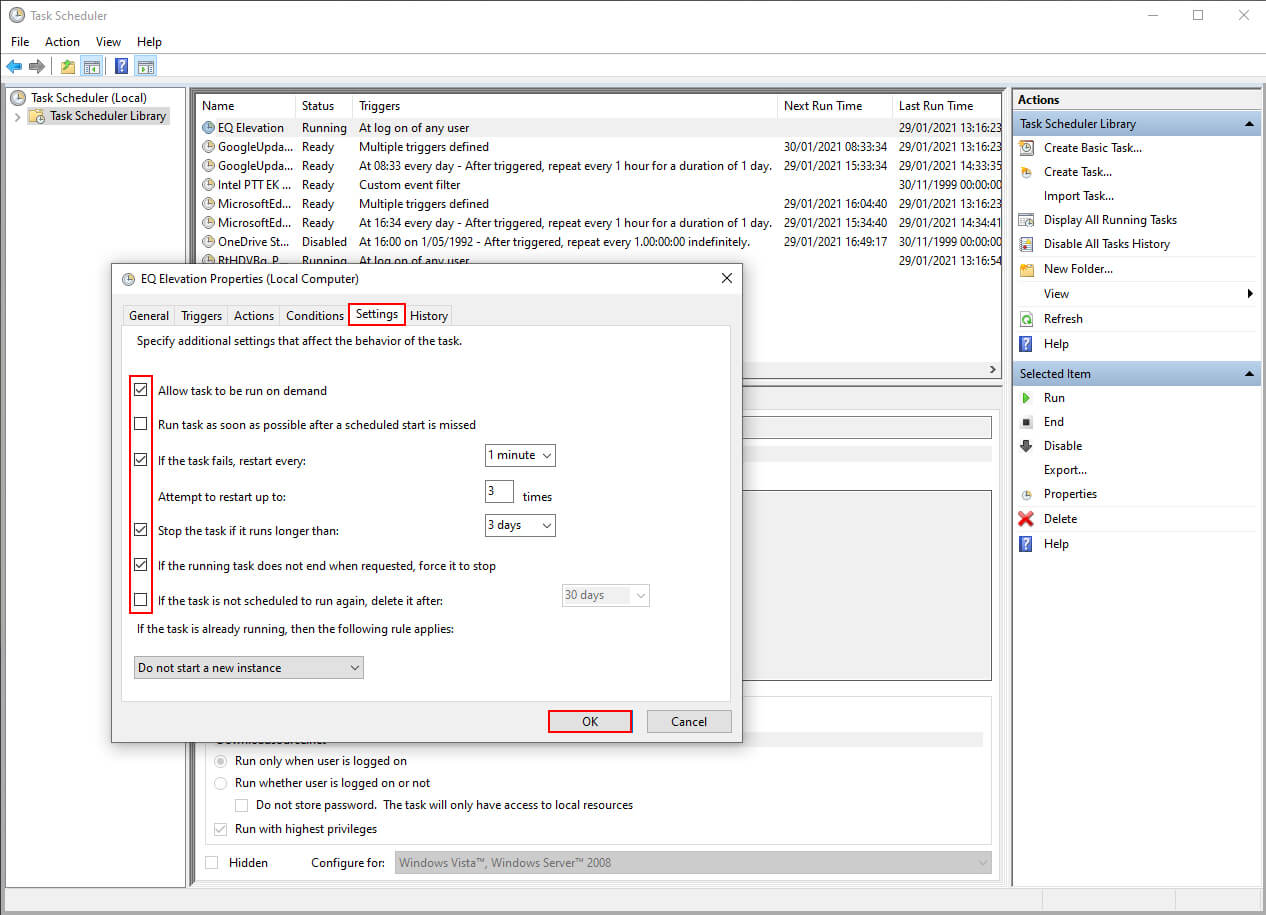
- Change to the Settings tab and configure it exactly as the screenshot below.
Finally, click Ok and your new task will be saved. It will now start when you log in to your account. I’ve tried using the “At startup option” but it doesn’t work (for whatever reason). If you want to view or edit your task, simply double-click on it in the Active Tasks section. If you want to delete the task, simply find it in the list, right-click on it, then select Delete from the list of options.
If you have multiple programs that have a UAC prompt at system boot, you’ll need to create a new task for each one. Remember the most important part of making this work is having autostart disabled from within the programs own settings. If you are launching the program from the Windows 10 startup folder, you’ll need to remove it. Otherwise, there will be a conflict.