If you are using Windows 11 and are currently in the process of changing the way the operating system works. This article will show you how you can quickly and easily disable window dragging for maximized windows on Windows 11. A handy way to make sure that you don’t accidentally drag windows in the future.

Table of Contents
Related: How to Hide Office Online Files from File Explorer Quick Access on Windows 11.
Windows 11 has a lot of cool and interesting features that distinguish it from Windows 10 in a lot of ways. From the start menu and new settings menu, right through to the newly designed and tweaked File Explorer. Windows 11 also has quite a few hidden features that don’t have easy toggle options. These features can be accessed using the Windows Registry Editor or the Group Policy tool.
For example, you can disable dragging of maximized Windows in Windows 11, so they won't accidentally restore down or move to another desktop or screen. This is a really useful change if you are using a multiple monitor setup. By default, you can drag any maximized window down from the title bar, and it will restore its original size. By making this change you can prevent dragging of maximized apps/programs/etc so you won’t have any more annoy accidents.
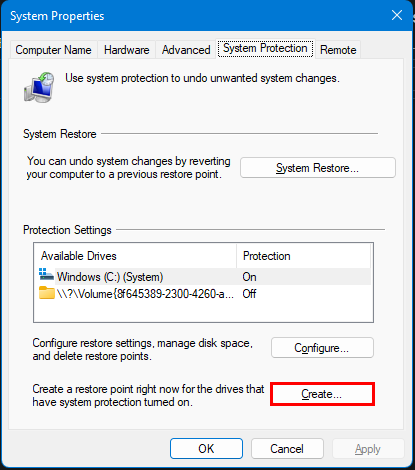
As this process requires you to use the Windows Registry Editor it’s important to make sure that you have a new system restore point created. Just in case you need to go back if you make mistake somewhere during this process. You can make a System Restore Point on Windows 11 by doing the following.
Open the Start menu and type Create a Restore Point, then select it when it appears. A small window will open with a few different options. Click Create near the bottom, then enter a name for your Restore point and follow the steps shown by Windows to finish the process. If you need to use a System restore point at some stage search Create a Restore Point again, then click System restore near the top of the window and follow the steps. I generally use the latest restore point on offer, but you can use any of the ones listed. If you have issues with one restoring, try another.
How do you disable dragging Maximized Windows on Windows 11?
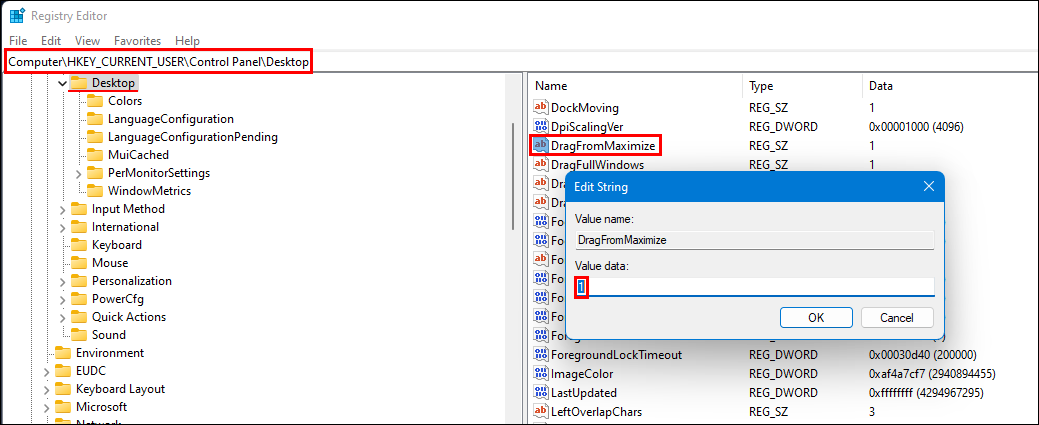
- To begin press the Windows Key + R and type regedit into the Run text window to open the Registry Editor.
- Now use the left pane to navigate to the following key:
HKEY_CURRENT_USER\Control Panel\Desktop
- When you are in the correct location, double-click the DragFromMaximize entry in the central pane to edit it.
- Change its Value Data from 1 to 0, then Restart your computer for the change to take effect.
Now, when you drag a maximized window, it will not restore its size and won't change its position. You can still drag a non-maximized window to the top edge to maximize it or to the left and right edges to snap it! If you want to change back at some stage just return to the same location and change the DragFromMaximize entries Value Data from 0 back to 1. If you’re looking for other Windows 11 guides and customisations, check out our collection here.