If you are having problems with programs on your Windows 11 computer because of a Microsoft Visual C++ error. This article will guide you through several different fixes you can use to solve this problem and get your programs working again. Annoyingly Microsoft Visual C++ errors can happen in a range of different software for a range of different reasons.

Table of Contents
Related: How to fix Adobe Media encoder not installed in Premiere Pro.
Microsoft Visual C++ Redistributables are an annoying component of Windows 10 and 11 and are required for a ton of different software, games, apps and processes to function. These runtime components come in different packages with different dates and releases to make things even more complicated. Finally! The worst part of all is that some error messages and problems linked to Visual C++ errors don’t even appear as so. For example, the classic and still fairly common Premiere Pro MSVCP110.dll, MSVCR110.dll, MSVCR100.dll was not found which doesn’t hint at C++ at all…
Thankfully, there are quite a few different ways you can solve Visual C++ installation error 0x80070666 on Windows 11 as well as a range of other errors linked to it. If you are having missing .dll errors I also suggest trying the solutions found below because there’s a good chance you have having issues without an accurate error message.
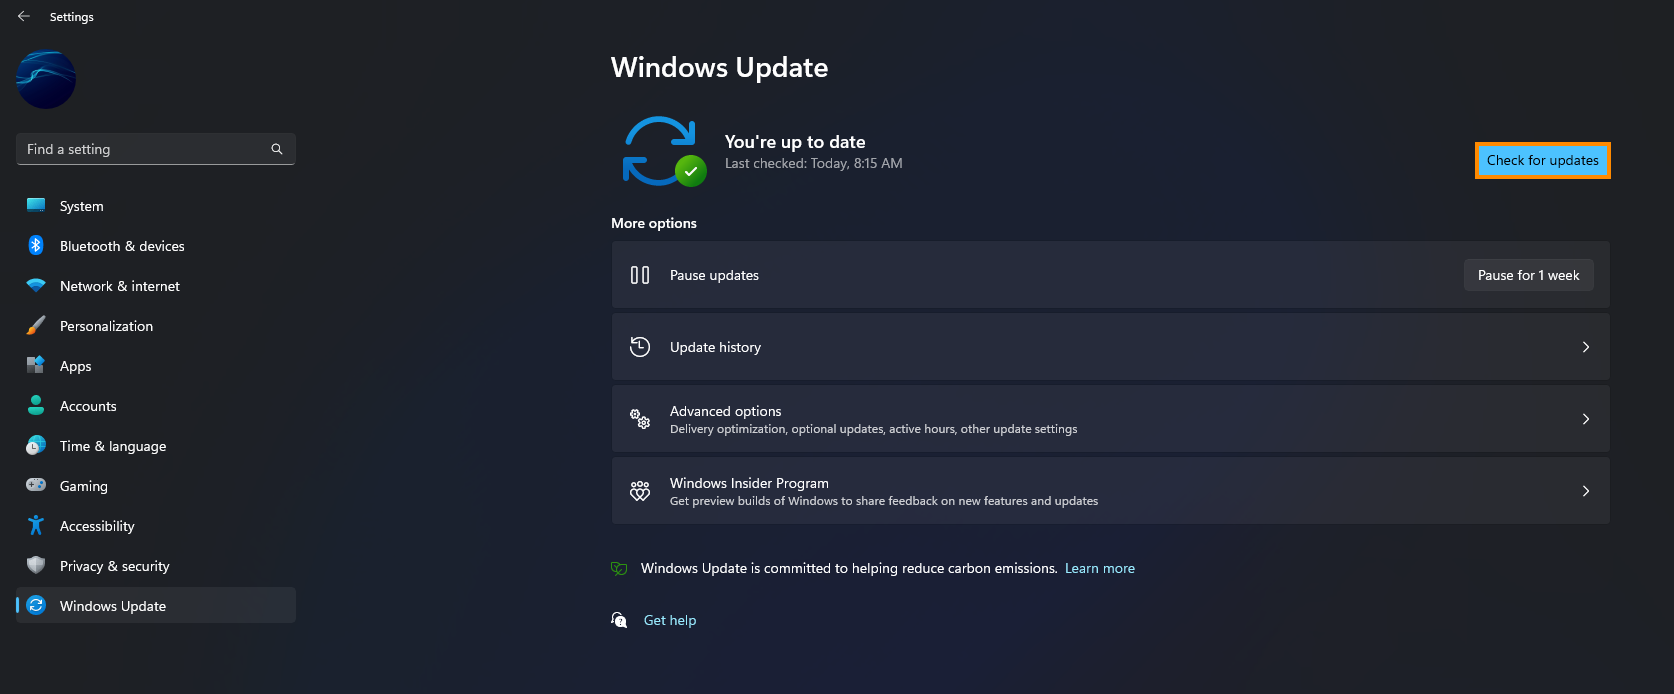
Install the latest update for Windows 11 to fix Visual C++ installation errors.
If that still didn't do the trick, don't give up just yet! Try downloading and installing the latest update for Windows 11. This will bring with it any fixes that may help solve this error message. To force a manual update, go to Settings > Windows update > Check for updates.
Uninstall the last Windows Update to fix Visual C++ installation error 0x80070666.
This option may not be available for you but If you still have the option to uninstall the latest Windows 11 update that was installed on your computer do that. If you aren’t sure how to check out the article linked below. Sadly you may not be able to use this step but you should check just in case as it is a good option.
How to uninstall a bad Windows 11 update. Rollback a Windows 11 update.
Uninstall all Visual C++ Redistributable Packages.
Keep in mind that some of the packages won’t be able to be removed so don’t get stressed if you can’t remove something.
- Locate all your Microsoft Visual C++ installations.
- Right-click on every Microsoft Visual C++ installation.
- Choose Uninstall from the right-click menu.
- Follow the on-screen prompts to complete the uninstallation for every redist package.
- Once every Visual C++ package has been uninstalled, restart your computer.
- Wait for the next startup to complete.
- Attempt to install the same Redistributable package that was previously failing with the 0x80070666 error.
Run the Fix-It Tool to fix Visual C++ installation error 0x80070666.
- Visit the Microsoft website and click the Download button to download the Fix It tool.
- Once the tool is downloaded, locate the downloaded file (typically a .diagcab file) on your computer.
- Double-click on the .diagcab file to open the Fix It tool.
- On the initial screen of the Fix It tool, click on Advanced.
- Make sure the box associated with Apply Repairs automatically is checked.
- Click Next to advance to the next menu.
- On the next screen, click on Installing.
- Wait until the inspection phase is complete.
- Select the specific redist package you are encountering issues with.
- Click Next to proceed.
- Follow the recommended repair strategies provided by the Fix It tool.
- Continue following the repair steps until you reach the end of the program.
- Once the Fix It tool has finished running, restart your computer.
- After the restart, check if you are able to install the redist package without any issues at the next startup.
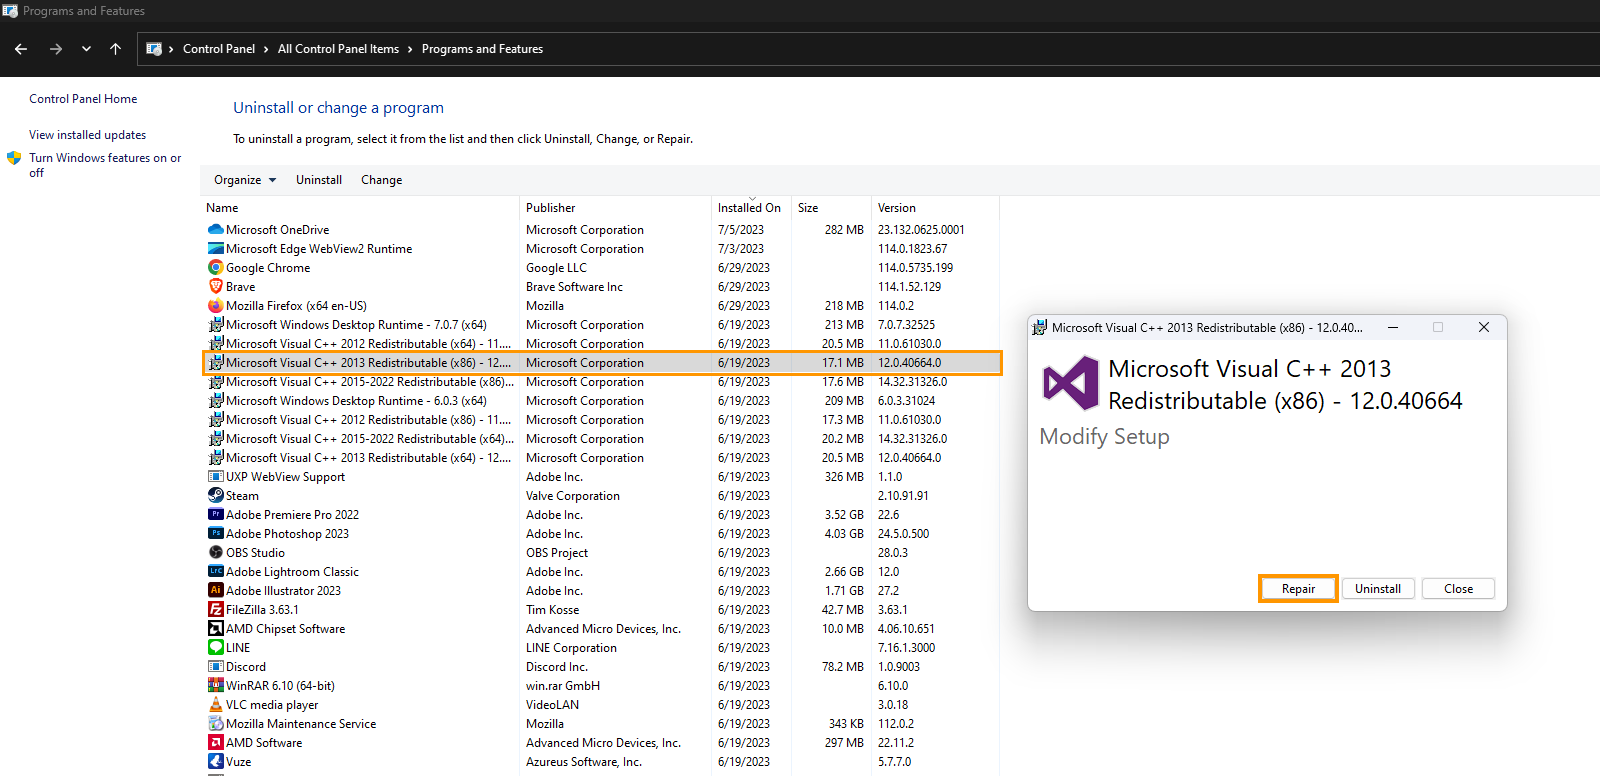
Repair the Visual C++ Installation
- Verify that the installer of the redistributable package you are trying to install is present on your computer and note its exact location. If the installer is not present, download it again.
- Press the Windows key + R to open the Run dialogue box.
- Type cmd and press Enter to open Command Prompt.
- Inside the Command Prompt window, use the following command to change the directory to the location of the installer file. For example, if the redist installer (e.g., vc_redist.x64.exe) is located in the Download folder, use the command:
CD C:\Users*YourUsername*\Downloads
- Ensure that the terminal is working in the correct directory.
- Type the name of the installation executable, followed by /uninstall, in the Command Prompt window. For example: vc_redist.x64.exe /uninstall
- Click Repair when the installation window appears.
- Follow the on-screen prompts to repair your Visual C++ redistributable installation.
Note: Even if you have a 64-bit version of Windows 11 it’s worth installing the 32-bit version in some cases. Why, we have no idea but it has helped solve some random issues in the past, especially ones within Adobe software.