Table of Contents
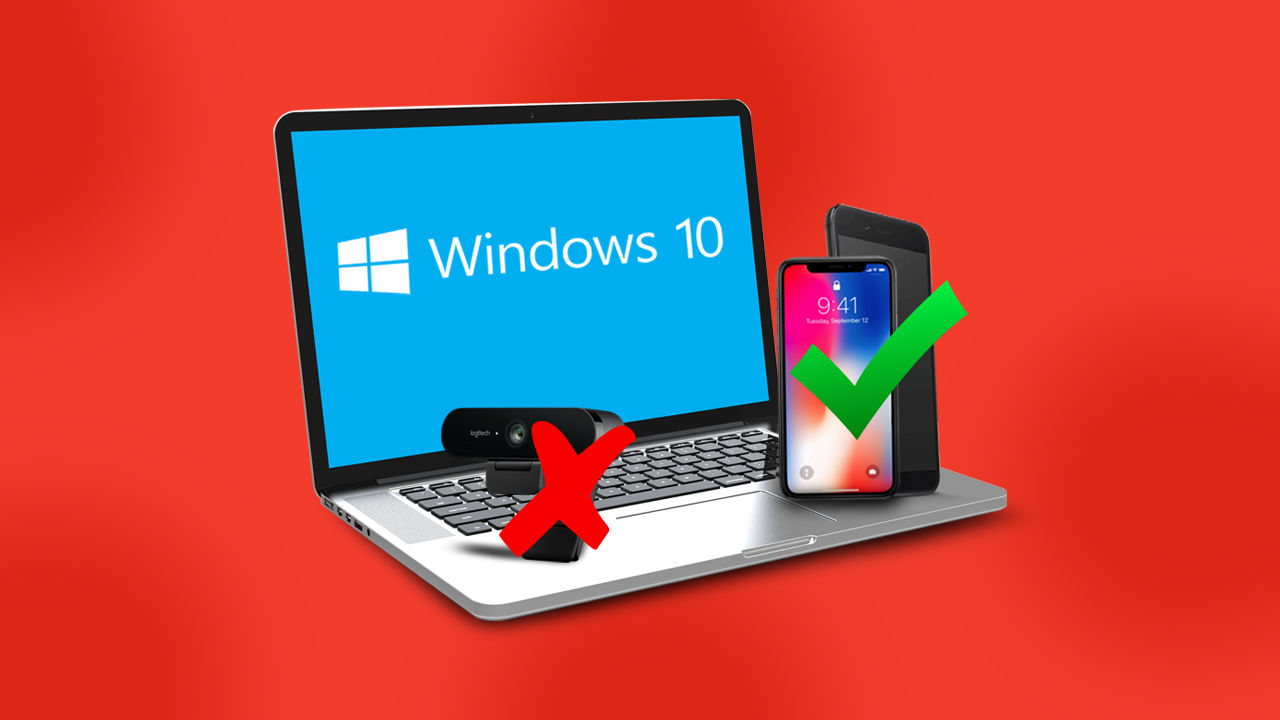
If you have an old Android phone laying around or just don’t want to go out and buy a new webcam for your computer, this guide will show you how to use an Android device as a PC webcam. As phone cameras are usually super high quality, you’ll be hard-pressed to find an affordable webcam that records in better quality.
Related: How to set up and use SCRCPY for Android versions 5 to 10. SCRCPY v1.17 & newer
A good quality webcam will set you back a significant amount of money, especially if you want something that is at least 1080p FHD, with decent capture speeds. Thankfully, there are alternative ways to get a quality webcam without spending huge amounts of cash. In fact, you probably won’t have to spend anything at all, as most people already have a spare Android or iOS device laying around the house.
Although using an Android device as a webcam isn’t anything new, the process for doing so has become a lot easier over the years and can now be done in a few quick steps. It can also be done wirelessly or tethered via a USB cable. Obviously, a wired connection is going to be far superior but we’ll cover both setup methods below, so let’s begin.
Note: While the trial version is quite good, it will eventually start to play annoying noise prompts stating that it is only a trail. This is broadcast on both ends of a conversation/meeting which is something to be aware of if you have an important interview etc.
How do you start using your Android or iPhone as a webcam on Windows 10? (Wired & Wireless)
To start using your Android or iOS device as a webcam or other cam for your Windows 10 PC, you’ll need to do the following. First head on over to the iVCam website and download the Windows client here. Next, open Google Play and install iVCam on your device here. If you have an iPhone, you can find the App store link here.
Note: Wireless setup on iOS devices doesn’t seem to work properly, so you are stuck with USB tethering for now. Which is better if you are using it as a webcam anyway.
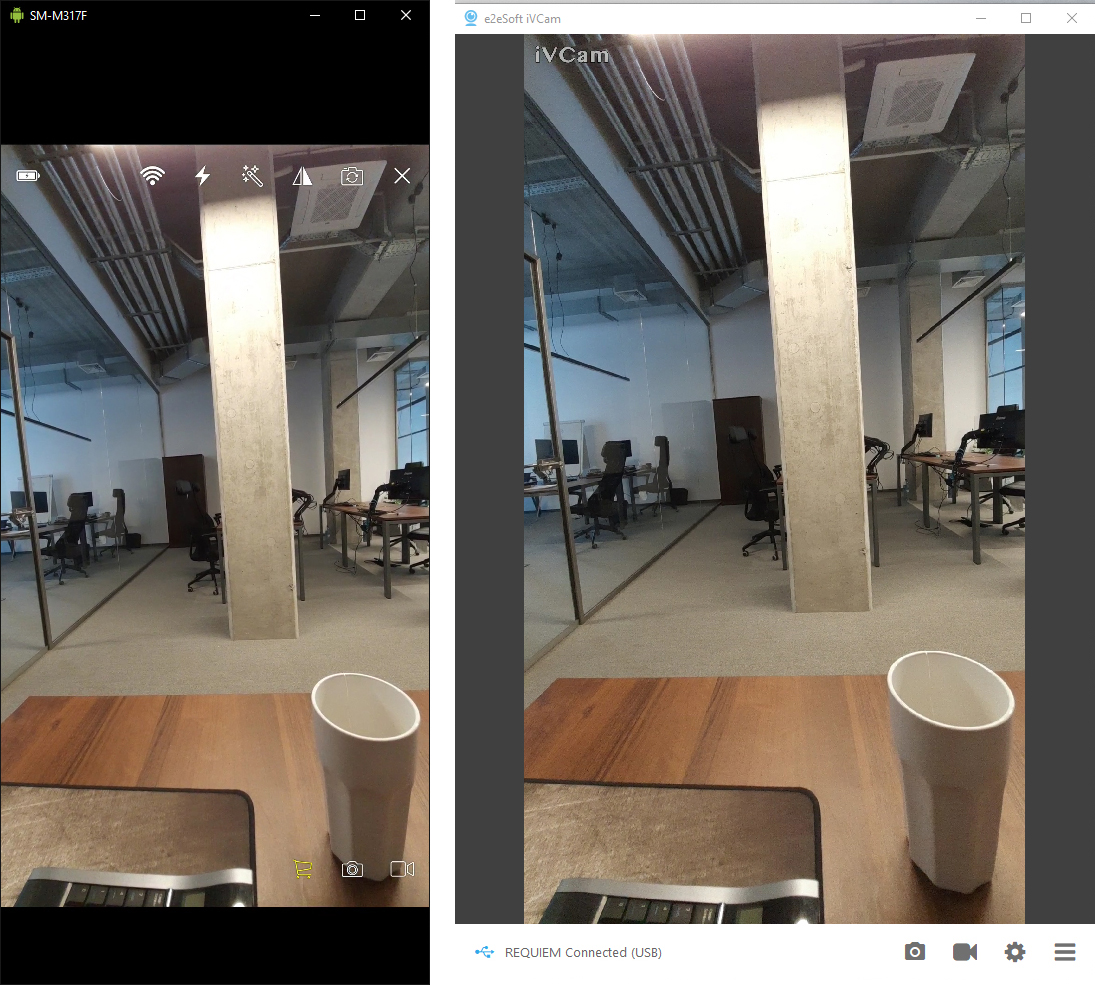
- Once you have installed the Windows 10 client and have the app installed on your device, the process is about as simple as they come. It’s basically plug and play.
- Now start iVCam on your computer, then connect your phone via USB cable and launch the app.
WiFi: If both your devices are on the same WiFi network, iVCam will detect them both. However, you’ll probably get more latency than it’s worth.
Note: Some Android devices may require you to enable Developer Options. If you don’t get a connection via USB tethering, search how to enabled Dev ops on your device, then try again.
- After a couple of seconds, a connection will be established between your two devices.
- The first thing you will want to do once you have a connection is to change the settings. To do this click the Hamburger icon in the bottom right-hand corner of the screen, then select Settings.
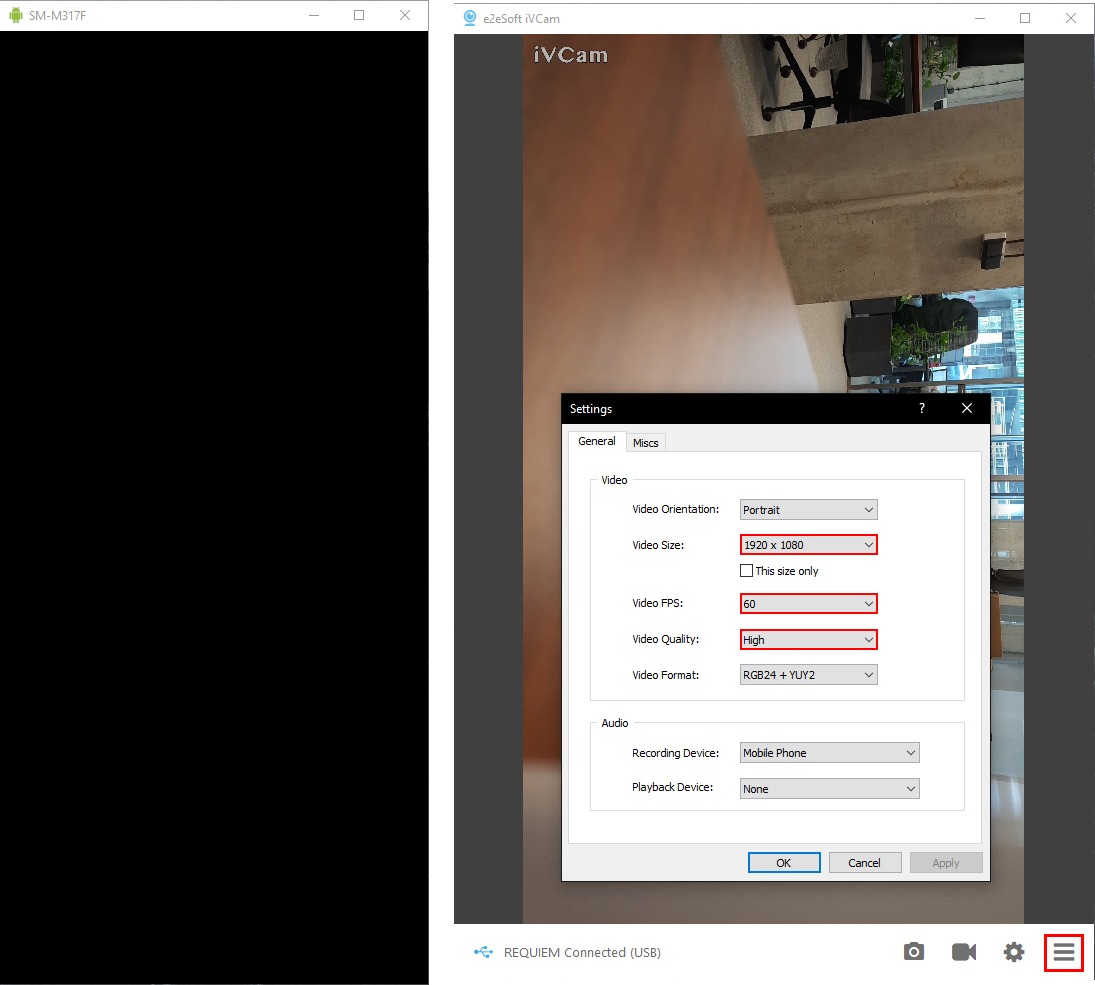
- From experience, the best settings for most devices seems to be 1080p at 60FPS, however, you will want to experiment on your own to get the best latency-free experience.
In order to start using this new set up in programs, like zoom, Teams, Skype, etc, you’ll need to select e2eSoft iVCam as your webcam source. What’s even cooler is that you can use iVCam with multiple devices (phones) on a single machine, so you can have two or three different camera angle running at the same time in programs like OBS. If you find iVCam pretty good and can see the value in upgrading, it’s $9.99 a year or $24.95 for a lifetime code.