If you are using Windows 11 on a laptop or even a desktop PC, you’ll want to make sure that your storage drive isn’t being used to store a ton of junk information. Although this kind of information is necessary for a range of different reasons, you can clear it from time to time to get space back that is otherwise used to hold mostly junk data.
Table of Contents
Related: How to fix NZXT Kraken Z63 display won’t line up. NZXT Z63 display not straight fix.
Just like on Windows 10, Windows 11 has a lot of different options and methods you can use to free up storage space. Temporary files ‘aka’ Temp files are a group of files found on Windows 11 that are stored temporarily and aren’t important for the basic function of windows 11. Generally, these files are leftover installation files from new and old versions of Windows 11, update logs and a range of other random data.
Removing these files at any stage won’t cause any issues on your devices, however, if you have recently updated Windows 11 you will lose the ability to roll back to a previous version. This isn’t a big deal if everything is working fine though. I personally like to delete temp files every couple of weeks or at least once a month on my laptop as I only have a 256GB which fills up faster than I’d like. There are several different ways you can delta Temp files on Windows 11, from the Settings app, using Storage sense or the Desk cleanup tool.
How to clear (delete) Temporary Files from Settings on Windows 11.
To delete Temp Files on Windows 11 from the Settings app, you’ll need to do the following.
- To begin open Settings by pressing Windows Key + I.
- Next, click System in the left-hand pane.
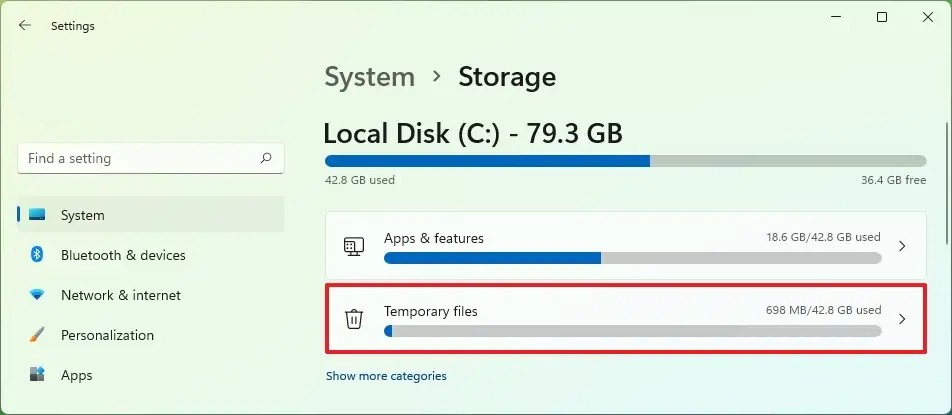
- Now click Storage in the central pane.
- Under the Local Disk section click the Temporary Files setting.
- Finally, select the temporary files you want to remove, then click the Remove files and wait for the deletion to take place.
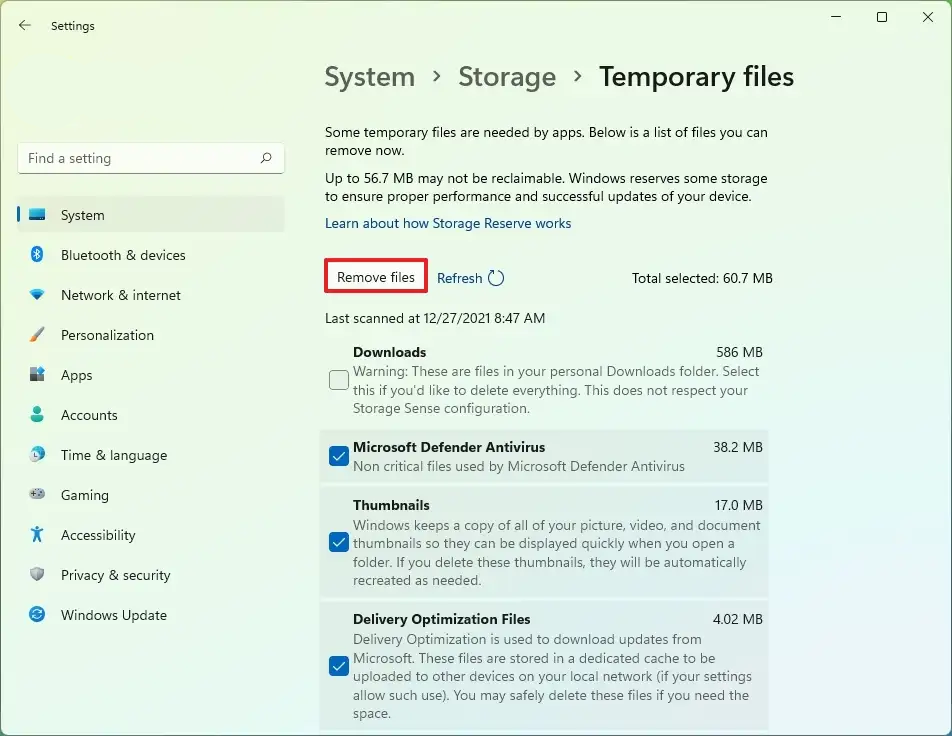
As soon as the process finishes the files will be removed and will slowly start to build up over time. Remember the biggest consumer are Windows updates, so if you have an update you’ll know to go back and clear the left-over junk.
How to clear (delete) Temporary Files using Storage Sense on Windows 11.
Using Storage Sense is another really good method for clearing Temporary (temp) files on Windows 11. It’s the method that I personally like to use.
- To begin open Settings by pressing Windows Key + I.
- Next, click System in the left-hand pane.
- Now click Storage in the central pane.
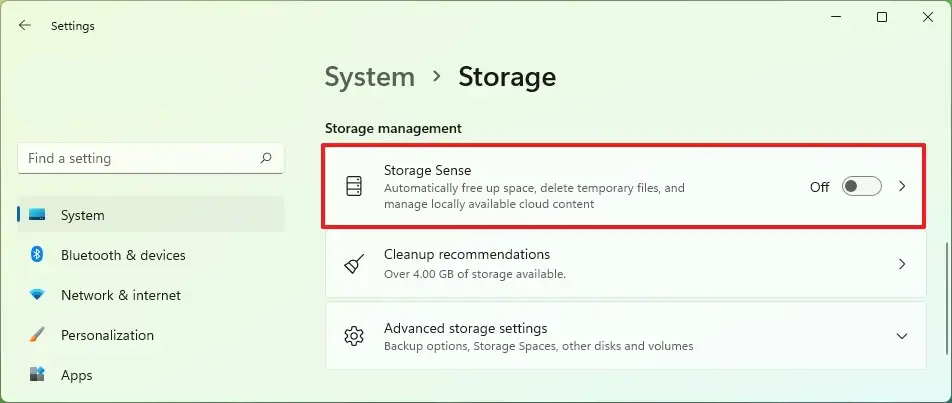
- Under the Storage Management section, click Storage Sense.
- Now check the Keep Windows running smoothly by automatically cleaning up temporary system and app files.
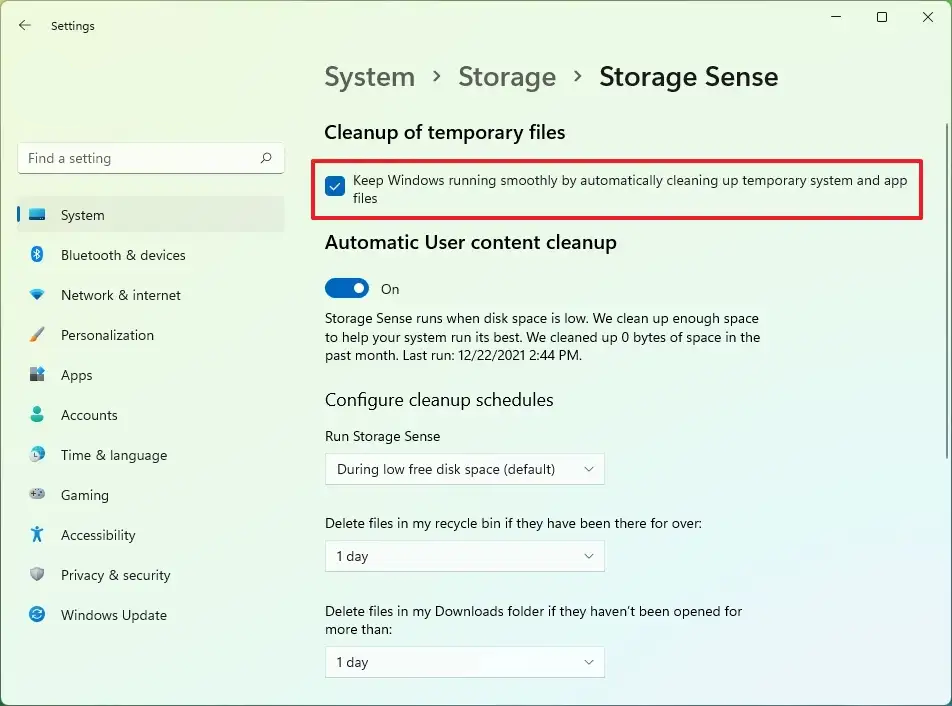
- (If you want to) Turn on the Automatic User content cleanup toggle switch.
- (If you want to) Configure how Windows 11 should cleanup content automatically.
After you’ve done this all the told temp files that were stored will be removed from your device, freeing up a decent amount of space.
How to clear (delete) Temporary Files using Disk Cleanup on Windows 11.
You can also use the Disk Cleanup tool to delete temporary files to free up space on your computer.
To remove temporary files using Disk Cleanup, use these steps:
- First, open File Explorer.
- Click This PC in the left-hand pane.
- Right-click the Windows 11 installation drive (usually C:) and select Properties.
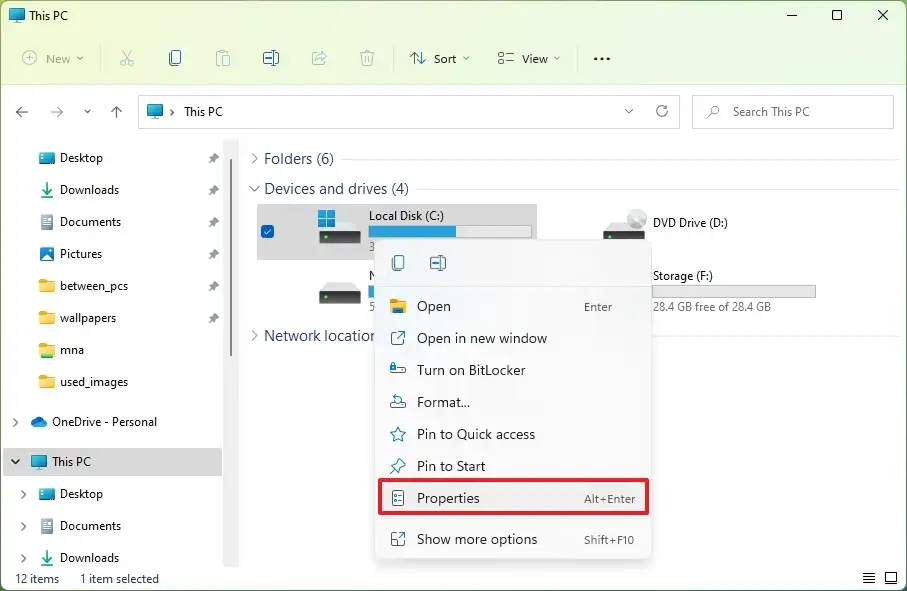
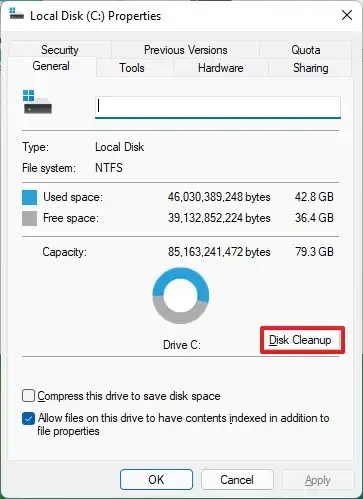
- Click the Disk Cleanup option.
- Click the Clean up system files option.
- Select the items you want to delete. Temporary Windows Installation Files, Windows upgrade log files, Recycle Bin, Temporary Files, and System created Windows Error Reporting, etc.
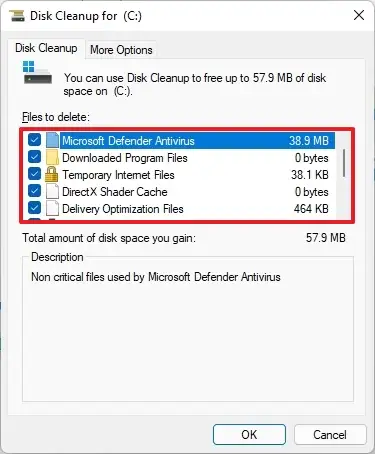
- Click OK, then click the Delete Files option.
Once you complete the steps, temporary files will permanently be deleted from your computer.