If you are trying to delete a file or folder on Windows 11 and receive the following error message: error 0x800710FE: This file is currently not available for use on this computer. This article will show you several different troubleshooting steps you can use to solve the problem and do whatever you had intended to do with the file.

Table of Contents
Related: How to change the shortcut for switching keyboard languages on Windows 11.
From time to time on Windows 10 or 11, you’ll come across files and folders that cannot be deleted for a range of different reasons. For the most part, these are usually system files that Windows protects so that the operating system remains stable and continues to work as ordered. However, there are times when random files and folders that aren’t part of Windows essential files become problematic. Often showing the following error message when you try to remove or older them: error 0x800710FE: This file is currently not available for use on this computer.
More often than not the issue is a simple corruption that can be resolved using one of Windows many built-in tools. However, you should make sure your computer is up to date before running any tools, as Windows updates are usually pretty good at fixing problems that previous updates may have introduced. It’s a bit of a life cycle on Windows…
Run Check disk to fix error 0x800710FE on Windows 11.
To run the check disk tool you’ll need to open Command Prompt as administrator so search CMD from the Start menu then right-click on it and select Run as administrator when it appears.
- Once you have the Command Prompt window open you’ll need to run the following commands. Take note as HDD’s and SSD’s have different commands so check what you have prior to running the command.
- If you are using an HDD as your main drive, use the following command and press Enter:
chkdsk c: /f
- If you are using SSD, use this command:
chkdsk c: /f /r /x
The tool will take some time to run press Y and Enter to perform a restart if it asks for one. When your computer boots it will run through an even longer check.
Format the CSC Database to fix error 0x800710FE on Windows 11.
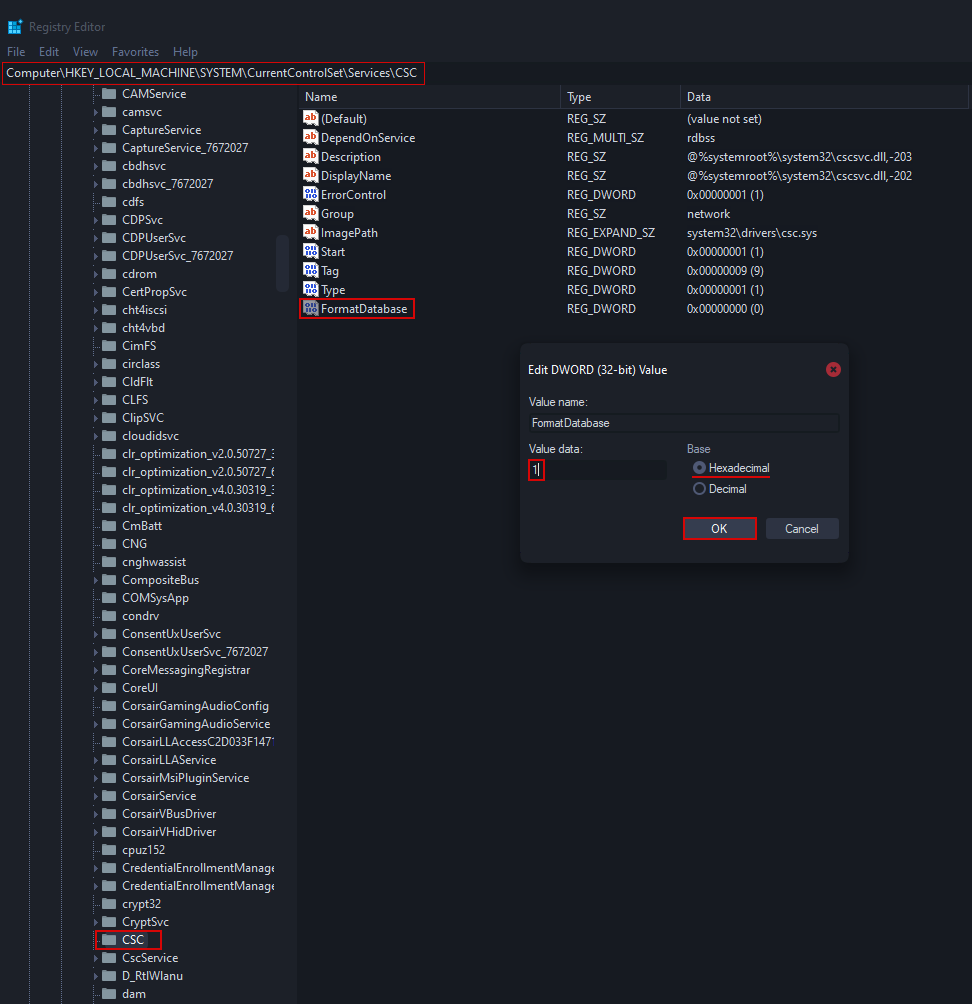
- To begin, open the run tool by pressing Windows key + R, then type regedit into the text box and press Enter.
- Next, navigate to the following location using the left-hand panel:
HKEY_LOCAL_MACHINE\SYSTEM\CurrentControlSet\Services\CSC
- When you are in the correct location right-click on the empty space in the central area and choose New > Dword (32-bit) value.
- Name the newly created Dword value FormatDatabase, then double-click it
- Set the Base to Hexadecimal and the Value Data to 1
- Click Ok to save the changes then Restart your computer and check to see if you can delete the file/folder.
Fix Corrupted System Files using the SFC Scan tool.
Another really good fix that will find and fix any issues that may be out of the ordinary. To run the SFC tool do the following.
- First type CMD into the start menu then right-click Command Prompt and choose Run as administrator.
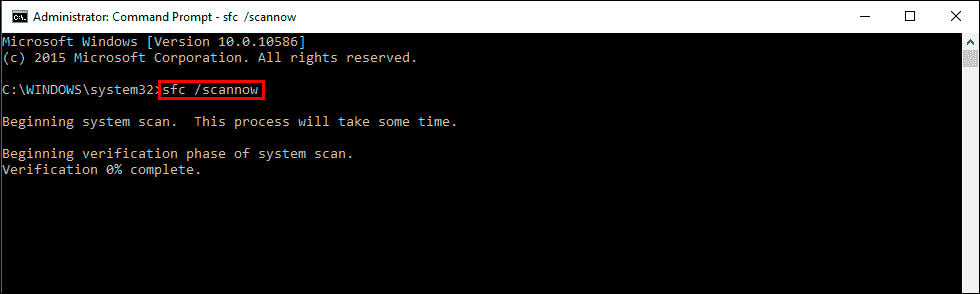
- When you have Command Prompt open type the following command into Command Prompt and press Enter.
sfc /scannow
It may take some time to complete so be patient. If any errors are found they should be repaired automatically. If it doesn’t complete properly Restart your computer in Safe Mode and repeat the process.
Fix Corrupted System Files using the DISM tool.
If the SFC tool returned an error message, open Command Prompt as Administrator, then enter the following commands in order.
DISM /Online /Cleanup-Image /CheckHealth
DISM /Online /Cleanup-Image /ScanHealth
DISM /Online /Cleanup-Image /RestoreHealth
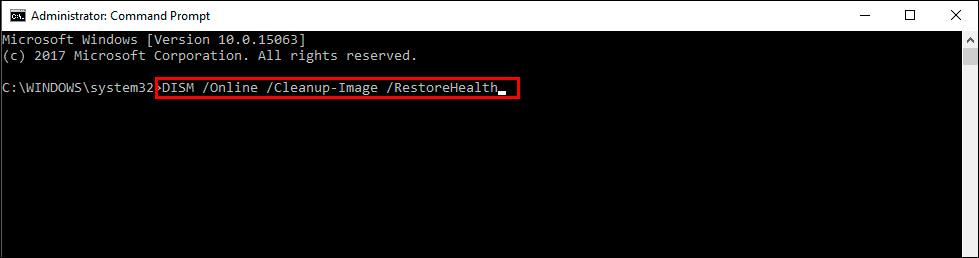
After a system Restart, everything should be back in working order.