If you are having problems with high CPU usage from Svchost.exe (Service Host) on Windows 11. This article will show you several different things you can do to troubleshoot and ultimately solve the problem. Sadly this issue can take a fair bit of trial and error problem-solving to overcome so be patient and you’ll solve it.

Table of Contents
Related: How to Lock Individual Chats in WhatsApp | Lock WhatsApp Conversations.
Svchost.exe (Service Host) is an essential Windows system process that acts as a container for multiple services required by various software programs. It enables these services to run in the background and perform necessary tasks. However, in some cases, svchost.exe can consume excessive CPU resources, leading to high CPU usage, which ends up dragging the performance of everything else on your operating system down with it.
High CPU usage caused by svchost.exe can have several negative impacts on your computer. Firstly, it significantly slows down overall system performance, resulting in lag and delays in executing tasks. This can make your computer feel unresponsive and sluggish.
Secondly, increased CPU usage leads to higher power consumption, affecting battery life on laptops and other portable devices. Additionally, excessive CPU usage generates more heat, potentially causing system overheating and triggering thermal throttling or even system instability. Then there are all the problems with potential crashing because of all of the above issues compiling.
As we mentioned at the very start of this article solving the exact cause of this problem can take a while so make sure you work your way through the solutions shown below in order as they have been organised to get the best and quickest results.
Fix Corrupted System Files
Use Command Prompt commands to repair system file corruption:
- Open Command Prompt as administrator
- Use the following command and press Enter:
sfc /scannow
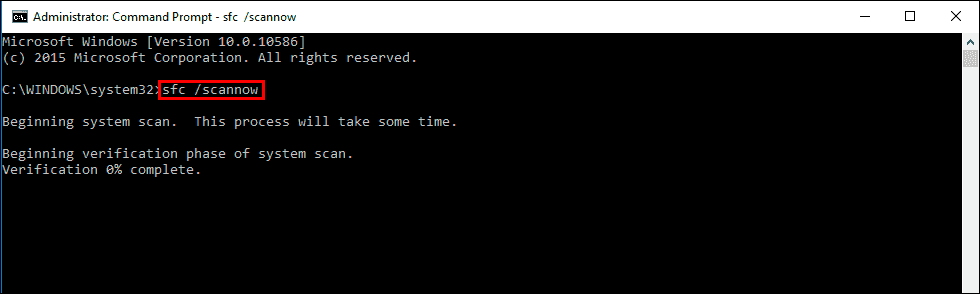
- Reboot your system
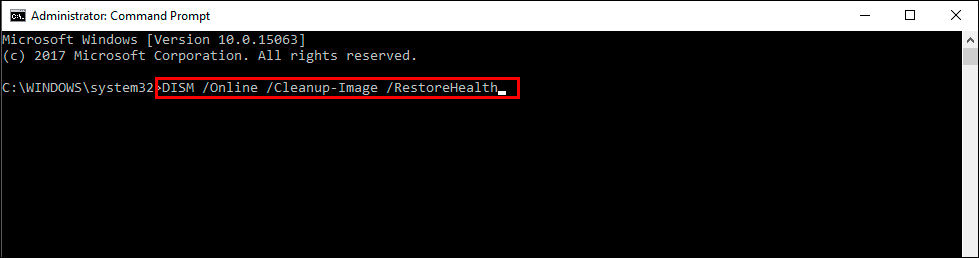
- If SFC returned an error, then use the following command lines, pressing Enter after each:
DISM /Online /Cleanup-Image /CheckHealth
DISM /Online /Cleanup-Image /ScanHealth
DISM /Online /Cleanup-Image /RestoreHealth
Disable Svchost.exe Services
- Right-click the Start menu and select Task Manager.
- Navigate to the Details tab.
- Right-click the svchost.exe process and select Go to Services.
- In the next popup window, right-click on any of the processes and click Stop.
- Repeat the previous step until you locate the faulty process triggering the error.
- Once you locate the problematic process, right-click and select the Open Services button.
- In the Services window, right-click on the process name triggering the error and click Properties.
- Change the Startup Type to Disable and click OK.
- Restart your PC to check if the error is fixed.
Run a Malware Scan
It is possible that a malware infection may be the cause of the Svchost.exe high CPU usage in Windows. It is important to run a comprehensive security scan to rule out this possibility and ensure that the computer is not infected. This can help to prevent further issues with the Windows operating system and ensure that it is functioning properly.
If you have access to a security scanner, or if your organization pays for one, you can use it to scan your entire system to check for a virus infection. Otherwise, you can use Windows Defender to scan your system:
- Click on the Windows Start menu or press the Windows key on your keyboard
- Type Microsoft Defender in the search bar and click on Microsoft Defender Antivirus to open the application
- Click on the Virus & threat protection option in the left-hand menu
- Click on the Quick scan or Full scan option, depending on your preference
- If you choose Quick scan, Microsoft Defender Antivirus will scan the most vulnerable and commonly infected areas of your computer
- If you choose Full scan, Microsoft Defender Antivirus will scan your entire computer, including all files, folders, and programs
- Click on the Scan now button to start the selected scan type and wait for the scan to complete
- The time it takes will depend on the size of your hard drive and the number of files being scanned
- Once the scan is complete, you will be informed of any detected threats, and you can choose to quarantine or remove them
- If no threats are found, Microsoft Defender Antivirus will inform you that your device is secure
Clear Event Viewer Log
- Press the Windows key + R to open the Run dialog box.
- Type eventvwr in the dialog box and hit Enter.
- In the popup window, click on Application under the Windows Logs directory in the left pane.
- Click Clear Logs and confirm the action.
- Repeat the previous step to clear the Security, Setup, and System logs.
- Restart your PC to check if the error is fixed.
Troubleshoot Windows Updates
- Press the Windows key + R.
- Type services.msc in the dialog box and hit Enter.
- In the Services window, locate Windows Update.
- Right-click on Windows Update and click Stop.
- Press the Windows key + E to open File Explorer.
- Navigate to the path C:\Windows.
- Locate the SoftwareDistribution folder.
- Right-click on the SoftwareDistribution folder and select Delete.
- Restart your PC.
- Check for Windows Updates.
Try Clean Boot to Fix High CPU Usage from Svchost.exe
- Press the Windows key + R on your keyboard.
- Type msconfig in the Run dialog box that appears.
- Click on OK or press Enter to open the System Configuration window.
- Select the Services tab at the top of the window.
- Check the box next to Hide all Microsoft services.
- Click on the Disable all button.
- Select the Startup tab at the top of the window.
- Click on the Open Task Manager link.
- In the Task Manager window that appears, right-click on each app listed under the Startup tab.
- Select Disable from the context menu for each app.
- Close the Task Manager window and go back to the System Configuration window.
- Click on the Apply button and then click on OK to save the changes.
- Restart your PC.
- Once your PC has restarted, uninstall the faulty app.
- Download the app from official sources.
- Right-click on the installer and select Run as administrator.
- Follow the on-screen instructions to install the app.
Use System Restore
System Restore is a feature in Microsoft Windows that allows users to revert their computer's state to a previous point in time. This can be helpful if you have made changes to your system that are causing problems.
- Go to the Start menu, type restore, and click on Create a restore point.
- Click System Restore, then follow the prompts until you can select a restore point.
- Select the one you want (ideally before the issue started occurring) and go ahead with the process.
If nothing else so far has worked. I would just clean install Windows 11 again. This time use the latest installation.