Table of Contents
Windows 10 has come a long way since first being released with most common bugs now fixed. Unfortunately, as hard as the developers have worked to fix these issues some annoying bugs and issues still haunt Windows 10. If you are a Skype user, you may still have issues with your microphone and audio, both of which this guide will help you fix.

How to Stop Skype Preview Running in the Background on Your Widows 10 PC.
Skype is the original and one of the most used VOIP services available on the internet. Since its creation back in 2003 Skype has evolved across many platforms and changed ownership just as many times, to finally rest in the firm grasp of Microsoft.
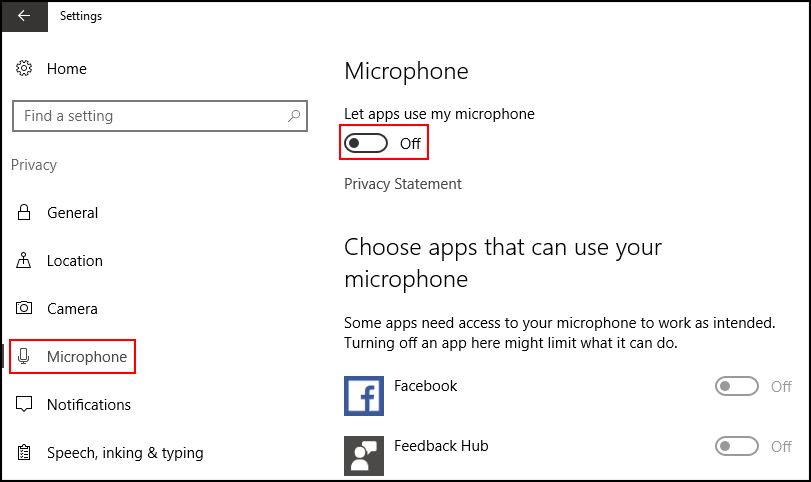
Step 1: Check if Your Microphone is On.
This may seem like a stupid thing to bring up, but… You’d be surprised how often the easiest solutions are overlooked.
- First, go to Windows Settings using shortcut Win+I and click Privacy.
- Next, select Microphone from the left panel and turn it ON.
- Whilst you are in this menu, take the time to check what other apps have permission to use your computer's microphone. (Don’t stress too much if you don’t see Skype on this list)
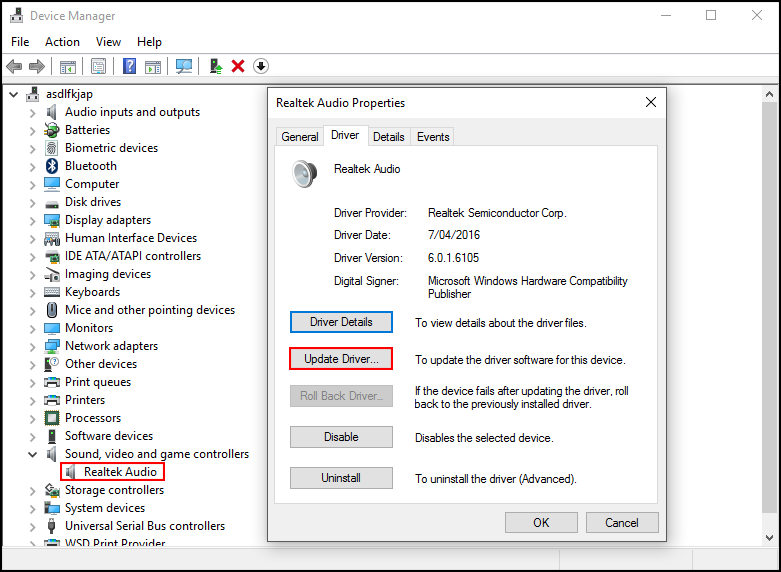
Step 2: Check Your Microphone Drivers Are Up to Date and Working.
This is most likely going to be the cause of your Skype microphone issue, so follow the below steps to make sure your microphone driver is up to date.
- First, open Device Manager by searching Device Manager from the Start Menu.
- From here, go to Sound, Video and Game Controllers.
- Double-click on the Device/Driver that is listed under this heading. (if you have more than one choose the one that's not working properly)
- You will now see a new pop-up window with program properties and driver settings. Go to the Driver tab and click on Update Driver.
Windows will now search the Internet to make sure you have the newest driver installed for your device. This should be a quick automated process. If you don’t have any luck, you can search Google for a driver update manually, using the device’s name and model.
Step 3: Adjust the Microphone Settings.
Once you have checked your device's driver, you can do the following to configure your microphone settings.
- First, go to the Audio Icon in your taskbar, right-click and select Recording Devices.
- Next, choose Microphone and double-click to open Properties.
- This will allow you to adjust the levels and other settings like noise cancellation, DC offset cancellation, echo cancellation, and quite a few others.
- It’s also a good idea to disable all the sound effects.
- Lastly, under the Advanced tab, disable the checkbox Allow applications to take exclusive control of this device.
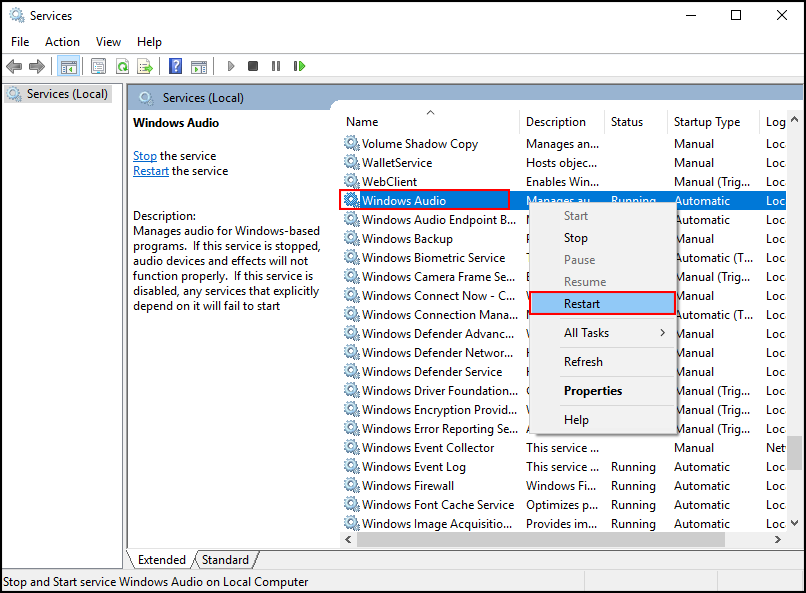
Step 4: Restart Windows Audio Service.
The last thing to try before launching back into Skype is to restart the Windows Audio Service.
- Open the Run tool, type services.msc into the box, then press Enter.
- This will open a list of Windows Services.
- From this menu choose Windows Audio, then right-click and select Restart.
After you have completed all the above steps, launch Skype go to Options > Audio and make sure that the correct microphone is selected.