Table of Contents
Learn how to import or export your VPN connections to other Windows 10 PC’s. A quick and easy way to move your VPN connections between Windows 10 computers without having to manually set them up each and every time.
How to Run Programs and Apps in Picture in Picture (PIP) Mode on Windows 10.
Networking on Windows has become a hell of a lot easier over the years and is now probably the easiest it has been at any point in time. It isn’t the only thing that has become a lot easier either, VPN connection setup has also been fine-tuned on Windows 10 and VPN connections can now be set up in a few simple steps.
That being said, if you need to set up several different VPN connections, it will take you a considerable amount of time to manually configure them all. If however, you’ve already set up your VPN connections on another Windows 10 device, you can simply export all these connections to a new device so you won’t have to go through the entire setup process again.
Related: How to Import Table & Spreadsheet Data From a Picture into Microsoft Excel.
How to Export VPN Connections on Windows 10.
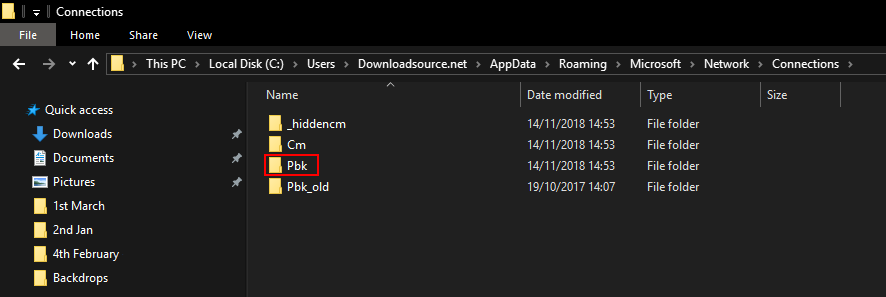
If you already have VPN connections on a Windows 10 device, follow these steps to copy these VPNs to a new device. First open File Explorer, then copy and paste the following address into the File Explorer address bar:
%AppData%\Microsoft\Network\Connections
When you are in the correct location, right-click on the Pbx folder and select Copy. Next, paste the folder onto a removable device so you can move it to another pc. Finally, insert the removable device into the computer you wish to import the VPN connection settings to. Then follow the steps shown in the Import section.
How to Import VPN Connections on Windows 10.
Once you have followed all of the steps shown above and have the Pbx folder on a removable device, do the following. Open the removable device and find and copy the Pbx folder. Next, open the File Explorer then Paste the Pbx folder into the following location:
%AppData%\Microsoft\Network\Connections
Click the Replace the files in the destination prompt that appears. This will overwrite any current VPN files on this device creating an exact copy of your VPN connection list from your original computer. Once done, all you have to do is enter your usernames and passwords. Sadly there is no way to avoid this part of the process.
Updating Your VPN Usernames and Passwords.
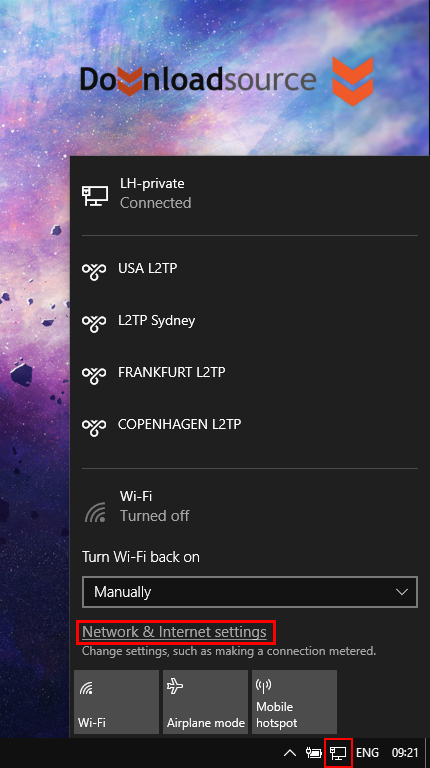
Once you have done all of the above. The final step is to enter the credentials for your VPNs. To do this click the Network icon in the taskbar and select Network & Internet Settings.
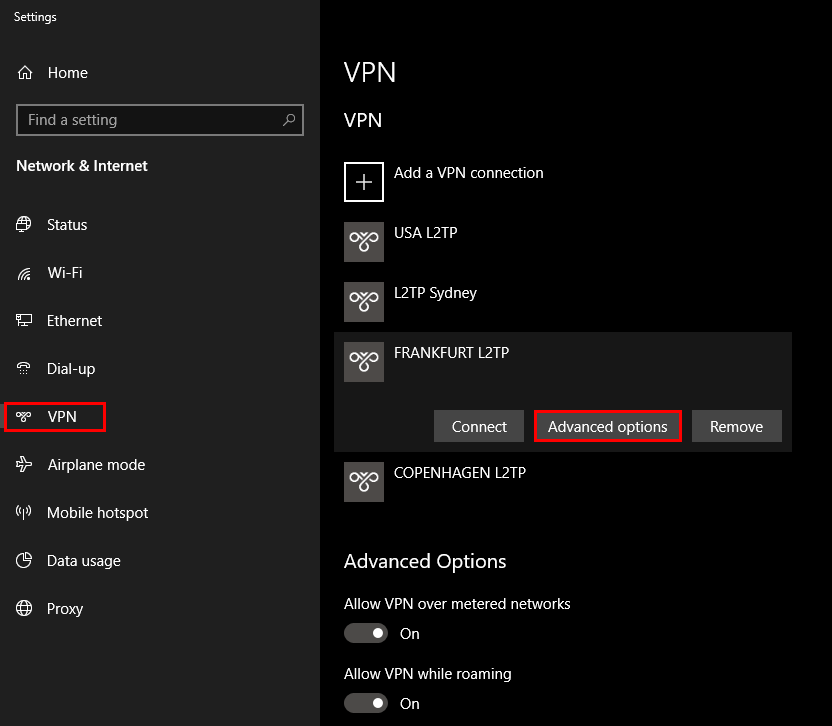
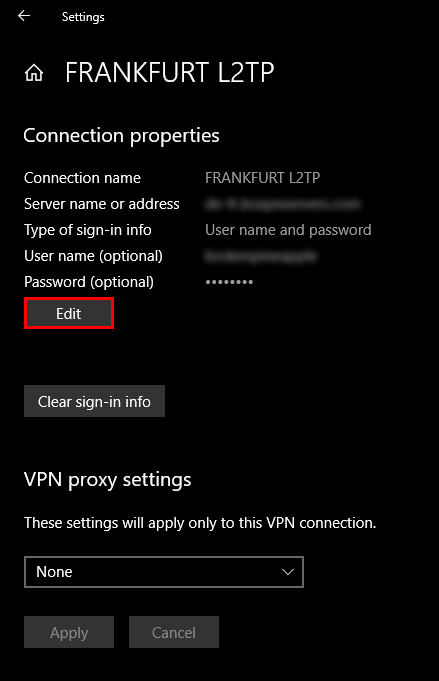
On the new screen that appears, select VPN in the left-hand pane, then select a VPN name from the central list and click Advanced Options.
On the last page, click Edit, then scroll down and enter your username and password into the appropriate boxes.
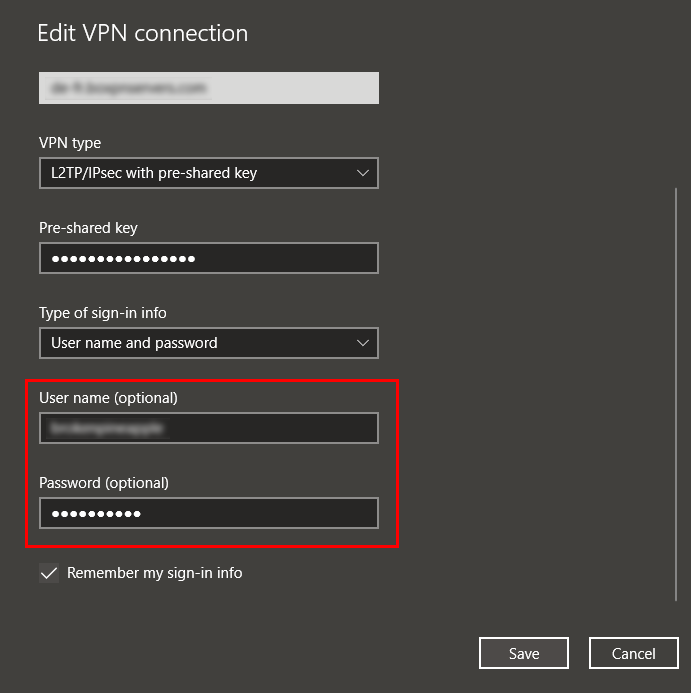
Lastly, click Save, and move onto the next VPN item on the list and repeat the process. If you are using the same login details for all your VPN’s just with different server locations, the process is as simple as copy and pasting the credentials. Unfortunately, there’s no way to copy and paste the VPN details across with all their passwords as Microsoft takes security very seriously.