If you have updated to Windows 11 from Windows 10 or an older operating system, one of the first features you’ll want to get to know is Storage Sense. Although this tool was pretty useless on Windows 10, the updated version on Windows 11 is quite good and a lot more user-friendly.

Table of Contents
Relate: How to get Windows Subsystem for Android (WSA) to run in the background on Windows 11.
Although a lot of users who have updated to Windows 11 expected a major overhaul of everything and an entirely new experience, they quickly learn that Windows 11 isn’t all that different to Windows 10 in a lot of ways. That said, there are some features and areas of Windows 11 that have been completely redesigned and overhauled from the ground up. Surprisingly one of these features is Storage Sense, a feature that was designed to make managing files and updates far easier.
In Windows 11 Storage Sense is now quite a useful tool that allows you to see exactly what and where all of your storage space is being used. Although this might not seem like a big deal it’s a handy way to get a head start on where to look for wasted space. If you happen to have Game Pass installed and have had issues with games wasting space Storage sense and delivery optimisation has some good tools for you. You can check out the full guide on that here.
How do you use Storage Sense to free up drive space on Windows 11?
Using Storage Sense on Windows 11 is a really simple process and one that you should familiarize yourself with as it’s a good idea to run it once a month or something. The last time I ran it I freed up about 24GB of wasted space. Most of which was old Windows updates and AMD drivers. To find and run Storage Sense on Windows 11, you’ll need to do the following.
- Open Settings by pressing Windows Key + I.
- Next click Storage in the central pane.
- On this page, make sure the Storage Sense toggle is enabled.
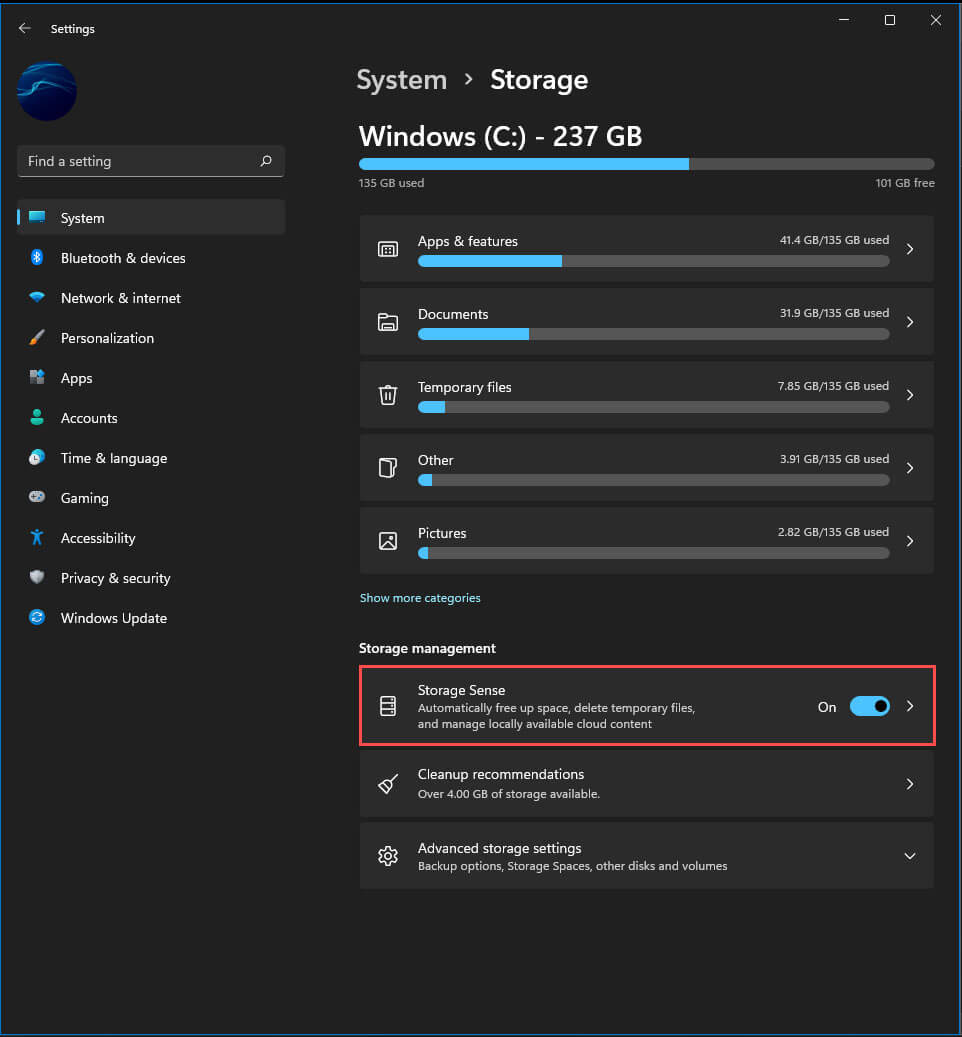
- Once the toggle is enabled Windows will kick into action and you will see a list of categories start compiling usage statistics. (this make take a minute or 2 to finish)
- When the tool has finished, click a category to delve into. I always start with Temporary Files as it usually has the most junk to free up.
- Here you will see a long list of content categories that you can clear. Simply place a tick in the boxes you want to be cleared, then click Remove files. If you have a lot of data this process will take a fair bit of time.
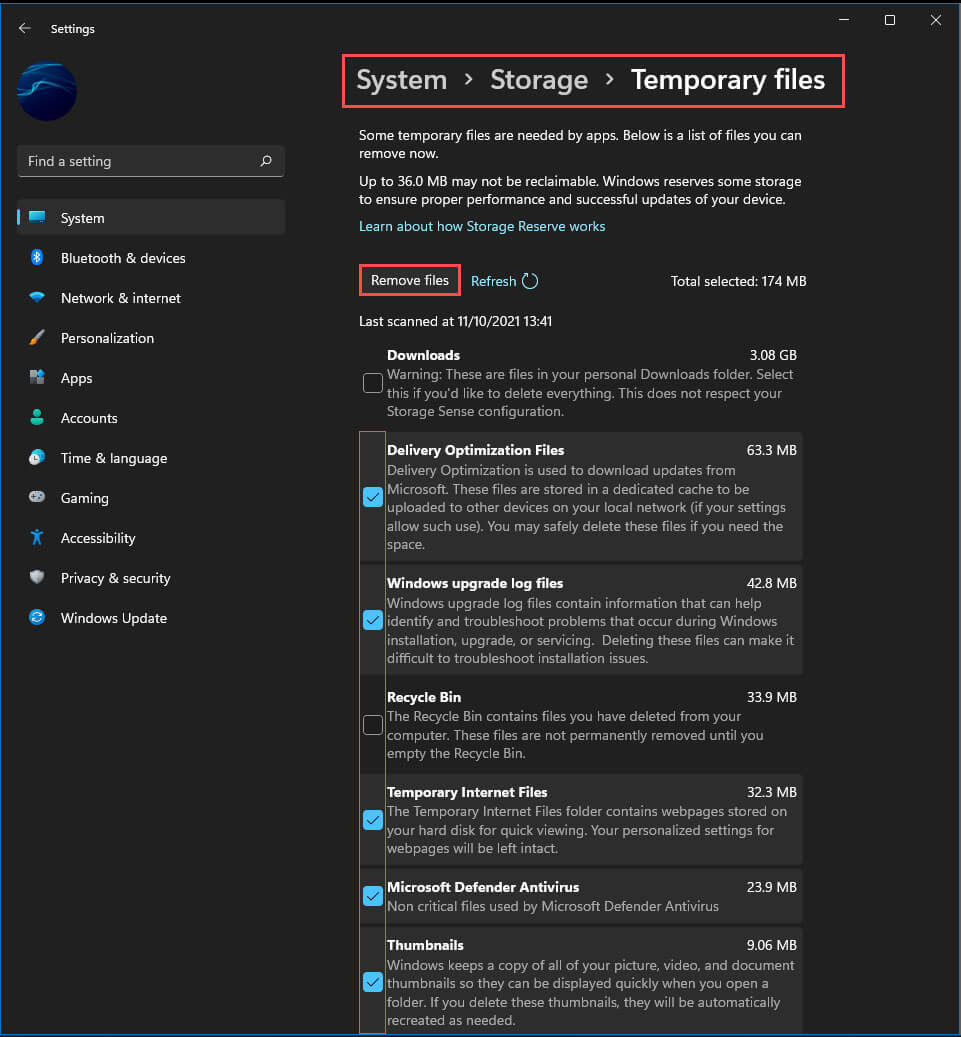
Not every category within the initial list has checkboxes like the temporary files section. Some of these categories will require you to manually find and delete content you no longer need. More often than not Windows update files will be the biggest space-consuming aspect on your device.
These files generally remain on your system for 9 days, giving you a short period of time to roll back to an older version of Windows if there is a major problem with the current version. As we mentioned above if you are having issues with Game Pass games not uninstalling correctly you’ll want to clear the Delivery Optimization section as that is where the old game files are currently stored.