Table of Contents
Windows 10 has dozens of useful features you can use to make multitasking on the operating system a breeze. One of the best, yet under-used and under-rated features of Windows 10 is Snap Assist, which lets you manage how programs and apps snap to edges and move on your screen. If you’ve never used it before, you’ll find a full rundown on how below.
How to Fix Windows 10 Battery Icon Stuck At 100%.
Snap Assist is one of Windows 10’s best features but it is also one of the least used and most overlooked, especially from a productivity viewpoint. If you are lucky enough to have an ultra-wide monitor, Snap Assist will be even more valuable for you as the amount of space you have allocated to each windowed program/app is huge, almost as if you had 2 screens.
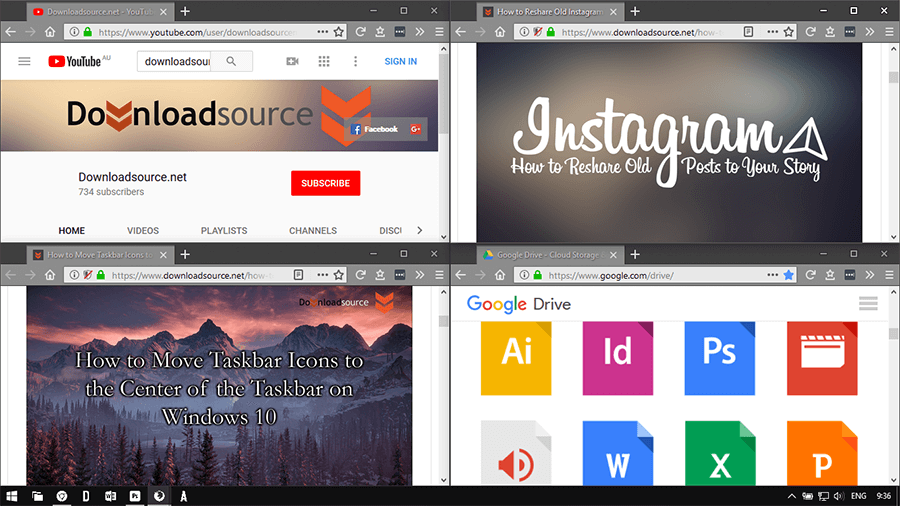
Even if you only have a standard monitor, being able to quickly snap items to parts of your screen without them minimizing is amazing. The best part is you can have up to 4 items snapped to places on your screen without them minimizing. And! If you have more than one screen, you can snap up to 4 items per screen. Check out the pictures below for an example of what we mean.
Related: How to Center Icons on the Windows 10 Taskbar.
How Do You Get Multiple Windows Open and Active at the Same Time on Windows 10?
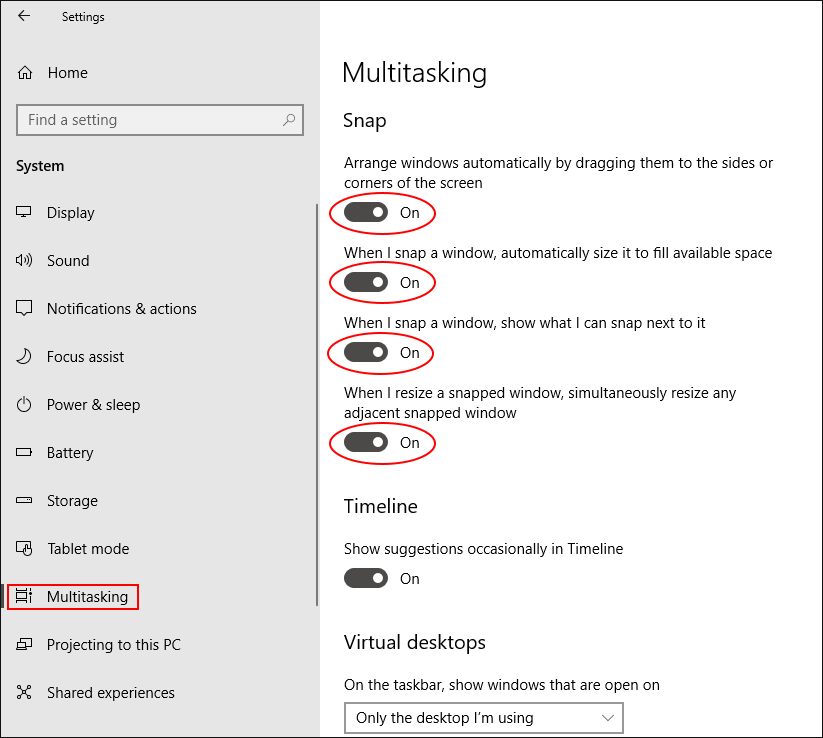
In order to start using Snap Assist on Windows 10, you will need to make sure you have the feature enabled. In most cases, it already is, however, if you have inadvertently disabled it, you can re-enable it by doing the following. Open Settings, go to System then click on Multitasking in the left-hand pane. Here make sure the first four toggles are enabled and you’re ready to start using Snap Assist.
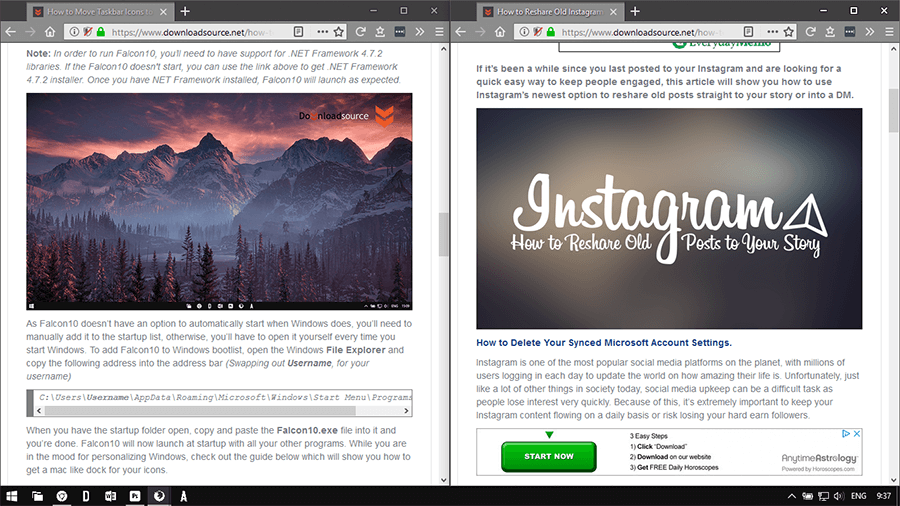
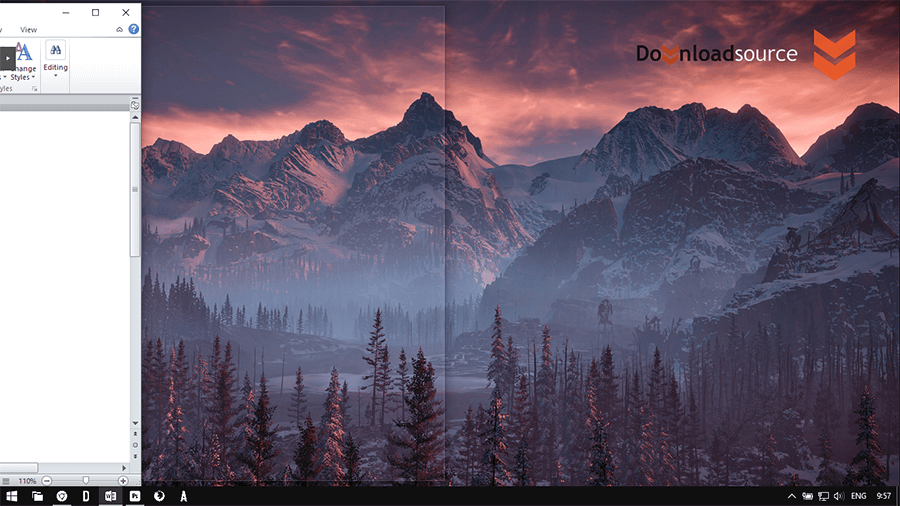
Now that you have Snap Assist enabled on your computer, using it is really easy, but will take a little getting used to. If you wish to split your screen down the middle and have two active windows open side by side, simply click the top of your program (where you’d normally be able to drag it from) then drag it to the left or right side of your screen. Once your mouse gets to the center edge of the screen, you’ll see an outline appear which displays where your screen will expand too. To get two side by side, simply drag one window to the left and one to the right.
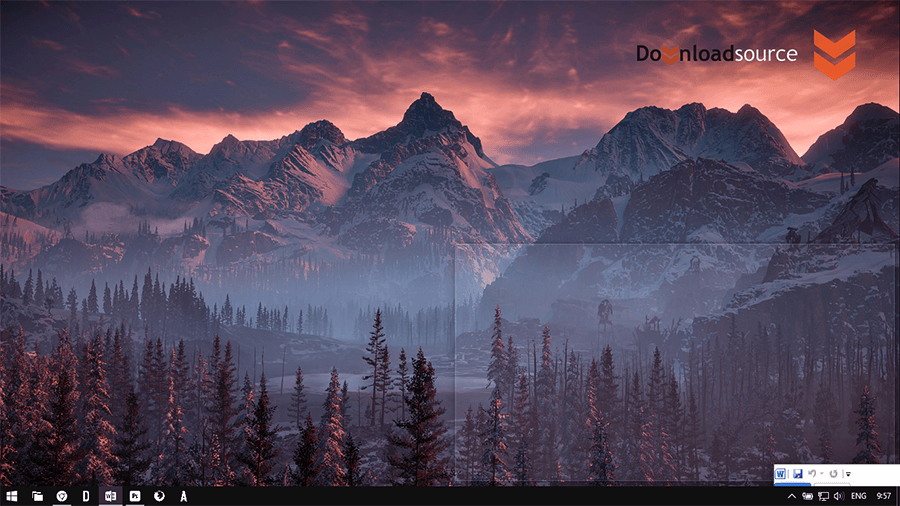
On the other hand, if you would like to split your screen into four equal parts, you need to drag your windows into the corners of the screen, top-left, top-right, bottom-left, bottom-right. When your mouse gets to the edge of the screen, you’ll once again see an outline of how it will expand. As soon as you see the outline, simply release the mouse click and the window will open into the desired location. Once you have your windows split, you can then use the black line that separates them to drag the windows to your own custom size.
If you wish to revert everything back to normal, all you have to do is expand the windows to full size or close them. An even more useful way to use Snap Assist on Windows 10 is to use it alongside Virtual Desktops. If you’ve never heard of or used Virtual Desktops before, check out the guide below for more information.
How to Use Virtual Desktops on Windows 10.