Table of Contents
With Windows 10 constantly being updated and tweaked it is important to know which version you are running so you can make the right software and download choices. Some apps, games, and programs may be version specific and function poorly on the wrong version of Windows, so follow along learn how to check your Windows 10 update history using the PowerShell tool.
How to Prevent Windows 10 Users Changing Wallpapers.
Windows 10 still gets a lot of mixed reviews from users all around the world. As always, some users love the operating system and all of its new features, whilst others would prefer to continue using Windows 7. Personally, after going straight from Windows 7 to Windows 10, skipping Windows 8, I quite like the new operating system, although it does have some baggage that it could do without. Cortana taking out top spot on that list.
Although Windows 10 has undergone an almost countless number of small and major updates since its release, not much as changed in regards to update errors. The operating system still randomly gets stuck or refuses to update at times, when this happens it’s important to be able to check your update history. So without further adieu let’s begin.
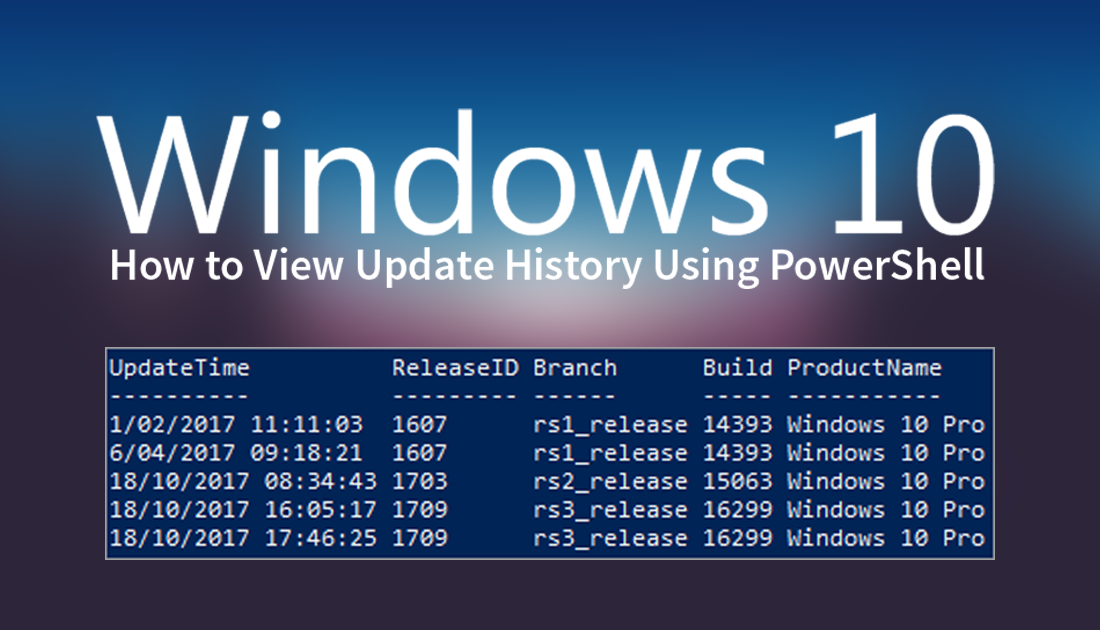
How to Check Windows Update History Using PowerShell.
The Windows 10 PowerShell tool is another hotly debated Windows tool that most people don’t understand or don’t like. It’s similar in many ways to Command Prompt but has an even more daunting ominous look to it, even the codes that are entered look more complicated. For the purpose of this guide, however, don’t let this scare you if you know the commands to enter its very, very straightforward.
To begin, open the start menu and type PowerShell, when it appears on the list, open it. Once you have the tool open, copy and paste the following command into the window. This will gather all the information for the next command:
$AllBuilds = $(gci "HKLM:\System\Setup" | ? {$_.Name -match "\\Source\s"}) | % { $_ | Select @{n="UpdateTime";e={if ($_.Name -match "Updated\son\s(\d{1,2}\/\d{1,2}\/\d{4}\s\d{2}:\d{2}:\d{2})\)$") {[dateTime]::Parse($Matches[1],([Globalization.CultureInfo]::CreateSpecificCulture('en-US')))}}}, @{n="ReleaseID";e={$_.GetValue("ReleaseID")}},@{n="Branch";e={$_.GetValue("BuildBranch")}},@{n="Build";e={$_.GetValue("CurrentBuild")}},@{n="ProductName";e={$_.GetValue("ProductName")}},@{n="InstallTime";e={[datetime]::FromFileTime($_.GetValue("InstallTime"))}} };
After you enter this above command, you will probably be expecting some kind of result, but nothing will happen on screen, the command will run, then finish without any fan fair. Once it has finished enter the following command:
$AllBuilds | Sort UpdateTime | ft UpdateTime, ReleaseID, Branch, Build, ProductName
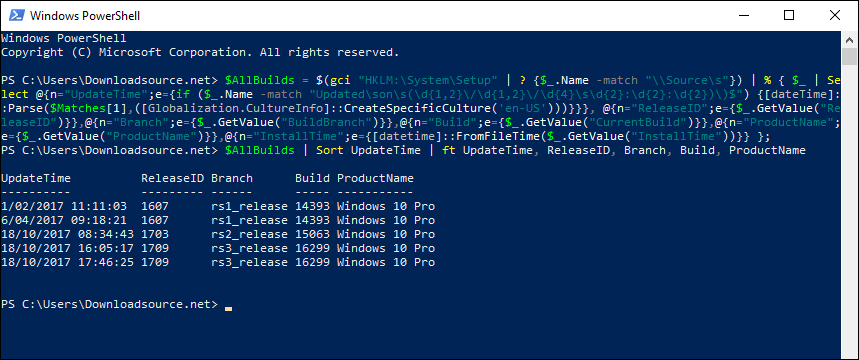
This command will organize and display all the information the first command requested. Depending on how long you have been using your system and how you acquired it will affect what information is shown. For example, if you are running a relatively clean install or updated from an older version of Windows, you may not get much info.
Although there are other ways to get this information, this is still one of the quickest, easiest and best-displayed methods. The commands may look complicated but the end result is tabled beautifully and is easy to follow.