If you want to get started with Generative Ai tools to start creating Digital Art, photorealistic images, vectors of just about anything else you can think of in the image space. This article will show you how to get started with Adobe Firefly. The absolute best Text to Image Generative Ai system currently on the market.

Table of Contents
Related: How to create and use Text Effects in Adobe Firefly.
The text-to-image generative Ai space has exploded over the last 12 months. First, it was Midjourney, then came Stable Diffusion, followed by a ton of other knockoffs. Now though, a major player has entered the market! Adobe now has its own Generative Ai system called Adobe Firefly. If you haven’t heard of it until now, you’re about to see it everywhere. Adobe Firefly is a brand new GAI (Generative Artificial Intelligence) tool that allows you to create anything you want using simple text prompts.
Adobe Firefly works exactly the same as Midjourney and Stable diffusion, with the added bonus of being 100x easier to use! It has a brilliant, easy to use interface (UI) that makes prompting and configuring way easier than Midjourney and Stable Diffusion. It’s also sporting some pretty impressive results straight out of the gate in V1. So how exactly does Adobe Firefly work? Well, let’s jump straight into it.
What’s Better? Midjourney, Stable Diffusion or Adobe Firefly?
This is a tricky question, to be honest, Midjourney and Stable Diffusion both have a head start in Generative Ai but Adobe Firefly has the benefit of being created by Adobe. One of the world's biggest stock image library owners and a company with an unfathomable amount of data from their image editing and cloud services such as Photoshop, Premiere Pro, After Effects, etc. What’s interesting and controversial is that all Adobe software users have automatically been opted into training Generative Ai systems… Kinda dodgy to be honest but you can disable Adobe’s Content Analysis if you want.
How do you use Adobe Firefly? Using Adobe Firefly Generative AI to create content.
- To begin, head on over to the Adobe Firefly website. Once you are on the website click Generate in the Text to image section. If you want to work with Fonts and font effects check out our guide on that here.
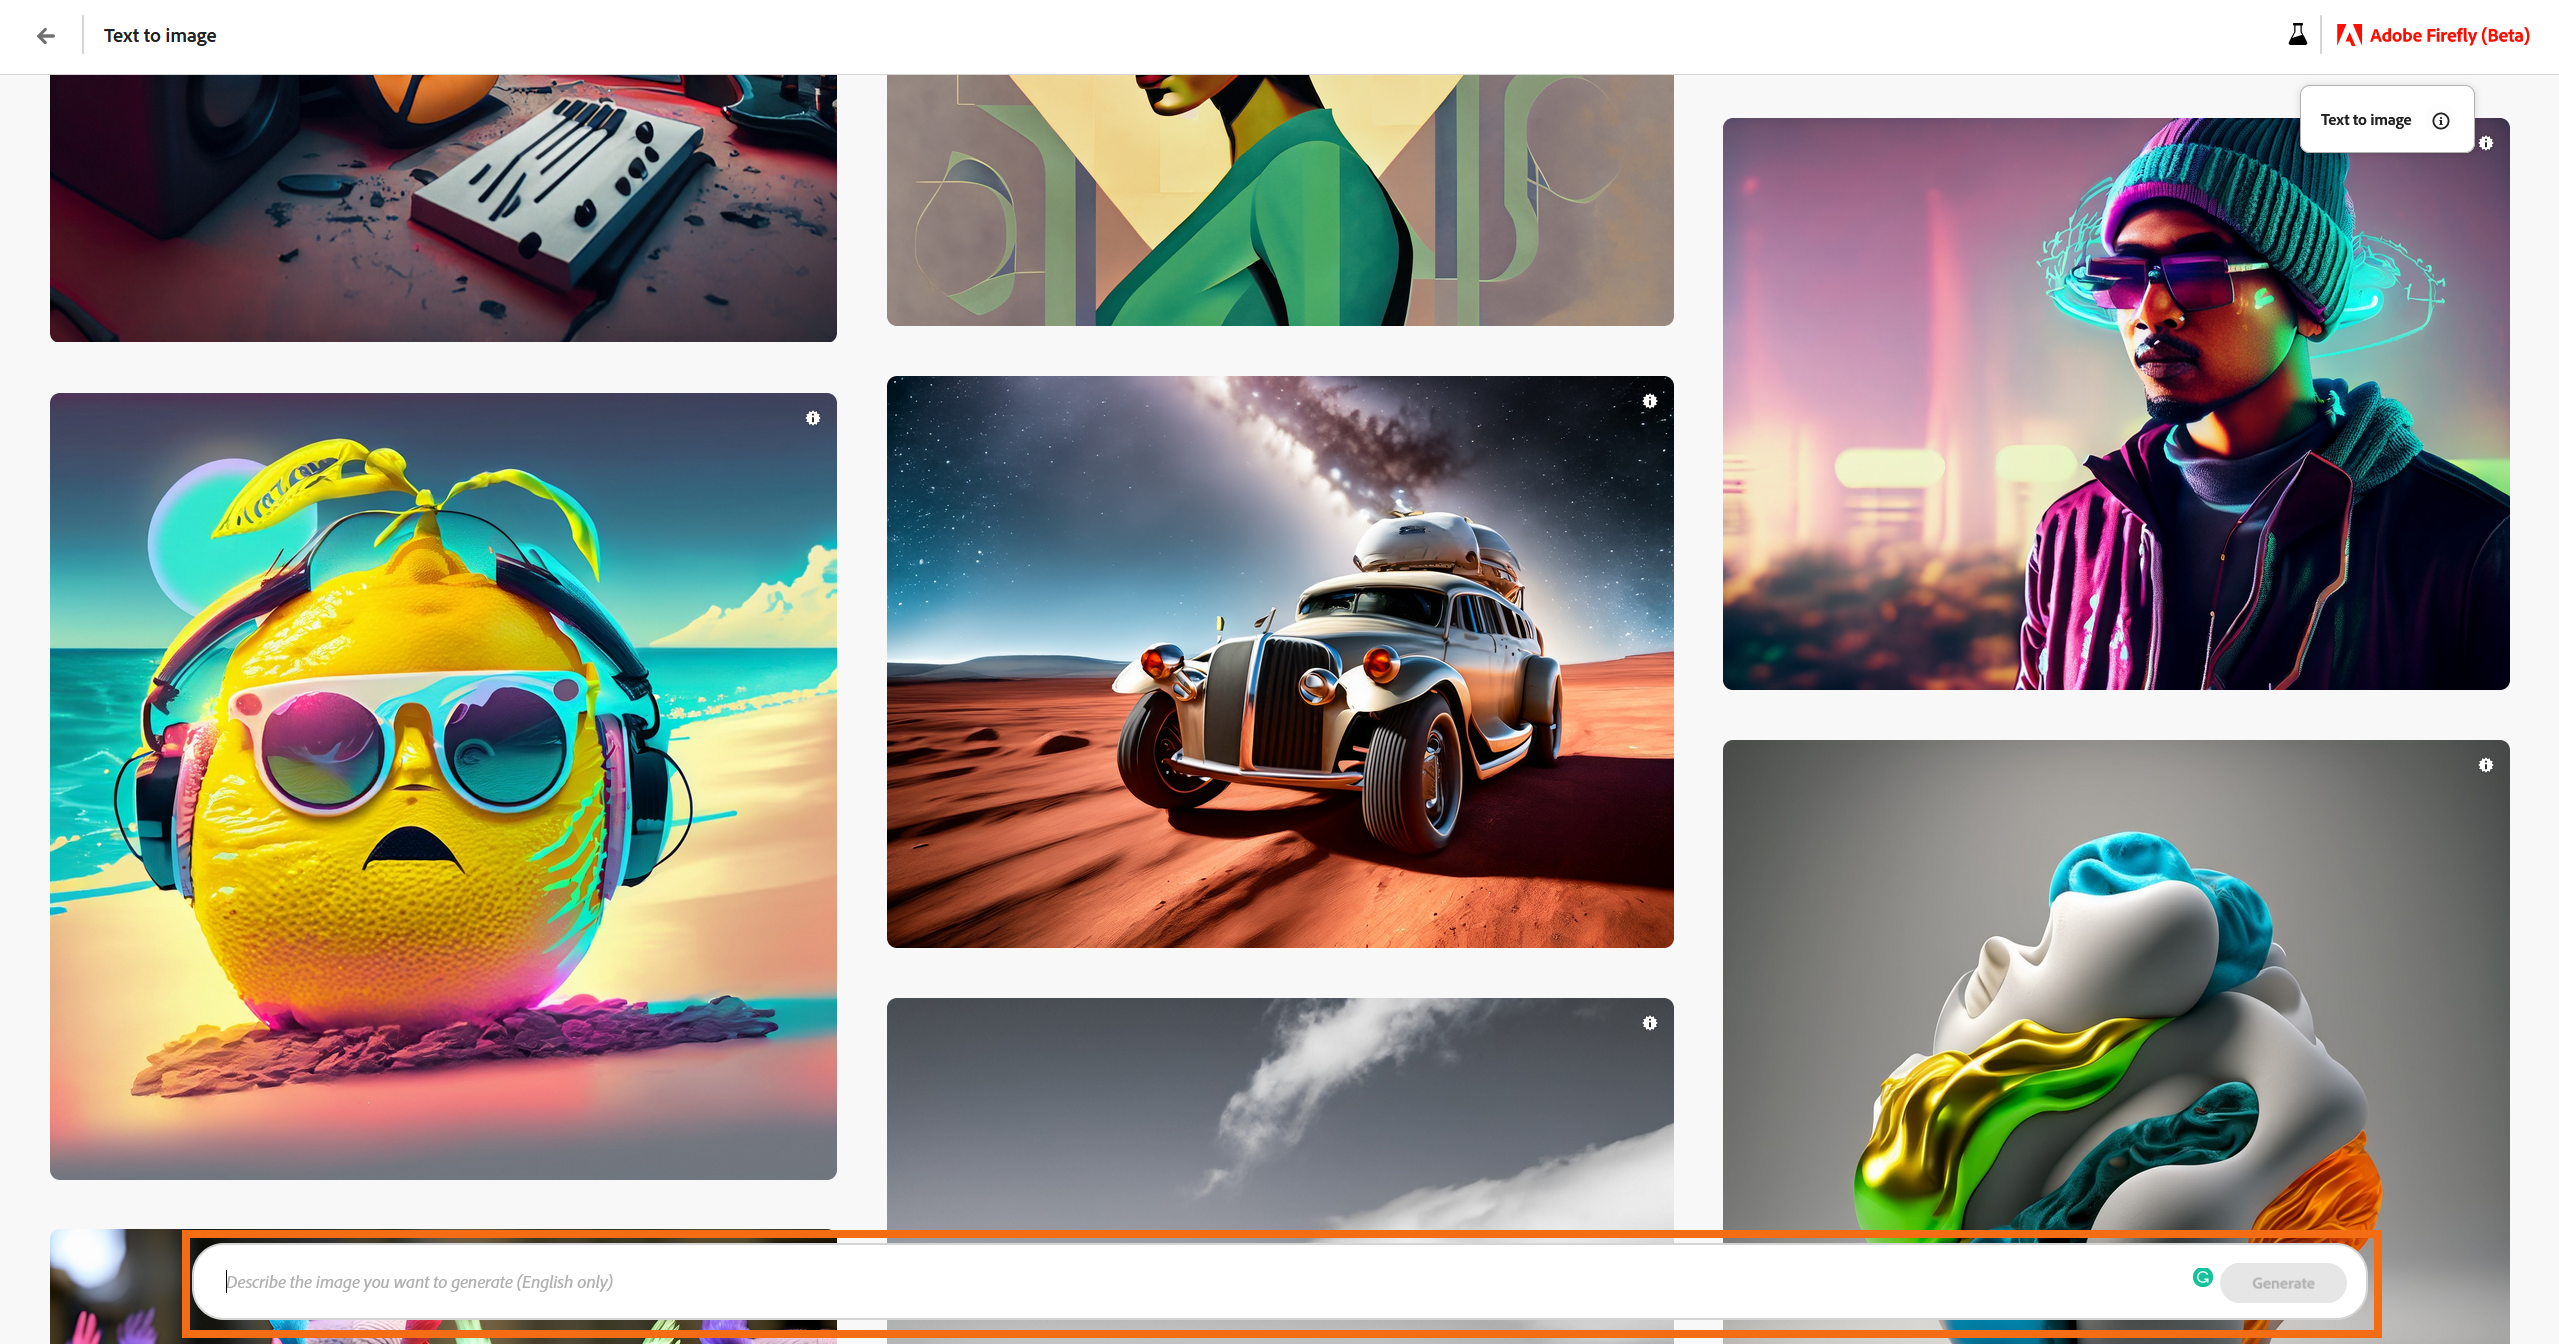
- On this page, at the bottom of the screen, you can enter your text prompt. It’s only in English at the moment. It’s also a little tricky with some words and phrases, so tweak your requests if you get some weird errors.
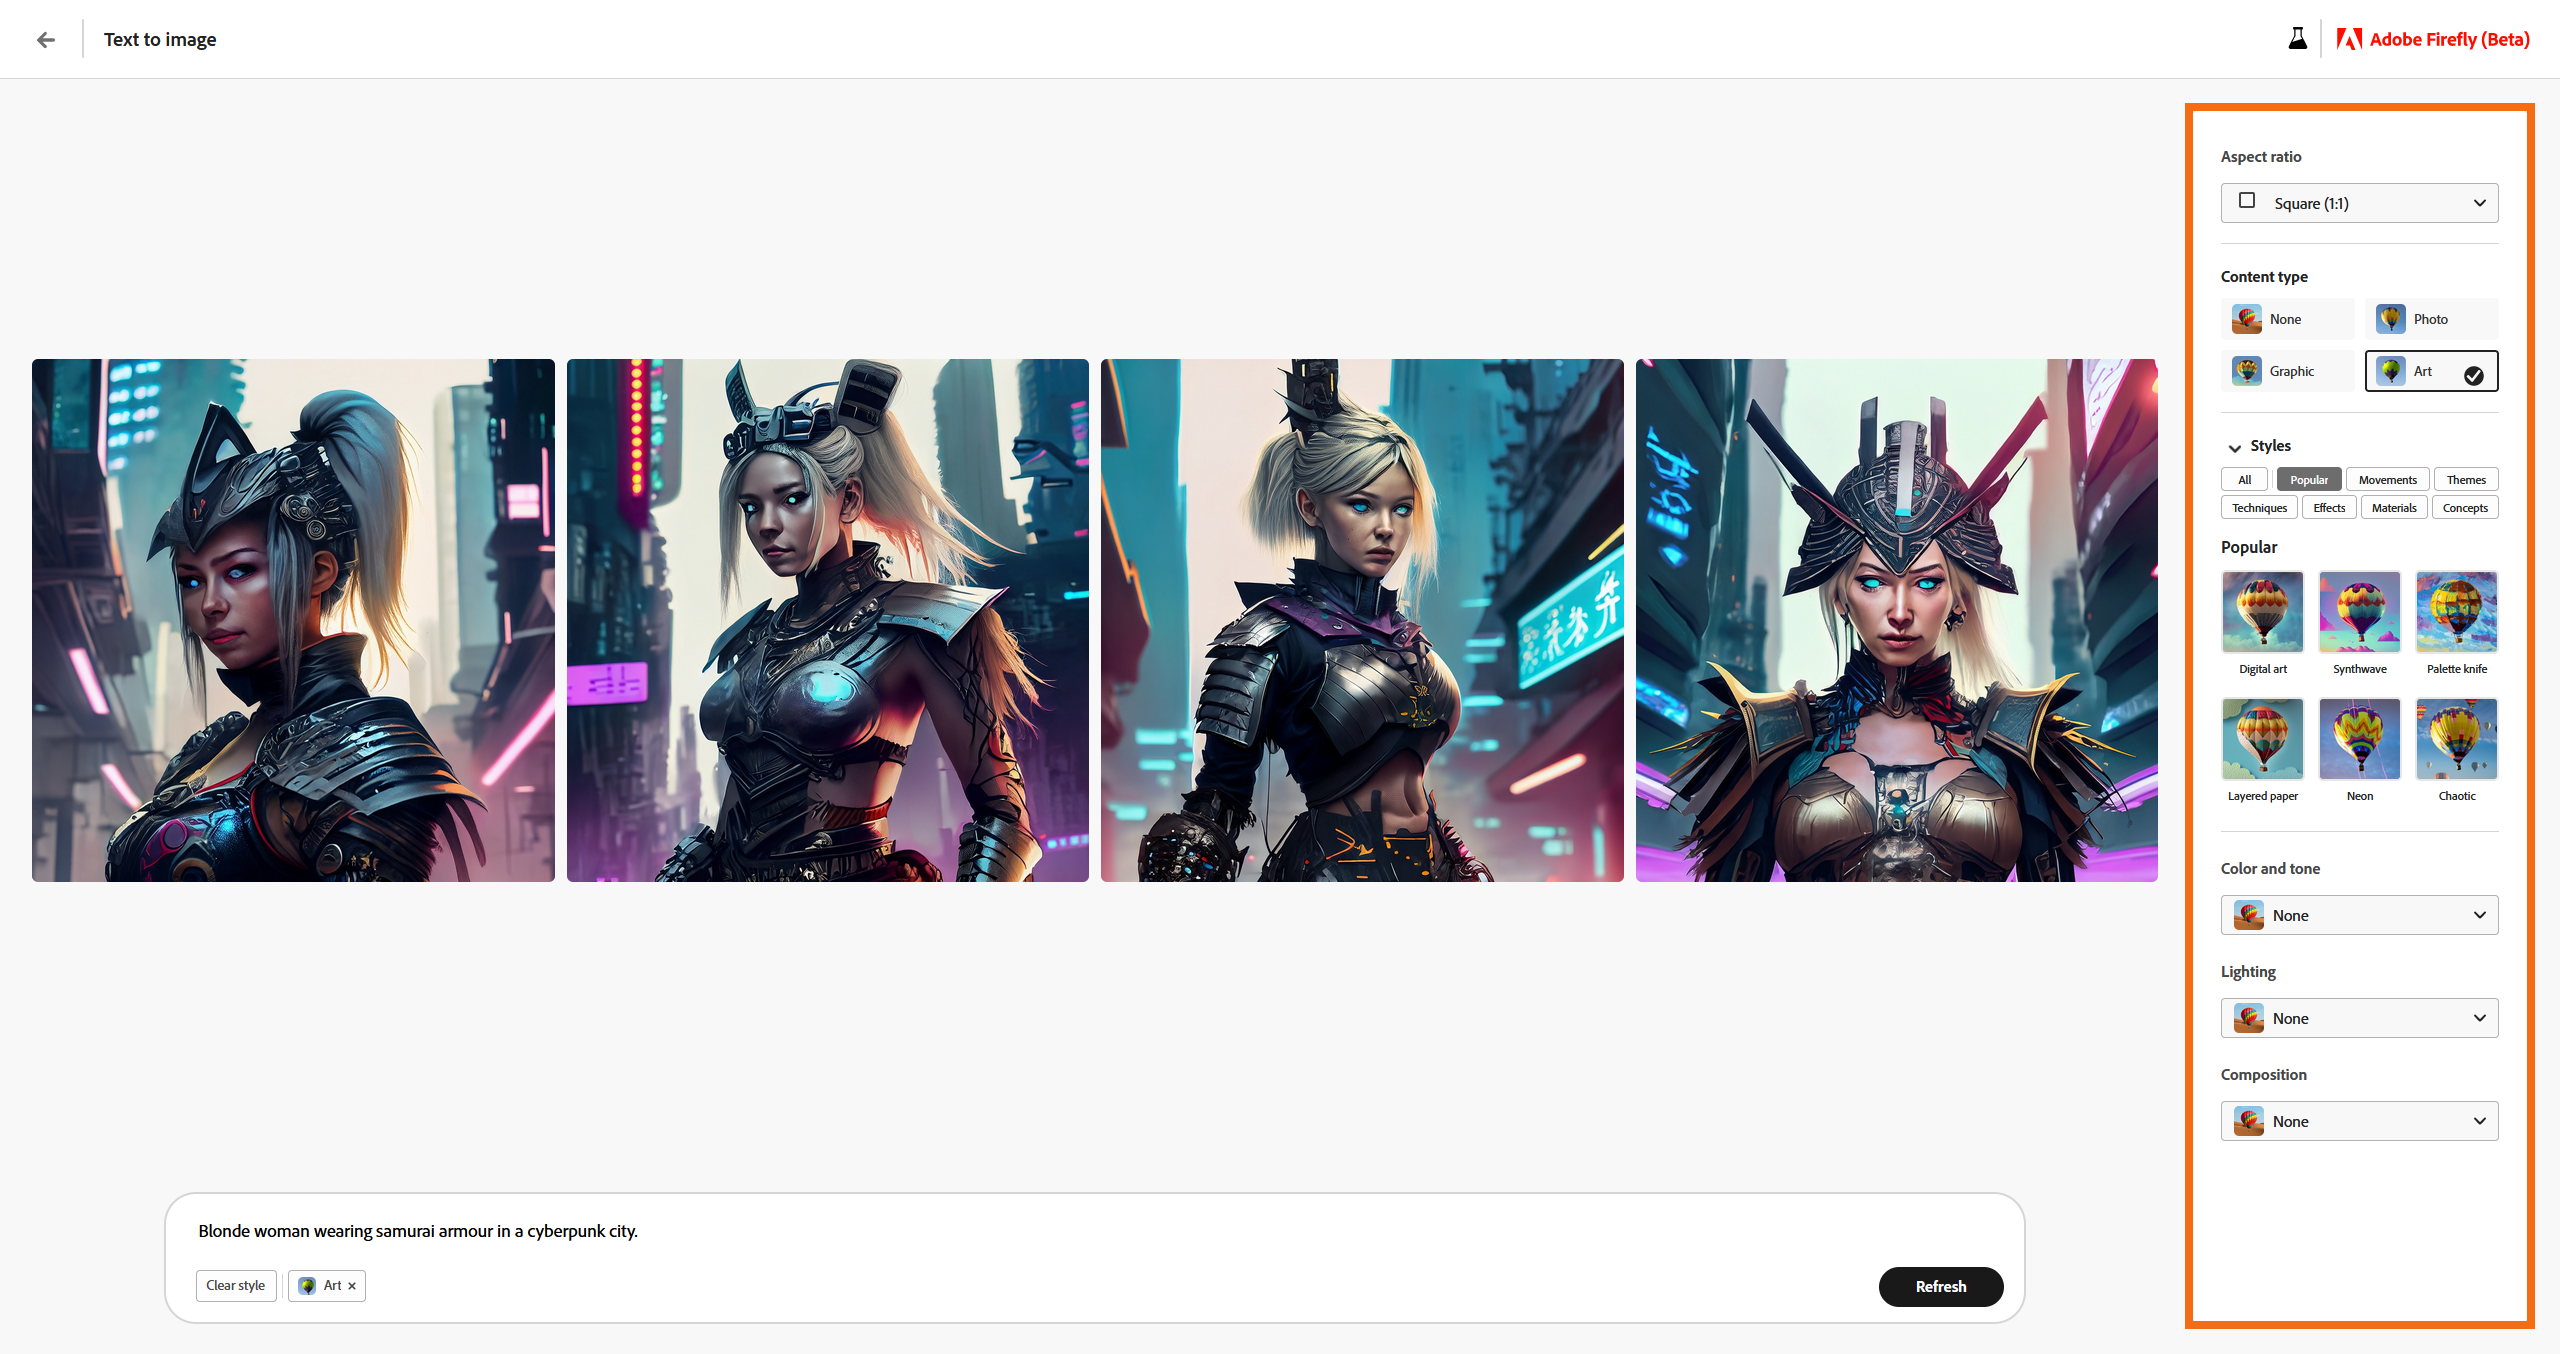
- Once you have entered your first command Adobe Firefly will generate 4 images for you. On the right-hand side, you have a list of options to tweak future images, however, the 4 main ones to pay attention to are under content type. So choose a style you want to use. As well as this, set your aspect ratio now because changing it later will cause some annoying issues.
- Now that you have set a Content Type and Aspect Ratio you can refresh the generation, add more prompts or select a reference image from the 4 you have available. Choosing a reference image will tell Adobe Firefly that this is the direction you want to take your creation. To do this hover over the image, click the three dots, and then click Use as reference image.
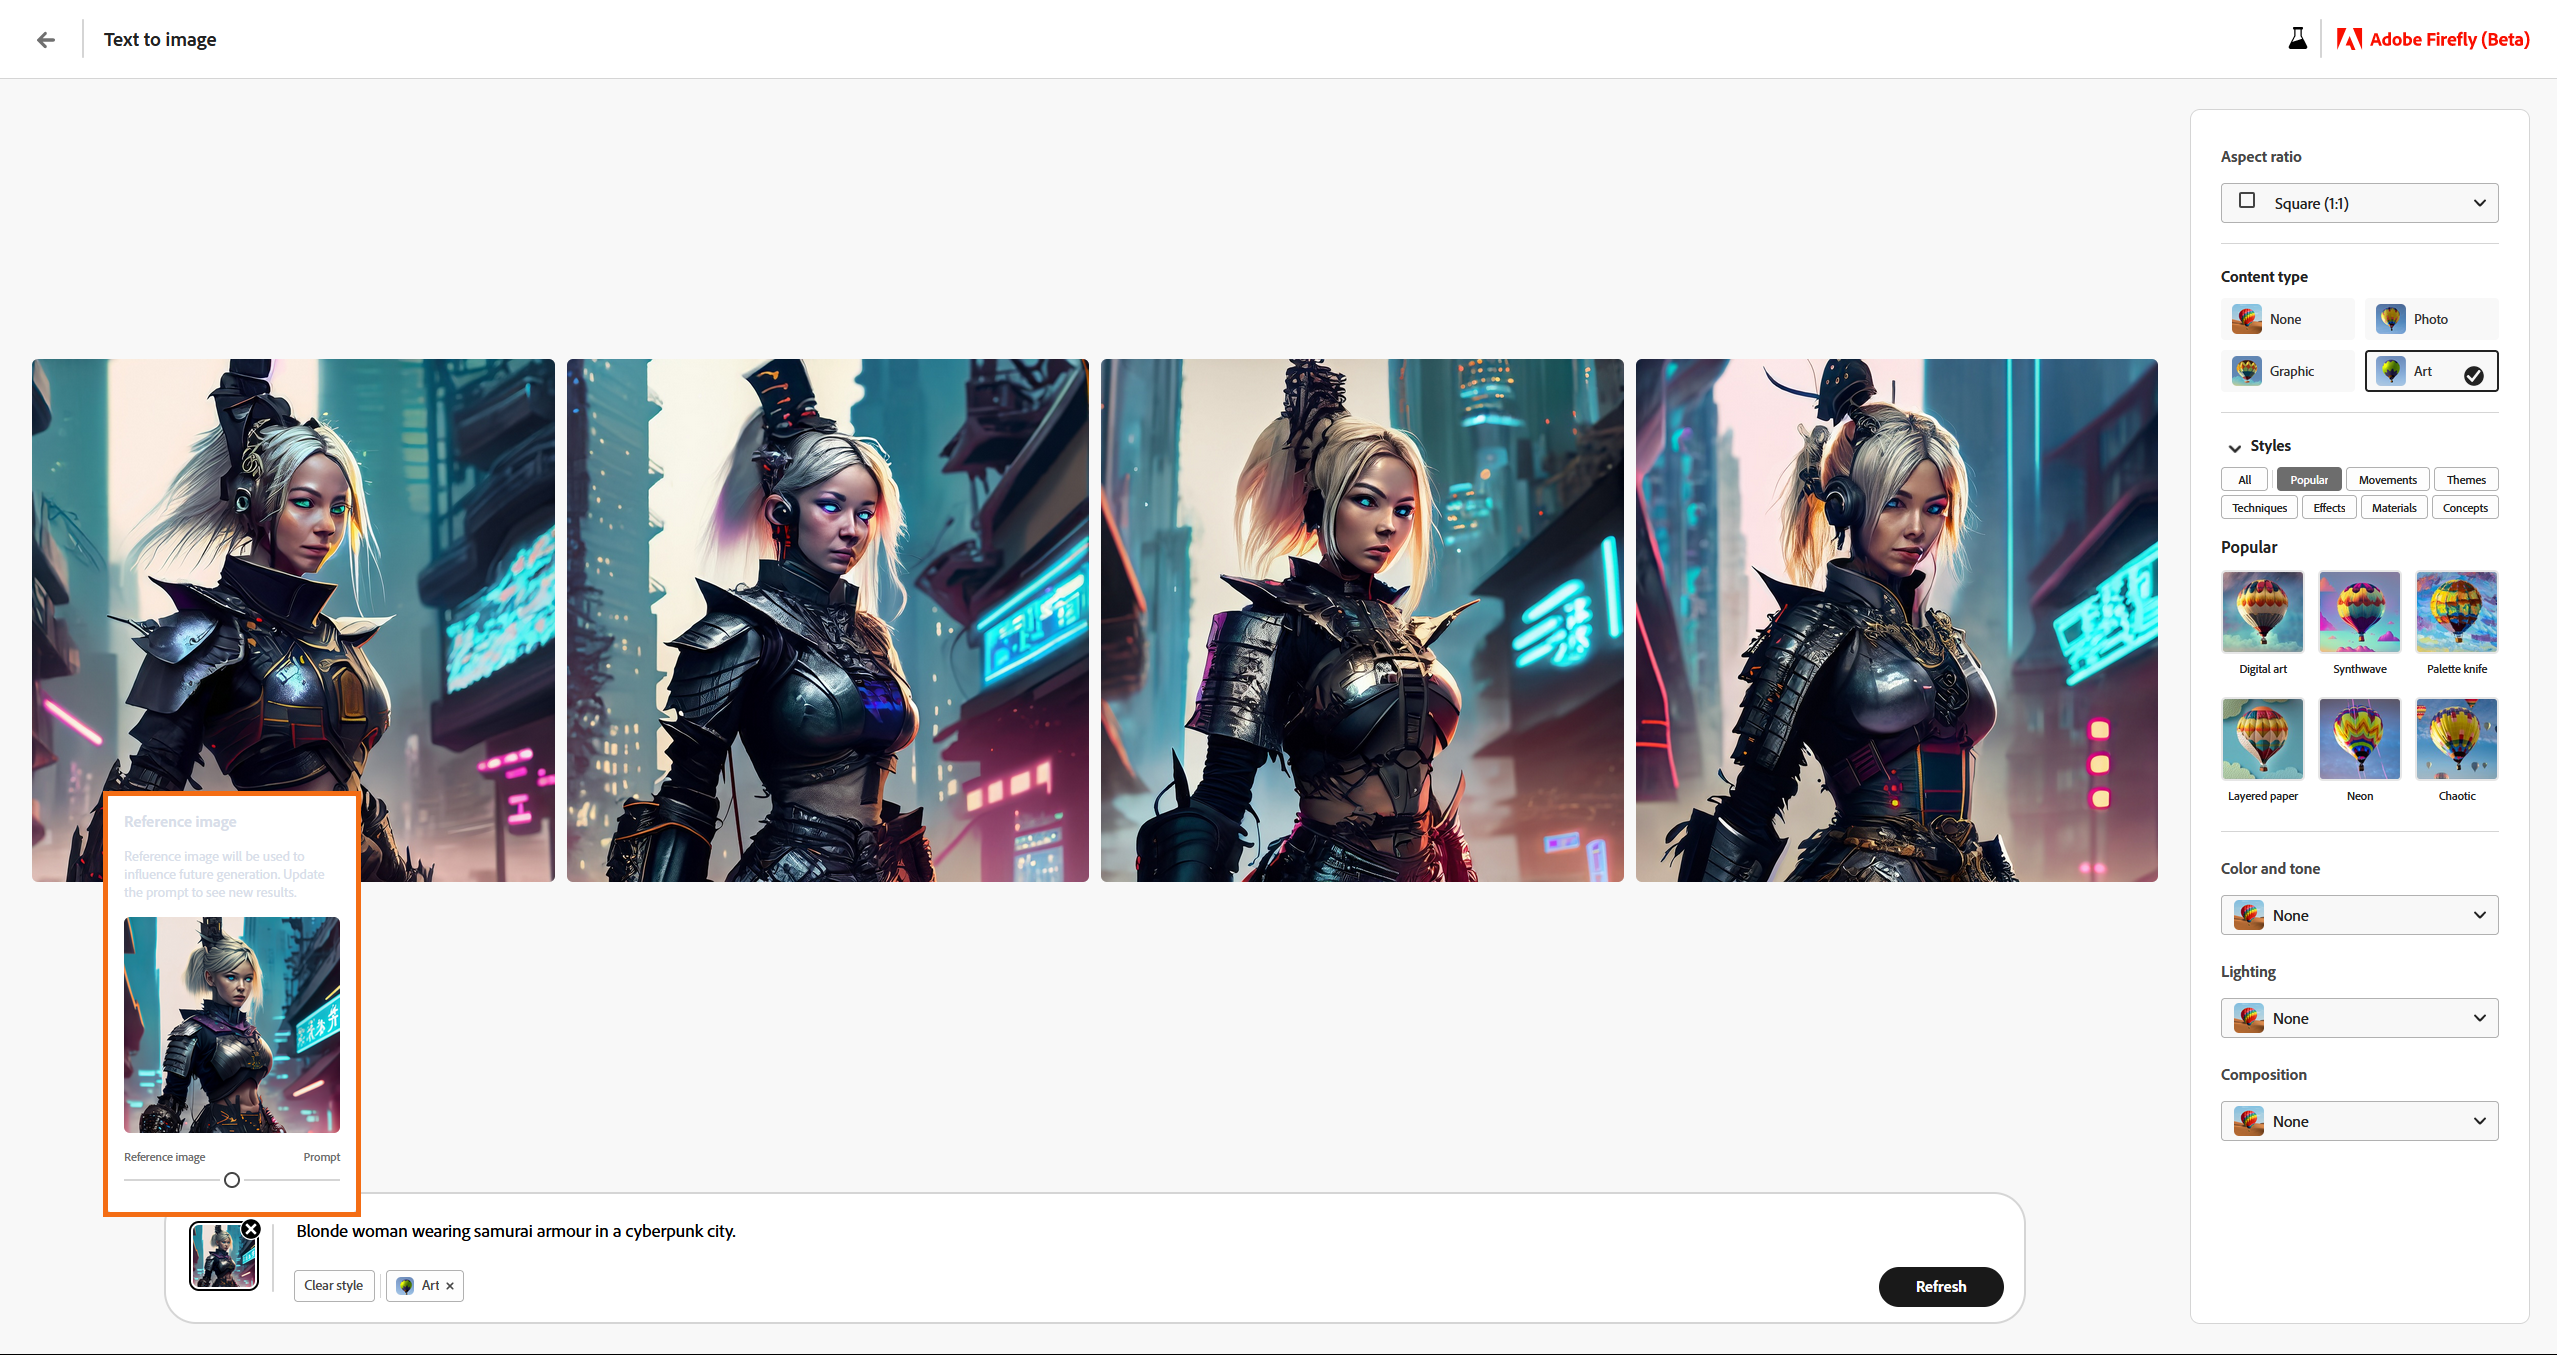
- This wil tell Adobe Firefly that you want to keep future images similar to this image, You will then be given a slider in the bottom left hand corner that allows you to choose how much influence you want the reference image to have. Sliding it to the left (reference image) makes future content more like the original. Sliding it to the right (Prompt) throws in more random aspects from your prompt.
- From here on out the rest of the process is pretty much trial and error so have some fun tweaking your content and updating the reference image until you get one that you are happy with. Below as an example of what the results may look like.
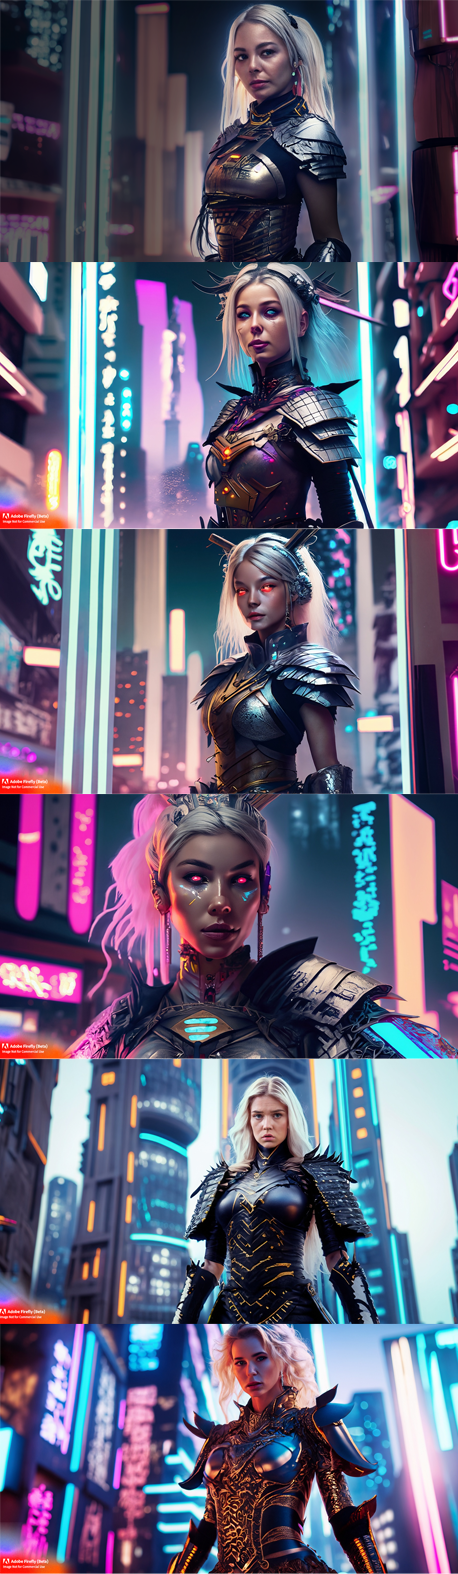
For the best results, it will take quite a bit of time switching between the Art and Photo options along with updating your reference picture the closer you get to your desired product. You’ll notice in the example above things slowly came together to get the end result. A realistic image of a woman rather than an art style image. I've also added another cool image below which was the old cover for you YouTube video. Adobe Firefly can really do some amazing things if you prompt it right.