If you have recently updated your Windows 11 device and are now having problems with the volume slider not working properly. Freezing, becoming unclickable, not appearing properly or just working half the time. This article will show you several different troubleshooting steps you can take that will solve the problem on your Windows 11 device.

Table of Contents
Related: How to Fix Your PC can't project to another screen issue on Windows 11.
Windows 11 has a lot of random bugs and errors that have come across from Windows 10 as well as a nice assortment of new ones that specifically affect Windows 11. A class example of one of these newly created bugs is the one that causes the volume slider to malfunction in a variety of different ways. Depending on your situation you may have one of the volume slider issues on Windows 11, it’s frozen, cut in half, missing, or isn’t clickable.
Thankfully, if you are having one of these issues with the volume slider on Windows 11 there are a few different things you can do to solve the problem. This issue seems to come and go with Windows updates so you might have to go through these steps from time to time as Windows updates continue to break the volume slider on Windows 11.
How do you Fix the Volume Slider on Windows 11 stuck or not unclickable?
- Right-click on the volume icon located in the taskbar.
- From the context menu, choose Sound settings.
- Within the Sound settings window, navigate to the Output section.
- Locate and click on the option labeled Speakers.
- Once in the Speakers settings, verify the configuration of the device to ensure it's properly set up.
Install Windows 11 Updates
- Press the Windows key + R to open the Run box.
- Type ms-settings:windowsupdate in the text box and press Enter.
- Click the Check for updates button.
- If a new update is available, click the Download & Install all button.
- Restart your computer after the process is finished and check to see if the problem is fixed.
Restart Windows Audio Service
- Press the Windows key + R to launch the Run dialogue.
- In the Run dialogue, type services.msc and then press the Enter key, which will open the Services window.
- Scroll through the list of services until you locate Windows Audio.
- Right-click on the Windows Audio service.
- From the context menu, choose the Restart option.
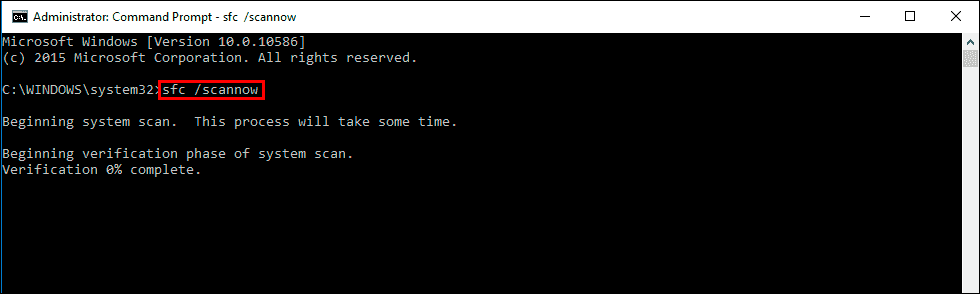
Run SFC and DISM Scans
- Type cmd in the Windows search bar.
- Right-click on Command Prompt and select Run as administrator.
- When prompted by UAC, click Yes.
- Type the following command and press Enter
sfc /scannow
- After the SFC scan completes, run the following commands as well
dism /online /cleanup-image /scanhealth
dism /online /cleanup-image /checkhealth
dism /online /cleanup-image /restorehealth

- If you encounter an error executing the last command, add /Source:C:\RepairSource\Windows /LimitAccess to it and try again.
- Restart your device after the scans are finished.
Uninstall the Last Windows Update that was Installed and likely caused this problem.
If nothing in this guide has worked up until this point you are going to have to uninstall the last update that was installed on your computer. This is a simple enough process and won’t take you all that long to complete.
How to uninstall a bad Windows 11 update. Rollback a Windows 11 update.