Table of Contents
If you have recently updated your Windows 10 PC to build 18362.329 with update KB4512941 and are now having serious CPU wastage issues. This article will guide you through several different steps you can take to fix the problem and return CPU usage on Windows 10 to normal (generally less than 1% at idle).

It seems that almost every update on Windows 10 has some kind of issue that needs resolving… And today isn’t any different… After releasing update KB4512941 (OS Build 18362.329) it was quickly discovered that CPU usage has spiked for absolutely no reason. Once again and not really a surprise, the problem has been traced back to Cortana. The biggest resource hog on the operating system...
In some cases after updating to KB4512941 (OS Build 18362.329) CPU usage has gone as high as 40% while the system is at idle. Although Microsoft is now well aware of the issue, they haven’t officially fixed the problem, so follow along as this article guides you through the workaround.
Related: How to Force Update Google Chrome, Edge Chromium, and Mozilla Firefox.
How Do You Stop Windows 10 Using Huge Amounts of CPU Power? Fix High CPU Usage on Windows 10 After Update KB4512941 (OS Build 18362.329)
To quickly fix this issue, the easiest thing to do is simply uninstall the latest update. Which can be done by going to Settings (Windows Key + I) > Update & Security > View Update History > Uninstall Updates. On this page simply find update KB4512941 and uninstall it. Once it has been removed, Restart your system and system resource usage should return to normal.

If you don’t wish to uninstall update KB4512941 (OS Build 18362.329) to fix high CPU usage on Windows 10, you can try making the following changes in the Windows 10 registry. If you haven’t spent much time in the registry I strongly suggest using the first method. However, if you don’t really care, here’s what you need to do after making a restore point...
If you haven’t created a restore point before, open the start menu, type Restore, then select Create a Restore Point when it appears on the list. From the new window that appears, click Create in the bottom right section of the screen, then follow the instructions given by Windows. Once you have successfully made a restore point, you can continue.
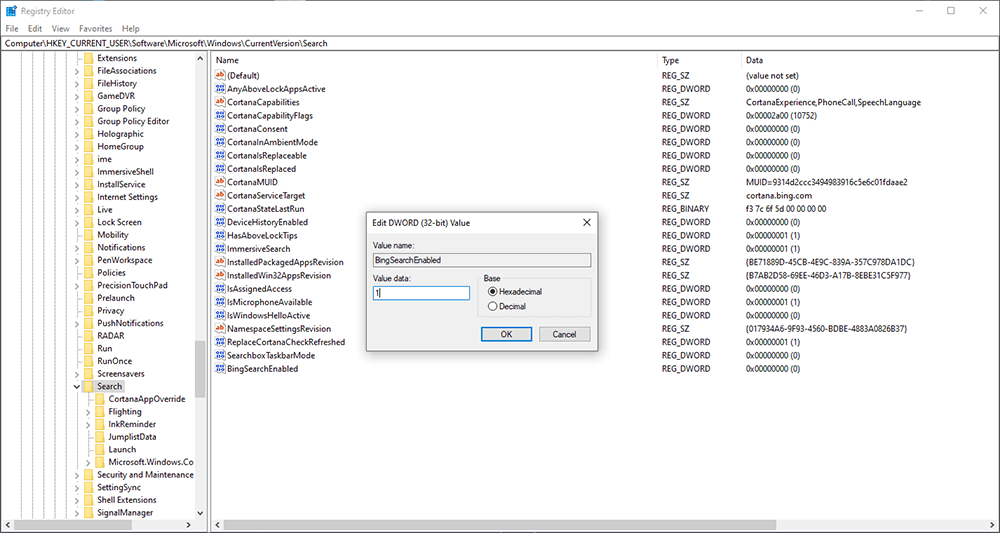
To begin, open the Windows Run tool by pressing Windows Key + R, type regedit into the box, then press Enter. Once you have the registry editor open, navigate to the following location:
\HKEY_CURRENT_USER\Software\Microsoft\Windows\CurrentVersion\Search
Next, find BingSearchEnabled, double click on it, and change its Value from 0 to 1. Then Restart your system to see if CPU usage returns to normal. If it doesn’t you can try Deleting the entire BingSearchEnabled entry. If this still doesn’t work restore your system, proceed to remove the update as suggested first. Hopefully, Microsoft is quick to solve the problem as a 40% increase in CPU usage is quite a drain on most systems, not to mention pointless hardware and battery strain/drain.