If you are using Windows 11 and are having problems updating to the latest version because of error 0xc19000401 and failed updates. This article will guide you through quite a few different troubleshooting steps you can use to solve the issue and get Windows 11 to update properly once again.

Table of Contents
Related: How to fix Internet browser lag on Windows 10 & 11 after updating.
Update problems on Windows operating systems are just part of life and one of the most common problems found on Windows devices. Automatic and manual updates can work perfectly for months, then all of a sudden everything can stop working. Why this occurs usually goes back to an issue with the previous update, however, there are plenty of user actions that may result in future update problems as well. But you probably won’t know if you have done something by mistake.
Thankfully, there are now quite a few different options you can use to solve Windows 11 update issues easily. Although the solutions aren’t all that complicated they are a little time consuming and may require you to work your way through more than one to solve the problem. As a result, we have listed all of the best-known solutions you can use to solve Windows 11 update error 0xc19000401.
Option 1: Run the Windows Update troubleshooter to fix 0xc19000401
Unlike on Windows 10, the troubleshooting tools found on Windows 11 actually work (most of the time) so the first thing you need to do to solve this problem is run the Windows Update troubleshooter. If you haven’t done this before do the following.
- Open the Settings app by pressing Windows Key + I.
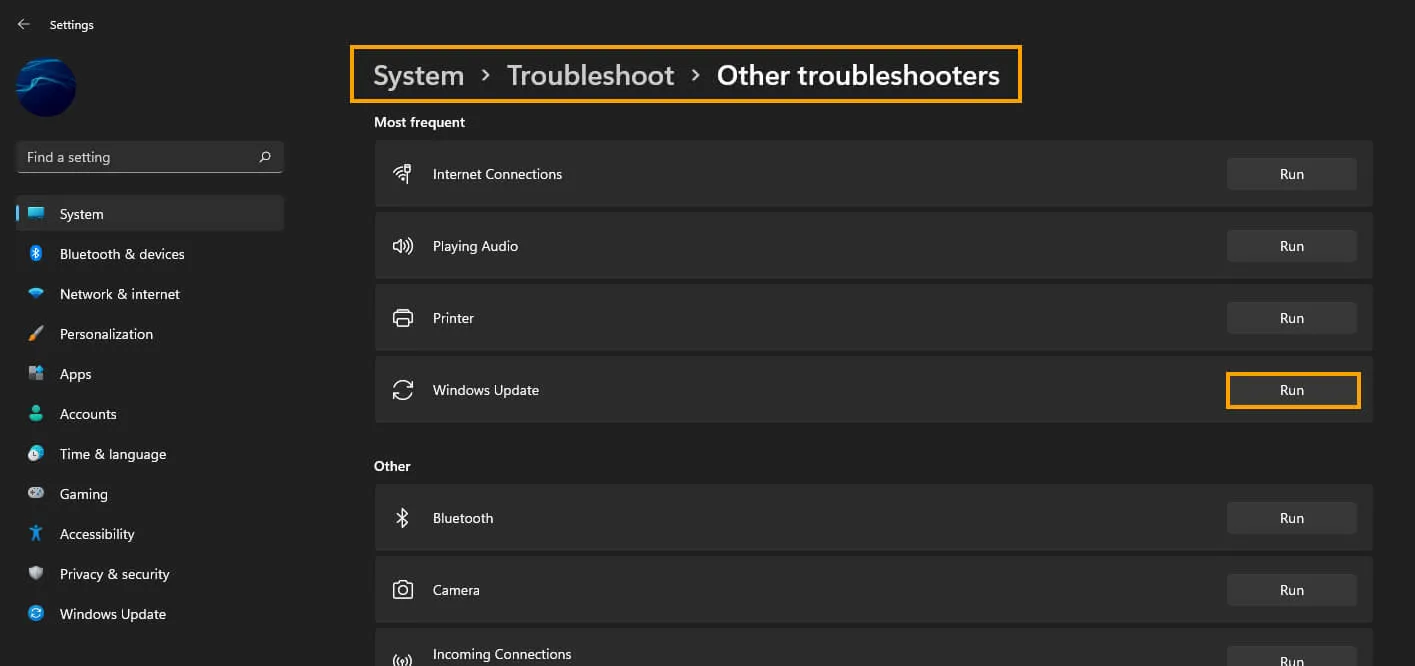
- Next, stay on the System tab and click Troubleshooting from the central pane.
- Here you will see a long list of troubleshooting options, however, the one you are looking for is near the top called Windows Update.
- Simply click Run next to this entry and follow the steps shown by the tool.
- After the tool completes its checks and fixes, you should be able to update your device.
Option 2: Check for corrupted system files using SFC and DISM commands.
The SFC tool is a great way to fix any system errors or conflicts on your computer. To run the SFC tool do the following.
- First type CMD into the Start menu then right-click Command Prompt and choose Run as administrator.
- When you have Command Prompt open type the following command into Command Prompt and press Enter.
sfc /scannow
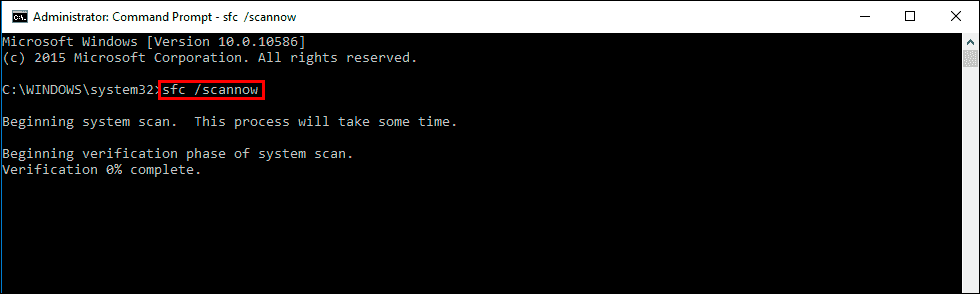
The tool takes quite some time to complete so wait for it to finish then Restart your computer. If you encounter any problems run the command again when your computer is booted into Safe Mode.
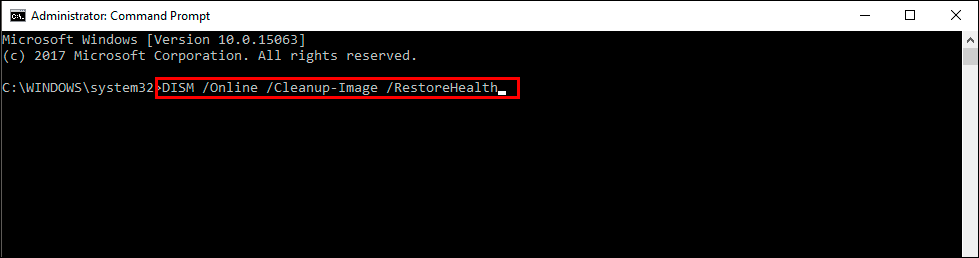
If the SFC tool returned an error message, open Command Prompt as Administrator, then enter the following commands in order to run the DISM tool.
DISM /Online /Cleanup-Image /CheckHealth
DISM /Online /Cleanup-Image /ScanHealth
DISM /Online /Cleanup-Image /RestoreHealth
After a system Restart, everything should be back in working order.
Option 3: Uninstall the last update. (Not always an option)
If you have only just updated your computer (within the last 9 days) you can still uninstall the last update and go back to a version of Windows 11 that doesn’t have browser lag issues. If you haven’t uninstalled a Windows 11 update before, check out the guide below.
How to uninstall a bad Windows 11 update. Rollback a Windows 11 update.