If you are tired of having to run NVIDIA Broadcast in the background while you're using OBS? Here's a quick and easy way to add the Noise Removal and Echo Removal tools from NVIDIA Broadcast directly into OBS. This will save you time and resources, and allow you to focus on creating great content.

Table of Contents
Related: How to fix Genshin Impact not visible in OBS Game Capture Mode.
NVIDIA Broadcast is an amazing tool for content creation and allows anyone with an RTX series card to enhance the audio and video quality of live streams, video conferences, and recordings. It uses AI-powered technology to remove background noise, echoes, and other unwanted sounds, as well as to blur backgrounds and track faces. While you can continue to use the standalone version of Broadcast from the system trays, there’s a way better option.
By adding NVIDIA Broadcast into OBS you can quickly and easily use the Noise Removal and Echo Removal tools directly from the Noise Suppression filters page. This means you can keep system and microphone configurations to a minimum and get absolutely astounding quality improvements. Even if you are working in an ideal environment NVIDIA Noise Removal will clean up any annoying microphone sounds.
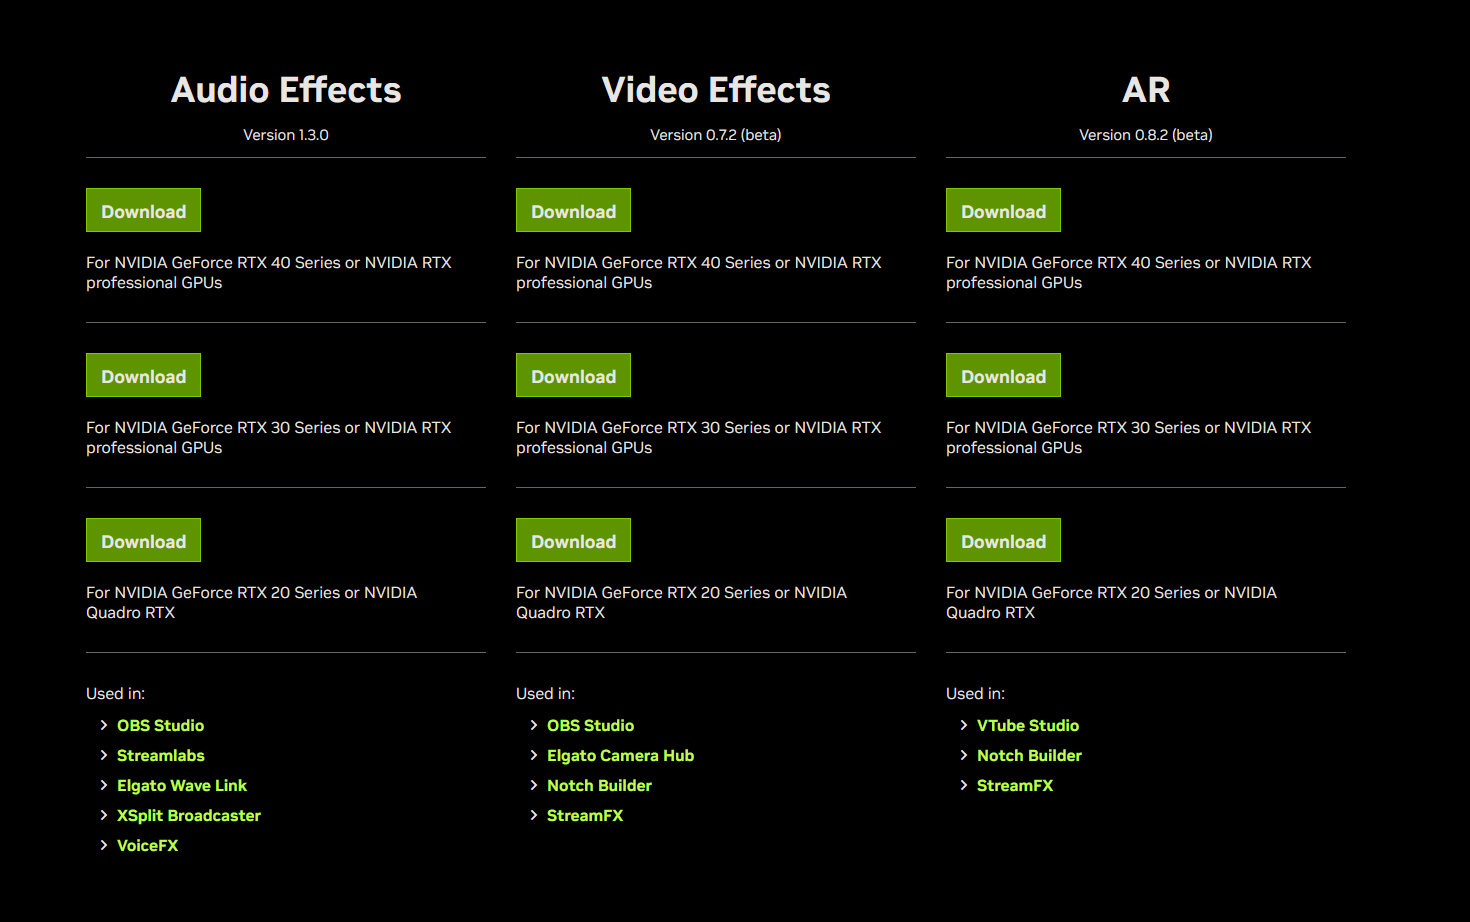
Officially the standalone features are called NVIDIA Audio Effects, Video Effects and AR (augmented reality). So follow along as we show you how to add any or all of them to OBS on Windows.
How do you add NVIDIA Broadcast Audio, Video and AR Effects into OBS?
To begin, you’ll need to head on over to the NVIDIA website and download the component you want to use. If you only want the Noise and Echo Reduction download the Audio Effects file. Just make sure you grab the right version for your hardware 20, 30 and 40 series cards all have different downloads.
- Once you have the file on your computer install it as you would any other program. Then restart your computer.
- After your computer has restarted, open OBS and go to your chosen input and select the newly added NVIDIA option.
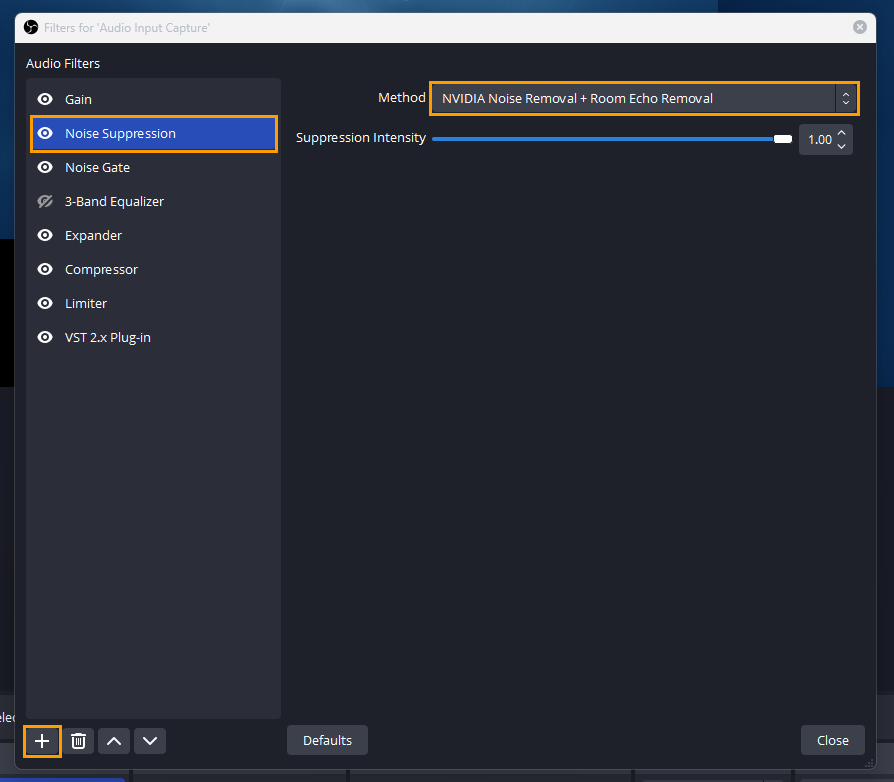
- For Noise Removal and Echo Reduction right-click on your audio input or microphone under the Audio Mixer section and select Filters.
- Next, add a Noise Suppression Filter then change the Method to one of the 3 NVIDIA options. I suggest putting it in the second position just after a Gain filter. If you aren’t using a Gain filter you can leave it at the top so that it works on everything below it.
- You can add the Video and AR options from their corresponding points, usually the Camera or webcam you have set.
That’s all there is to it, now you just need to use the slider to adjust the power of the suppression. I generally leave mine near or at max as you can see in the screenshot. This gives me really good results even though I am usually in a quiet environment. Now that you have made this change you should reconfigure all of your other filters below it to make sure that the noise filter isn’t causing any problems with them. 99% of the time it won't but it’s worth double-checking.
Selecting NVIDIA Audio, Video and AR Effects in OBS causes it to crash.
If selecting any one of these options causes OBS to crash you will need to make a change in Windows 11 which is causing a conflict. You can check out our full guide on that here. Don’t worry it’s a quick fix that works 100% of the time.