Table of Contents
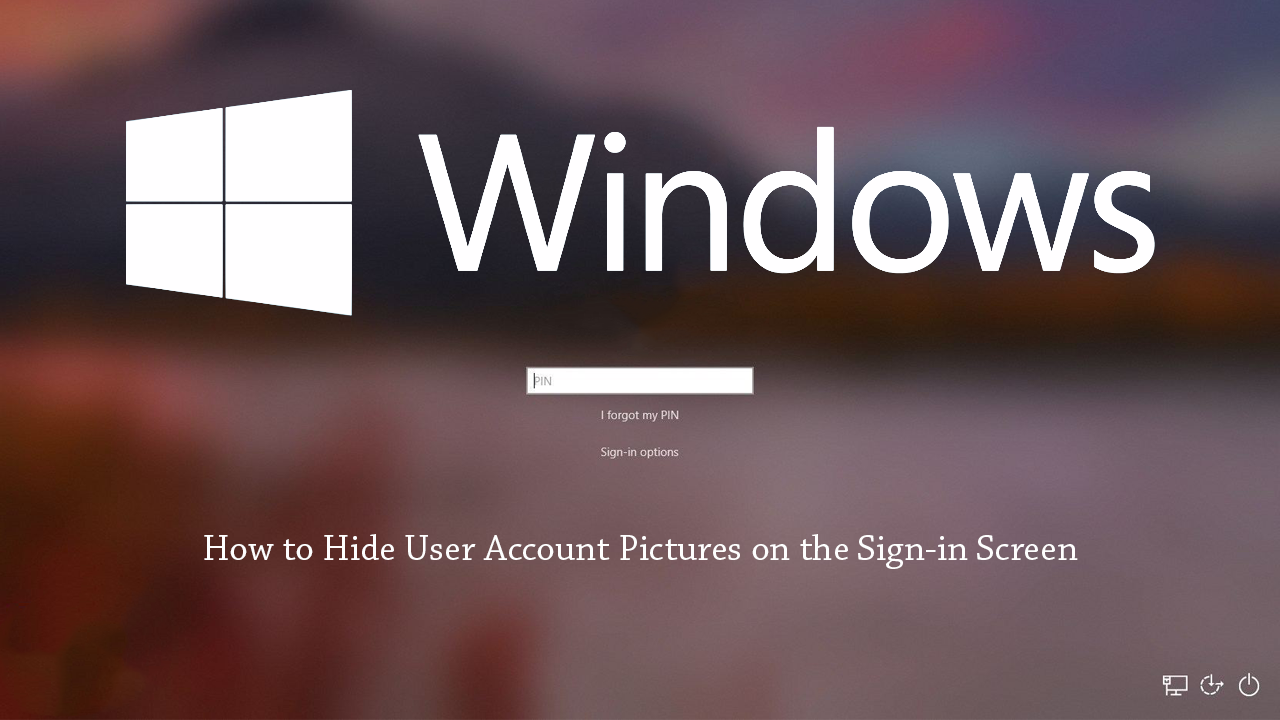
If you have ever wondered if it’s possible to remove your profile picture from the Windows 10 sign-in screen, wonder no more! Because the answer is yes! Although the process isn’t the most simple one, it is possible to do and can be done in under five minutes.
How to Enable Floating Search on Windows 10. (Independent Search Window)
Windows has had a lot of features come and go over the years but one thing has always remained the same. The account sign-in screen. If you’ve been using Windows for a considerable amount of time and have progressed through the versions, you’ll know exactly what we mean but probably haven’t given it a second thought until now.
Surprisingly it is possible to remove account pictures from the Windows 10 sign-in screen, though isn’t an officially supported option. Instead, removing account images from the Windows 10 sign-in screen relies on a sneaky little trick that achieves this using a transparent image file and a small tweak in the registry.
If it sounds a little too complicated don’t give up just yet, as the instructions shown below will guide you seamlessly through the process. The instructions shown below should also work on most versions of Windows 10 including 1803 and 1903 (the most recent)
Can You Hide Profile Pictures From the Windows 10 Sign-in Screen? (Stop Profile Pictures Showing on the Windows 10 Sign-in Screen)
To begin, the first thing you need to do is download the transparent png file from here, then extract it into your desired location (anywhere will do). If you try to extract the file and it vanishes or comes up with an error, you’ll need to make an exception in your antivirus program. If you are using Windows Defender check out our guide here.
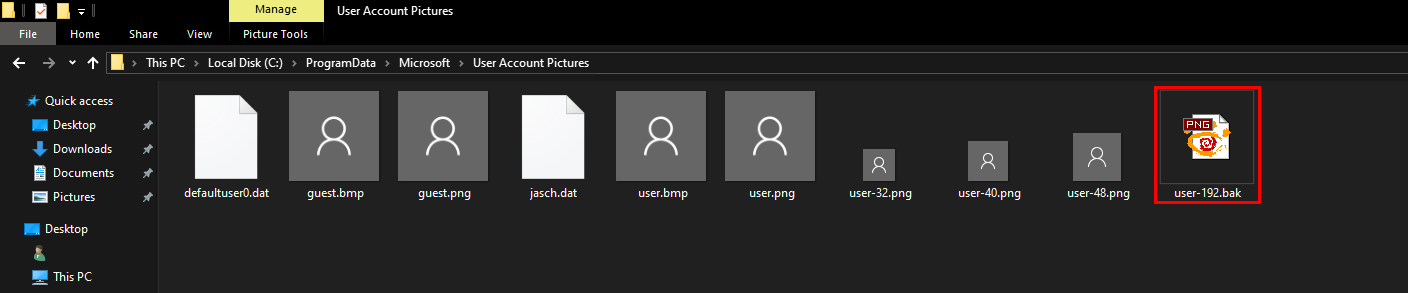
Next open File Explorer and go to the following folder: C:\ProgramData\Microsoft\User Account Pictures and rename the user-192.png from .PNG to .BAK. This will make sure you have a backup should you ever wish to revert back.
Now, copy and paste the user-192.png file you extracted earlier into the same location:
C:\ProgramData\Microsoft\User Account Pictures
Once that’s done, all you have to do is Reset profile pictures (account pictures) to their default. If you don’t know how to, follow the instructions shown below.
Reset User Account Images to Defaults.
To apply the default user picture for all users on Windows 10 open the registry editor by searching regedit from the start menu, then selecting it when it appears. Next, navigate to the following location using the left-hand pane.
HKEY_LOCAL_MACHINE\SOFTWARE\Microsoft\Windows\CurrentVersion\Policies\Explorer
If you don’t have this exact location, you can right-click and create the key/s you require. When you get to the correct location, right-click in the central pane and create a new 32-bit DWORD called UseDefaultTile.
Note: Even if you are running 64-bit Windows, you still need to use a 32-bit DWORD.
Finally, double-click on the UseDefaultTile and change its Value to 1 to disable user profile images. Now simply Restart your computer for the change to take effect. If at any stage you wish to revert back to default settings, simply return to the same location and delete the UserDefaultTile.