Table of Contents
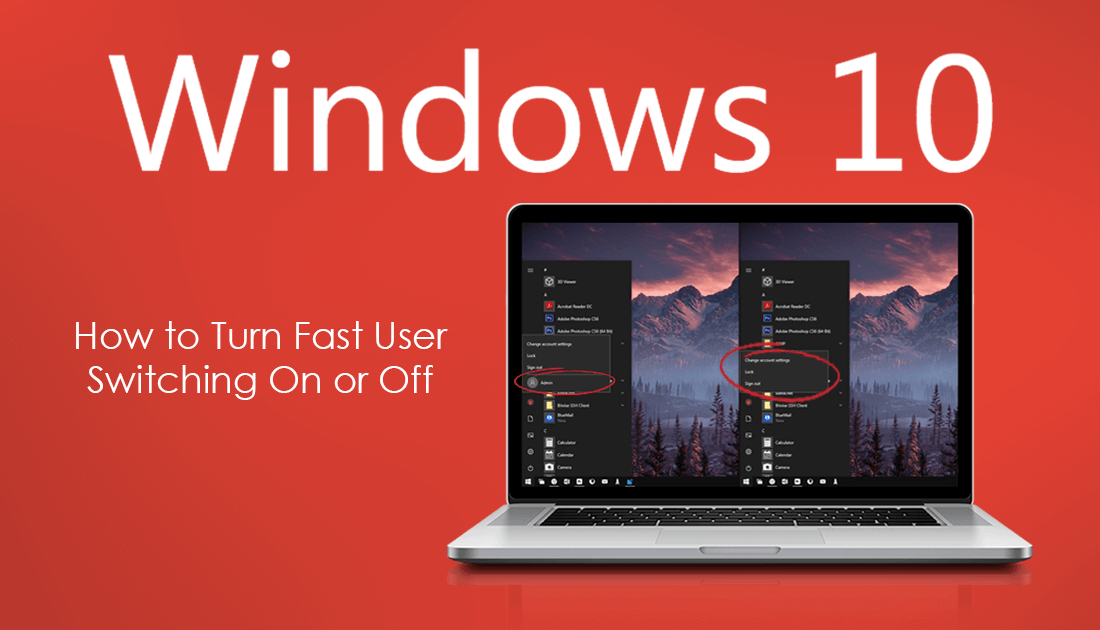
Learn how to turn Fast User Switching ‘On’ or ‘Off’ on Windows 10 Pc’s. A pretty useful feature on Windows 10 that allows you to quickly and easily switch between accounts whilst remaining productive. As awesome as FUS can be, using it on some machines may be counterproductive.
How to Fix Windows Update Cannot Currently Check For Updates Because Updates are Controlled.
Fast User Switching on Windows 10 is quite a useful productivity feature that a lot of users frequently use when switching between user accounts. Although it’s pretty handy to have enabled on powerful machines, it may become a hindrance on machines of lesser power. This is because all signed in accounts still consume system resources, CPU, memory, disk, etc. If you are using a high-end system, you probably won’t notice the drain all that much, however, on low-end PC’s things can become painfully slow.
So if you are finding your machine doesn’t handle Fast User Switching as good as it used to, you might as well disable it. On the other hand, if you think your PC has the guts and want to enable Fast User Switching, you’ll also find out how.
Related: How to Turn Off Numerical Sorting in File Explorer on Windows 10. (File Sorting By Number)
How Do You Turn Off/On Fast User Switching on Windows 10?
As this process requires you to use the Windows Registry Editor, it’s important to make sure you have a System Restore Point to revert back to if something goes wrong. If you haven’t created a restore point before, open the start menu, type Restore, then select Create a Restore Point when it appears on the list. In the new window that appears on the screen, click Create in the bottom right corner of the screen, then follow the on-screen instructions.
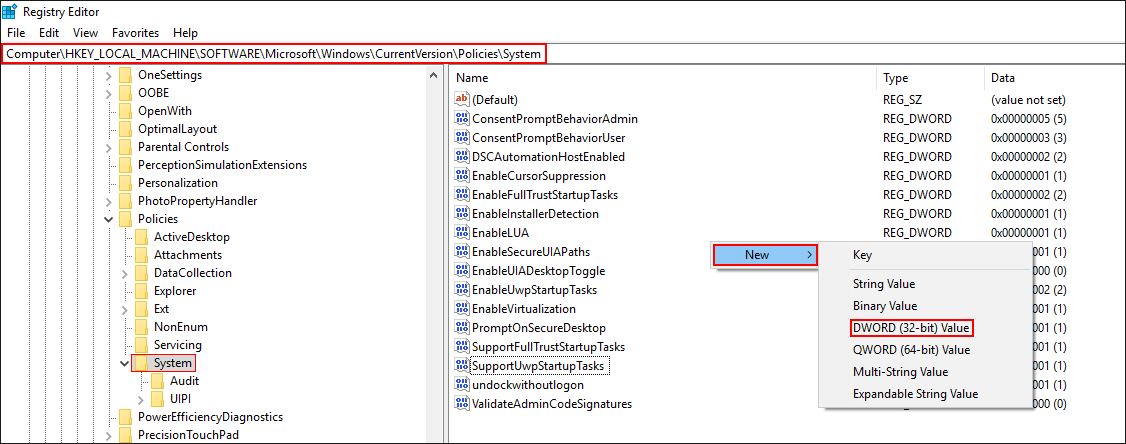
Once your restore point has been created, open the Windows Registry Editor by pressing Windows Key + R, then type regedit into the Run tool text box and press Enter. When you have the tool open in front of you, navigate to the following location using the left-hand pane of the Registry Editor.
HKEY_LOCAL_MACHINE\SOFTWARE\Microsoft\Windows\CurrentVersion\Policies\System
Once you are in the correct location, right-click the empty space within the centre pane and select New > DWORD (32-bit) Value.
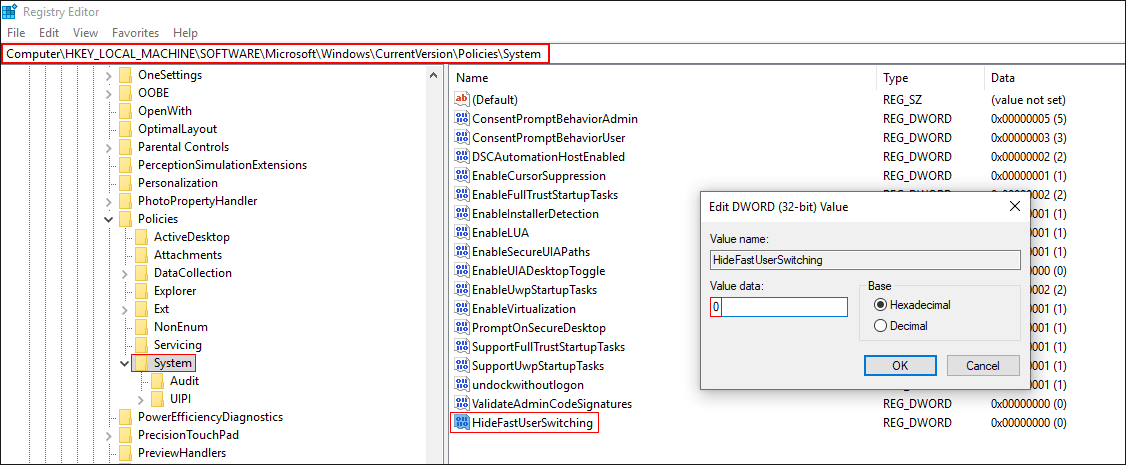
Name this newly created DWORD HideFastUserSwitching, then double-click on it and change its Value to 1 to Disable Fast User Switching. If at any stage you wish to re-enable Fast User Switching on Windows 10, simply return to the same location and change the HideFastUserSwitching Value from 1 to 0.
For the change to take effect, you’ll need to Sign out of or Restart Windows. While you are expanding your Windows 10 knowledge make sure you check out the following guide which shows you how to move the location Netflix Downloads offline content to. How to Change the Location Netflix Downloads Content to on Windows 10.