Table of Contents
If you have an NZXT Kraken water cooler in your system from the X series or the M series. This article will show you several troubleshooting steps that ‘should’ allow you to get the water pump working again if it is stuck making strange gurgling sounds.
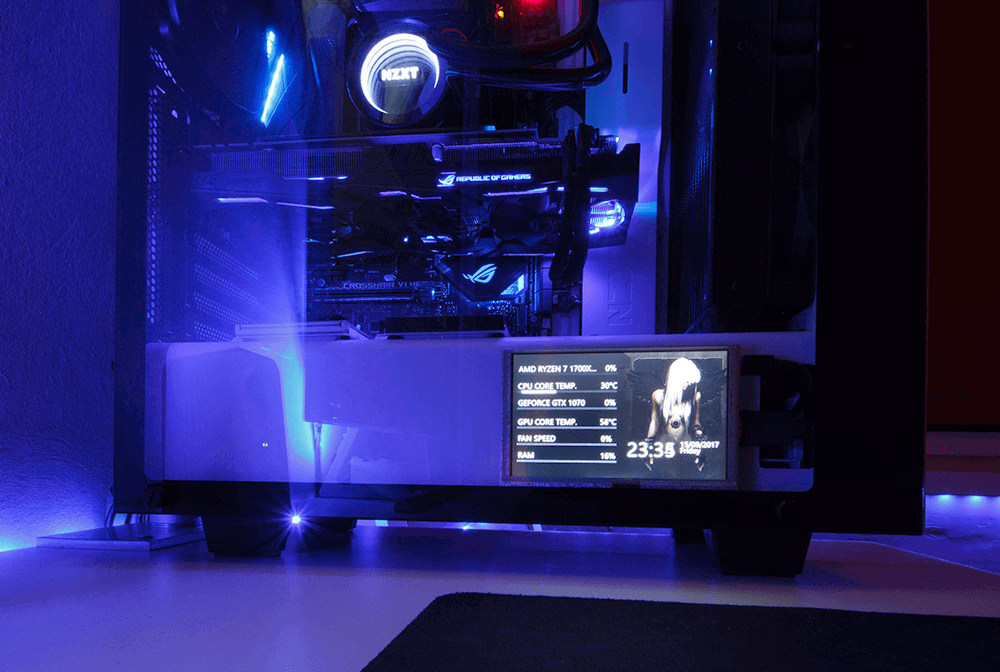
How to Create Your Own Custom Desktop Computer Stat Screen.
For a company that has only been around since 2004, NZXT has become one of the most popular brands in the custom PC market. Although NZXT now also make motherboards and other internal products, their expertise is still cases and water coolers, with the Kraken range being their biggest success story. If you follow any PC pages on Instagram or YouTube, you’re bound to recognise NZXT products in a lot of builds.
As popular as NZXT’s Kraken water cooling range is, they are susceptible to a few issues which can cause the water pump to malfunction or function poorly. So before you go out and take advantage of NZXT’s exceptional warranty, make sure to follow the steps shown in this guide closely. All the instructions shown below will show you how to fix/troubleshoot your NZXT Kraken X61, X62, X72, X52, X42 or M22 watercooler without voiding your warranty.
Related: How to Make Google Automatically Delete Your Activity and Location Data Periodically.
Fix NZXT Kraken Watercooler Pump Not Working. (Making Gurgling Sounds) NZXT Kraken X61, X62, X72, X52, X42, M22.
First of all, it’s important to note that if your NZXT watercooler is completely dead, nothing in this guide is going to be able to help you. The information shown below is to check if you can fix this issue before you send off a Warranty RMA request. Nothing listed here will void your warranty either.
In most cases when an NZXT watercooler pump stops working it is because of an air bubble/s trapped in the system. For example, if you turn on your computer and hear a loud gurgling noise there’s a good chance it’s an air bubble. If you’ve recently moved your computer or tipped it sideways etc, this is most likely what has caused/moved the air bubble.
Thankfully air bubbles are easy to fix and there are two ways to go about doing so. The first and easiest way is to unmount the radiator from your system (leave the CPU block mounted). Simply remove the radiator, then hold it above your water block so that the water can flow down into the system easily. Now turn on your PC and vigorously shake the radiator (without putting any strain on the tubes). You may have to do this for a minute or so while the computer is running and the pump is on, if you can watch your CPU temps while you do it, you’ll see the moment the pump takes control and the air bubble gets displaced.

If this method doesn’t work, make sure your computer is off, then completely remove your NZXT watercooler from your machine. Once you have it out, give it a good and proper shake, both the radiator and the CPU block. After a decent shake and general move around, reinstall it into your computer starting with the CPU block. Before you mount the radiator repeat the process of the first step to make sure any final bubbles have been dislodged. (Make sure you use new thermal paste!)
I recently transported my build from Europe to Australia via checked luggage and this method worked perfectly. I was quite stressed that the water pump in the cooler was destroyed in transport. On a side note, make sure you check out our guide on creating your own Custom Desktop Computer Stat Screen like the one shown below.