Table of Contents
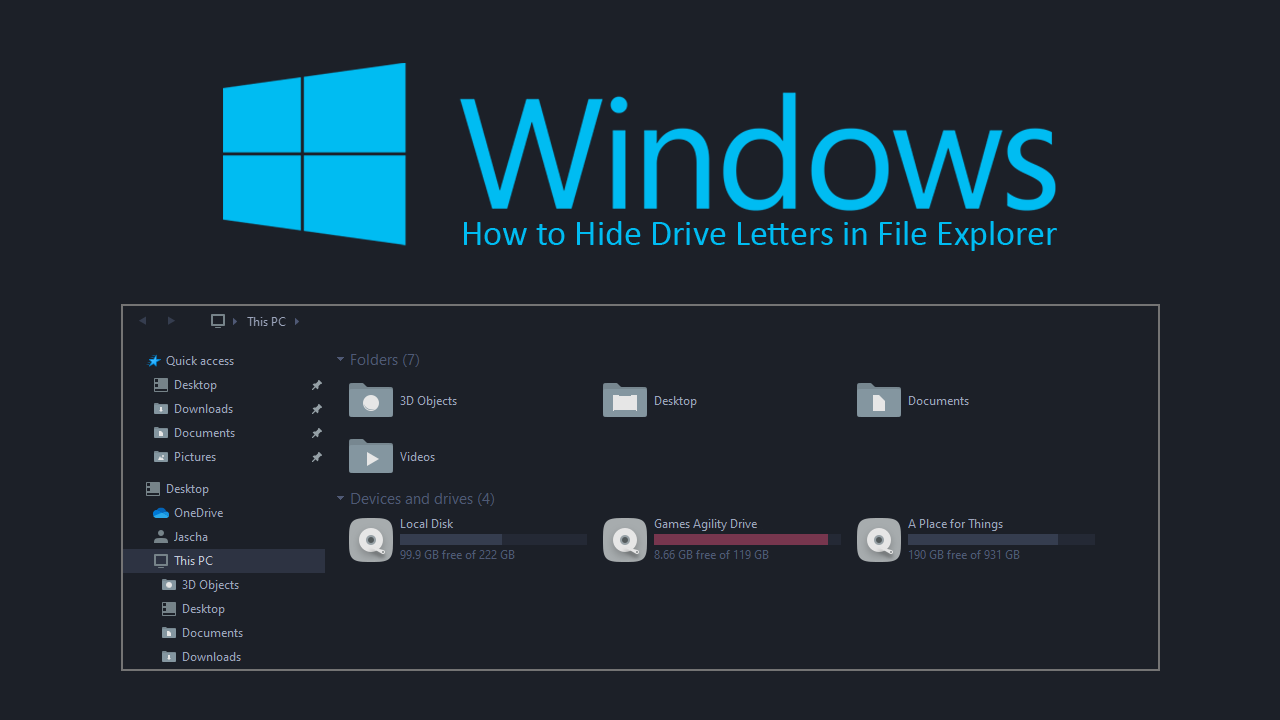
A short tutorial showing you how to remove the drive letters shown next to hard drives, SSD’s and of course partitions on Windows 10. If you aren’t a fan of having the letter visible next to any of these drives, this is the guide you have been looking for.
How to Enable Quieter Notification Permission Prompts in Google Chrome. (Quieter Messaging)
Windows 10 has come a long way since its original release all those years ago, replacing WIndows 8 and 8.1 with a free upgrade. Since then we’ve seen a number of major updates add hundreds of cool features to the OS as well as some pretty big performance improvements that have addressed wasted resource usage.
As well as the quality of life and performance improvements Windows 10 has also gained a lot of customisations options, allowing more personalisation than any Windows version before it. As part of this newfound personalisation freedom, it’s now possible to hide the drive letters shown next to Hdds and Ssds installed on your system. Including multiple partitions split between those drives. Although this feature isn’t the easiest to locate is one of the easiest to enable or disable, so follow along as this article guides you through the process.
Related: How to Make the Search Box on the New Tab Page in Chrome Work. (Not Redirect to the Address Bar)
How Do You Remove the Letters Shown Next to Drives and Partitions on Windows 10? Hide Drive Letters on Windows 10?
To hide or remove a drive letter from a Hdd, Ssd or partition on Windows 10 you’ll need to open Folder Options from File Explorer. This can be done using a variety of different methods, however, the quickest and easiest is to simply search Folder Options from the Start menu. (You can also find it in Control Panel)
Once you have Folder Options open, change to the View tab, then scroll down the long list of entries and find Show drive letters. This will have a checkbox next to it was a tick placed inside it, showing that it is enabled. Simply remove the tick from the box by clicking once and the option will be disabled. Before you close the window, make sure you click Apply, then Ok to save the change. If you don’t you’ll have to repeat the entire process.
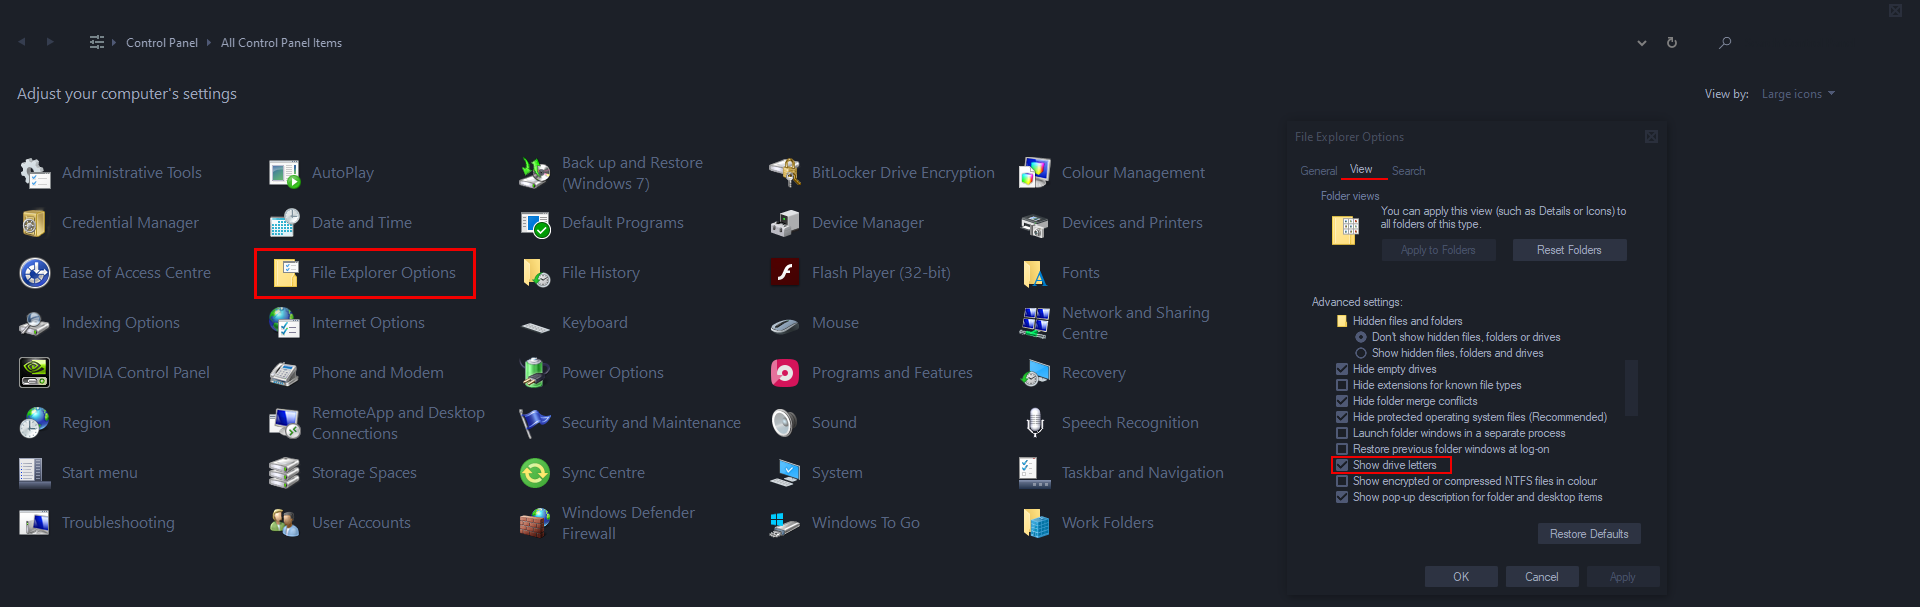
If at any stage you wish to restore Drive letters to File Explorer on Windows 10, simply return to the same exact location and place a tick back in the Show drive letters checkbox. Once done, click Apply, then Ok to save the change.
Note: If you are curious on the Windows 10 theme we are using for the screenshots shown, feel free to get in touch with us via Facebook, Minds or YouTube.
On a Side Note…
If you’re also a big Windows 10 user, make sure you take the time to check out the newly designed File Explorer. More than likely it’s going to take a fair bit of getting used to, but it does fit with the current material design of Windows 10 very well. It’s also a work in progress, so it’s best to take it with a grain of salt as it still has a lot of work to go.