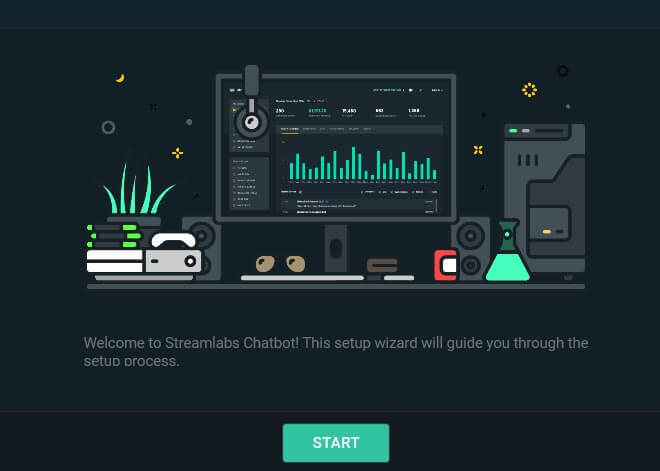
If you are streaming on Twitch and want to set up a chatbot to moderate your streams or just make random conversation. This article will guide you through the basic setup process for Streamlabs Chatbot. For streamers just starting out, this is probably the best free, reliable chatbot on the market, so follow along as we take you through the basic set up process.

Related: How to get Text to Speech for your Twitch Chat. (Enable TTS Twitch)
Over the last eighteen months streaming services like Twitch and YouTube, among others, have seen millions of new users sign up and start broadcasting. Having an outdoor social life isn’t as easy as it once was, so it’s easy to see why people are seeking out online tools to interact with each other and hopefully make a few fucks on the side.
For anyone starting out, the entire streaming setup process can be quite complicated as there is a lot of technical stuff to organise and a lot of settings to fine-tune once you pick a streaming platform and streaming software. And once you are set up and have a steady streaming schedule planned with regular viewers, you’ll eventually need to set up a bot to monitor and moderate and police your channel.
Thankfully, Streamlabs has made this nice and easy and created a tool that you can easily set up and fine-tune for your exact requirements. The basic setup process is nice and easy, though the wizard can be a little tricky if you aren’t familiar with the lingo or process of how it works so let’s get started setting up Streamlabs Chatbot for Twitch and YouTube.
If you haven’t already downloaded Streamlabs Chatbot, head on over to the website here, and download the latest version. Once you have done that, install it and you can start the basic setup process below.
TIP: If you want to stream to multiple services at the same time, YouTube, Twitch, Daily Motion, Facebook, etc, check out our guide on that here.
How do you set up Streamlabs Chatbot for Twitch?
The first thing you need to do in order to set up a Streamlab Chatbot for Twitch is create a new Twitch account. This account will be solely used for your bot so pick a name that works for you. I’m streaming under the user name JASHIKO_ and made a bot account called OKIHSAJ, because BOTINATOR was taken already (sad face). Now that you have installed Streamlabs Chatbot and have a bot account, you can start the setup process.
- To begin, Streamlabs Chatbot and click Start at the bottom of the window.
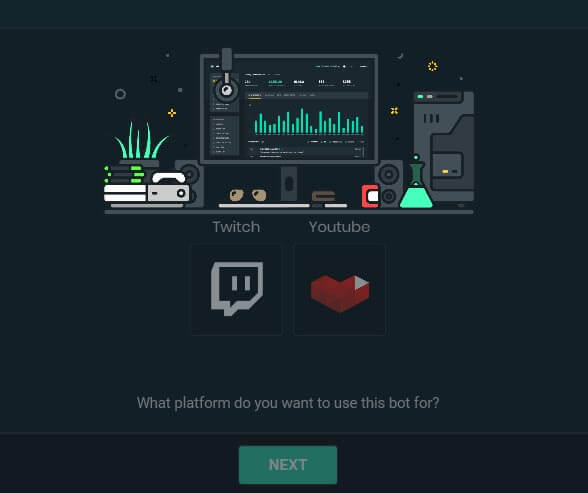
- Next, select your platform from the list in this caseTwitch. If you are using Restream just choose Twitch.
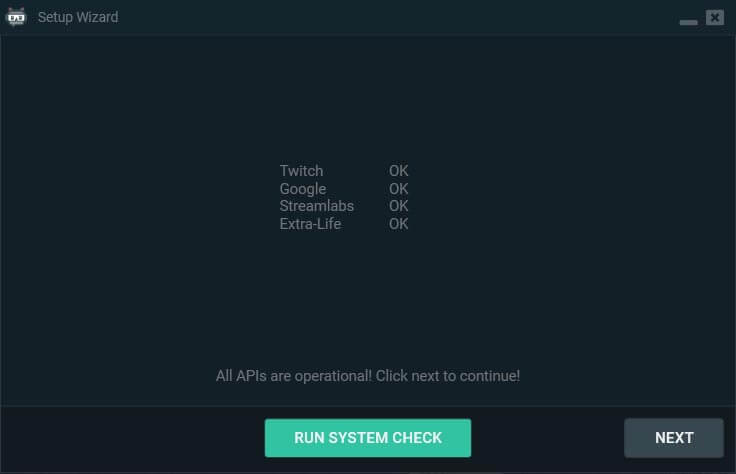
- The next screen will check if your computer is ready for the software, so once it finishes checking, click Next.
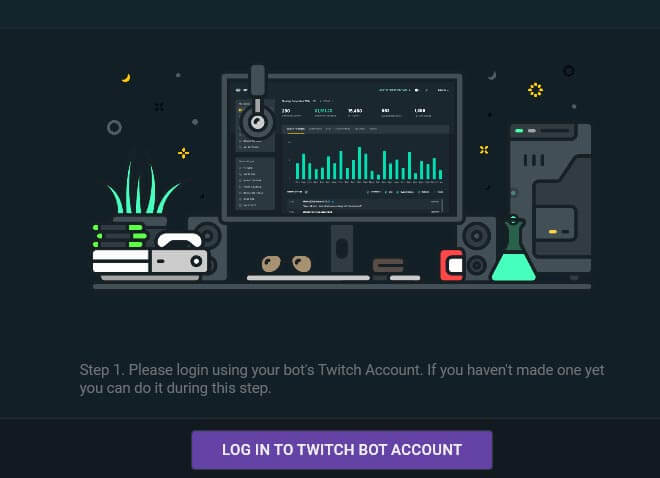
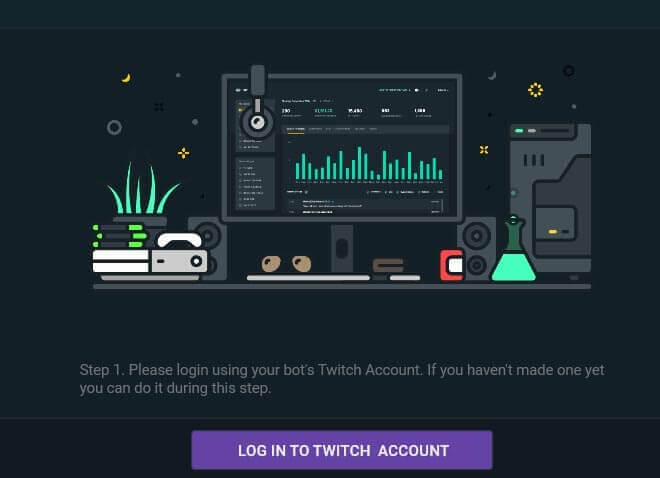
- Here you will need to log in to your Twitch Bot account. (Not your main account) For me, that would be OKIHSAJ.
- On this next page, sign in using your main Twitch account. For me, that will be JASHIKO_.
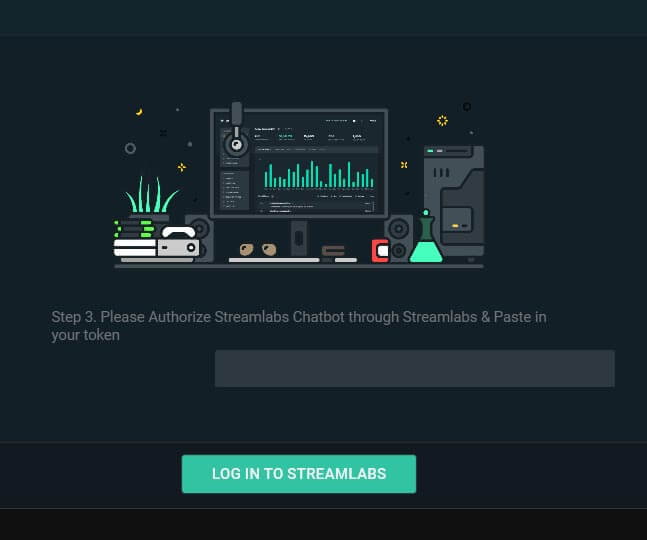
- Finally, click Log in to Streamlabs and a new browser window will open and sign in you into your Steamlabs account (if your browser knows your info otherwise you'll have to manually sign in). Once you are signed in, accept the API information and copy the generated code on the next page. Once you have the code, paste it into the token box in Streamlabs Chatbot and click Log in to Streamlabs.
If you have entered all of your information correctly, you’ll be shown a screen similar to the one below. It should show that the [Bot Client] is successfully connected as well as a list of your moderators (if you have set some already). Below that it will show that the [Streamer Client] is successfully connected. That’s the entire Streamlabs Chatbot client setup.

How do you Connect Streamlabs to Streamlabs Chatbot for Notifications? Can’t use Notifications in Streamlabs Chatbot fix.
For some reason, even after you have connected your Twitch bot account and your main Twitch account, you still need to connect your Streamlabs account to your Streamlabs Chatbot software.
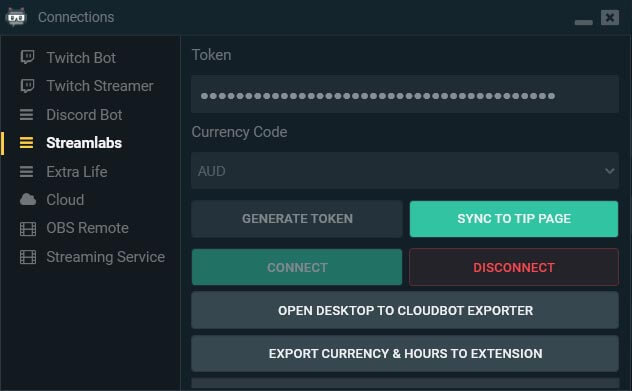
- To do this open Streamlabs Chatbot and click the Profile icon in the bottom left-hand corner.
- In the new window change to the Streamlabs tab, set your preferred currency, then click Generate Token.
- This will open a browser window where you will need to sign in to your Twitch account (the one you have linked to Streamlabs). When you are signed in, copy your token then paste it back into the Chatbot window and click Connect. After a few seconds, you should get a successful notification.
- Now you will be able to start using the Notifications tab in the Streamlabs Chatbot dashboard. It will no longer say to connect Streamlabs.
Understanding Streamlabs Chatbot Features, Options & Tools.
Now that you have set up the Streamlabs Chatbot software the real fun begins, configuring everything. This is the part that is really time-consuming and also a little tricky, depending on how deep you want to go. For this, I suggest using YouTube as your source of information. I’ve linked a guide here that gives a fantastic overview of all the options found in Streamlabs Chatbot’s left-hand panel.