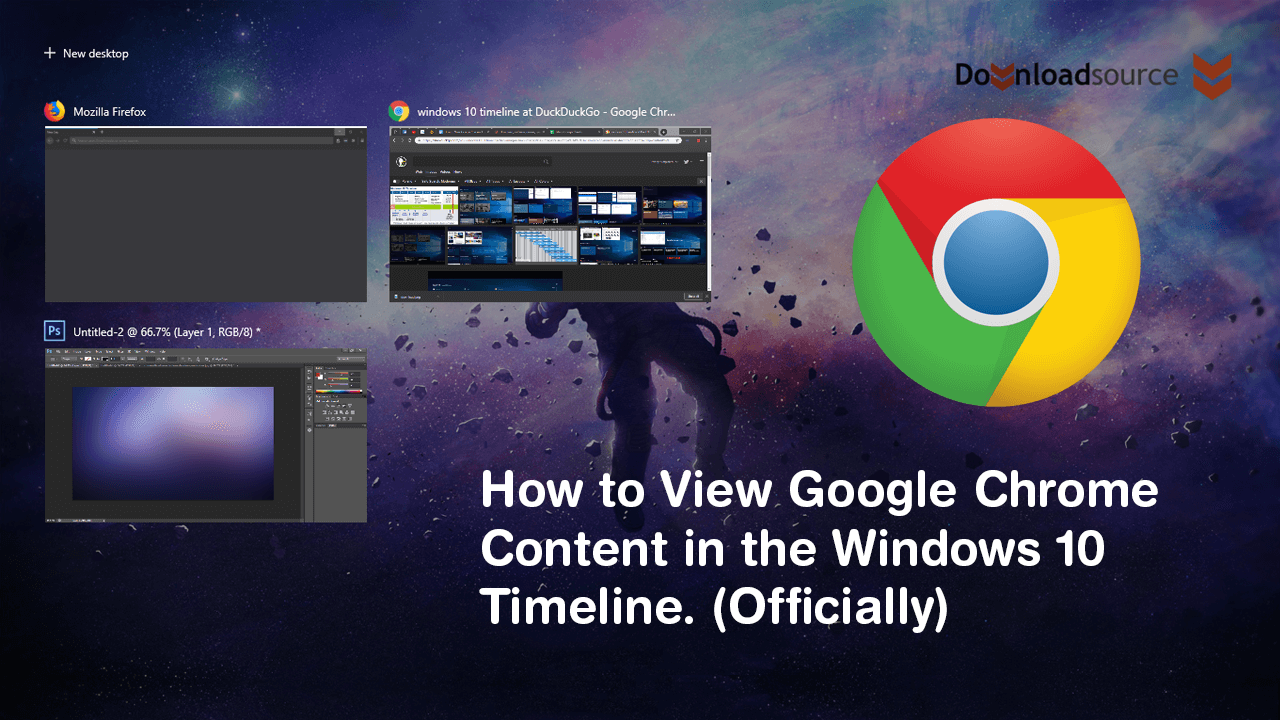
If you are a big fan of Windows 10’s new Timeline feature and would love to add official Google Chrome support to it, this article will show you how to do so. In the past, we’ve shown you how to add Chrome support for Timeline using third-party tools but this guide will use Microsoft’s official method.
How to Find and Use Google Chrome’s New Full Colour Themes.
The Timeline feature on Windows 10 is one of the operating systems newest features and lets you explore the last thirty days of your usage history, including all the web pages you’ve viewed in Edge. It also allows you to view recently used apps and of course documents. The concept is pretty useful, however, being limited to Microsoft Edge until now has severely reduced its use case for a lot of people, thus the reason for the original third-party workaround.
Thankfully Microsoft has taken this factor onboard and finally released an official Windows 10 Timeline extension for Google Chrome. Although this is likely only because Microsoft will be re-releasing Edge on a Chromium engine in the future, it’s a welcome new addition.
With the new WebActivities extension, you’ll be able to get full Timeline support for Google Chrome, without any third-party tools. The only catch is that you will need to make sure you are using a Microsoft Account to sign into your computer and the WebActivities extension. A local account won’t be able to access any of Windows 10 Timelines features.
Related: How to Fix ‘Out of Memory’ Error When Copying Files on Windows 10.
How Do You Add Google Chrome to Windows 10 Timeline Officially?
To kick things off, the first thing you will need to do is add the official Microsoft Timeline extension (WebActivities) to Google Chrome. Simply search Web Activities from the Chrome Web Store and add the WebActivities - by Microsoft Corporation extension to Chrome. Alternatively, you can go straight to the download page using the link below.
Download ‘WebActivities’ For Google Chrome by Microsoft.

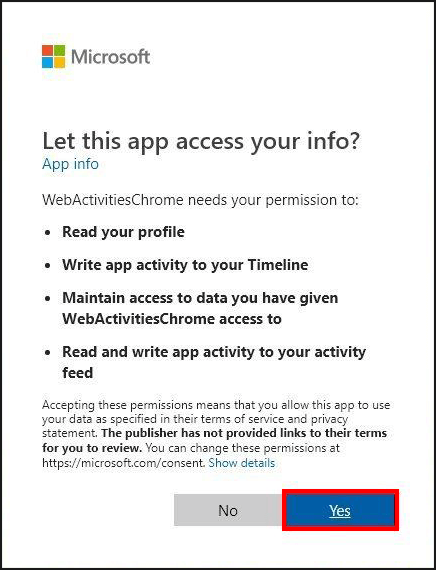
Once you have added the WebActivities extension to Chrome, using it is pretty straight forward. First, click the extension icon in the extension areas (top right-hand corner of Chrome), then sign in with the Microsoft account you use for everything else on your computer/Timeline. Before the process is completed, you will also need to accept the access permissions from Microsoft. After you have done so, the WebActivities extension icon will turn blue and start to keep track of your data, sending it to the Windows 10 Timeline where appropriate.
What if I want to Add Mozilla Firefox Support to the Windows 10 Timeline too?
If you also like to browse the Internet from Mozilla Firefox from time to time, you can add Timeline support, however, it isn’t officially supported. Regardless of official Microsoft support, it works quite well and you can find the setup guide here: How to Add Timeline Support For Chrome and Firefox to Windows 10.