Table of Contents
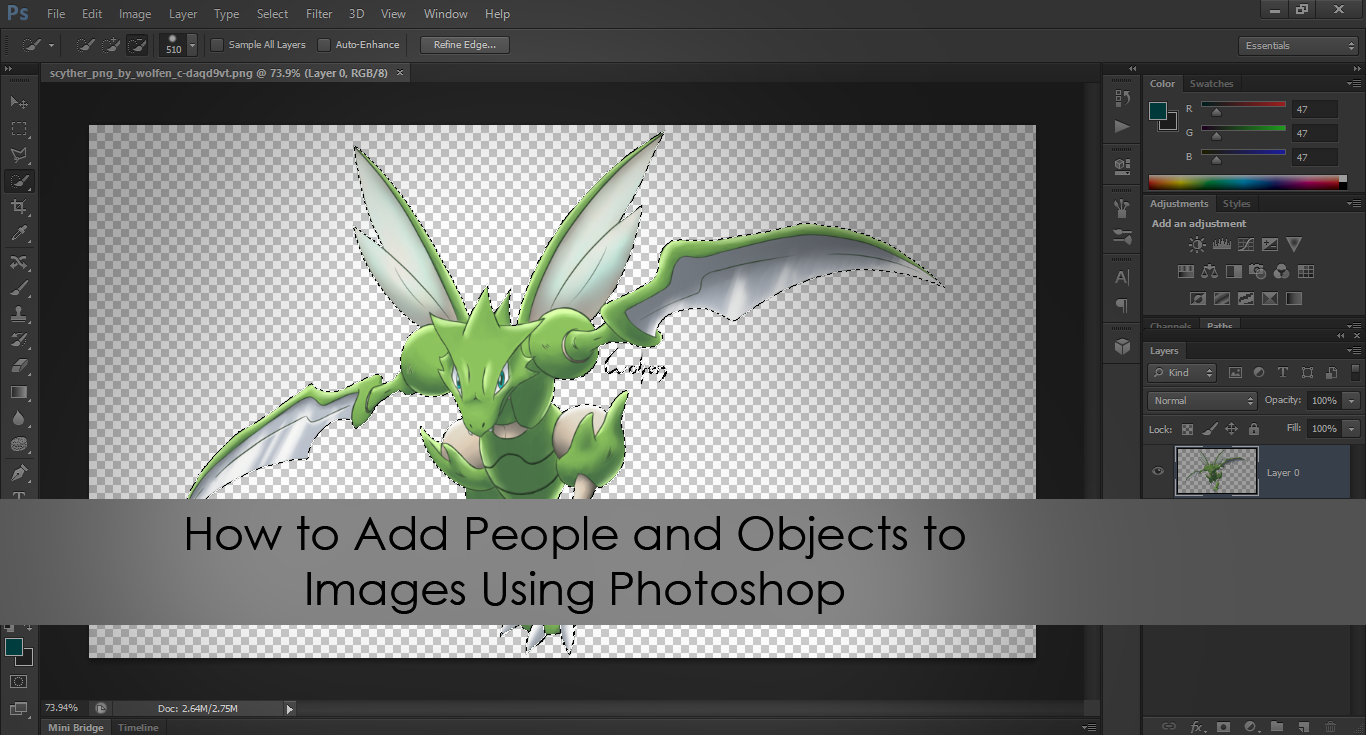
Knowing how to add people and objects to an image using Photoshop is quite a simple skill to learn and can be quite handy to know in today’s digital, social media obsessed world. If you’re completely new to the concept, or a little more advanced, the tutorial below will show you how to cut, resize, and manipulate an object or person to fit within your original image.
Another Photography Related Tutorial you may like: How to Shoot .Raw on Android.
Adding an Object or Person to an Image Using Photoshop.
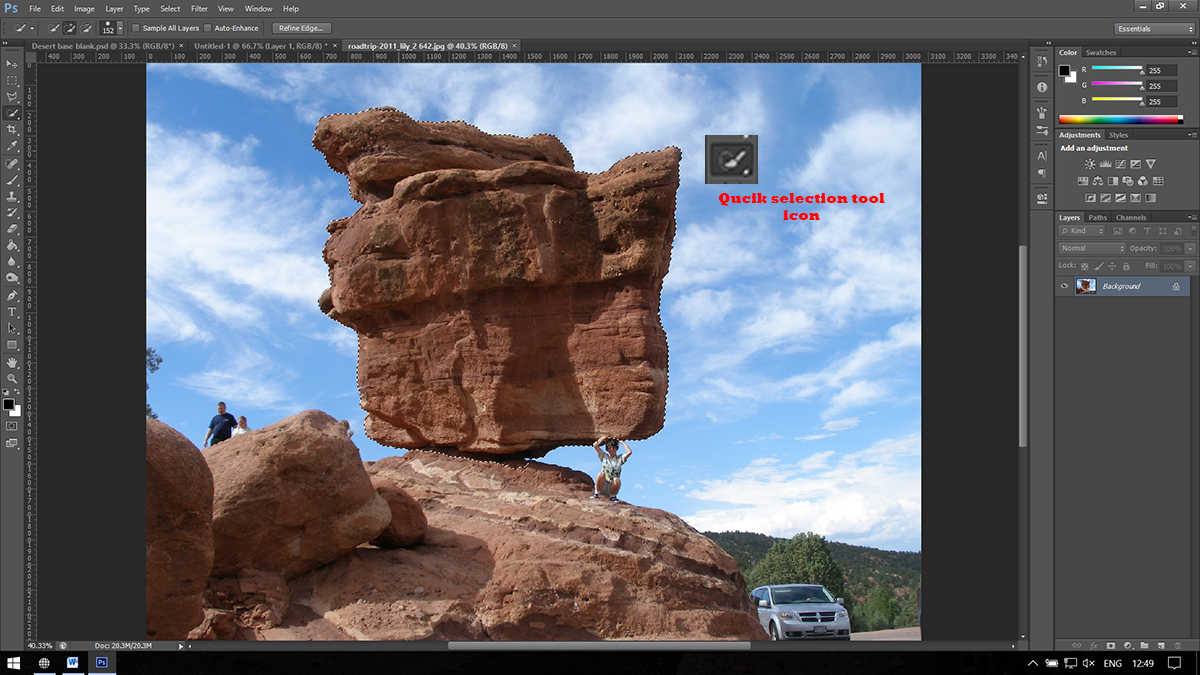
The first step and the most important of all the steps is selecting the object you wish to add to your image. It should be something that is going to match the angles, colors, and scene to a certain degree. It is going to be possible later to change some of these aspects, however, it is always best to choose wisely and save yourself some work. Choosing the highest resolution image available is also going to be very helpful, as having more pixels to work with will make the final image blend better and look much more natural. For this example, I am going to use a simple base of adding a rock to a flat desert scene.
Beginning the Process.
Getting started using the quick selection tool W hotkey, click in the center of the object you wish to cut out, then drag around inside the edges to select all the object. If you accidentally select a wrong portion of the area, you can just use the undo tool, or hold down Shift and click again, this will remove a selection. Don't spend too much time being super precise with the tracing; we will fine tune the edges in another step shortly.
Next, copy the highlighted selection using Ctrl+c and paste it into position on the picture you’re working with, using Ctrl+v. Now using the move tool, align everything how you think it will work best with the scene. This can be a difficult little step but it does get easier with practice. Next, select the Free Transform Tool Ctrl T, and adjust the size of your object or person, to fine tune the placement. Remembering that we used a higher resolution image, especially for this purpose. If you were to use a smaller image and expand rather than shrink you will have to deal with some pixelation. This will also make it much more obvious that you have edited the photo.
Note: Holding Shift when resizing will keep perspective and shape from distorting horribly.
Fine Tuning the Selection You Have Just Made.
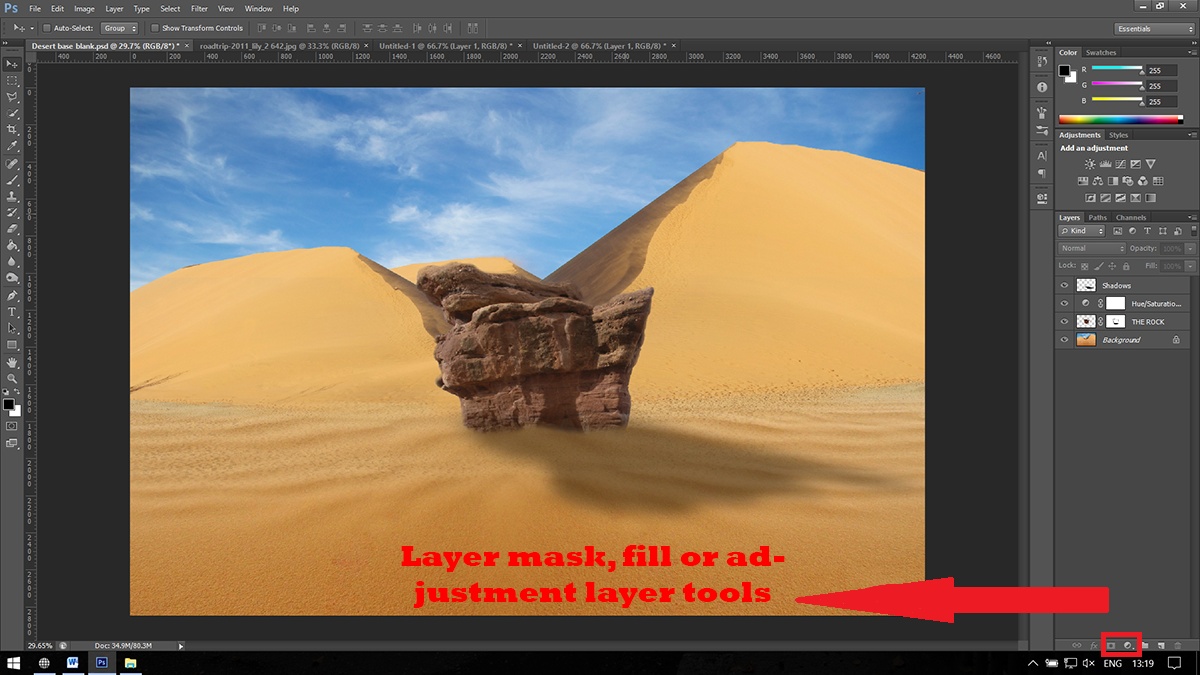
To eliminate the excess of the person's background, you will have to use the Layer mask tool, which you can find at the bottom right corner, displayed to the right of the fx icon. Select a brush and adjust it to your desired size and flow rate. The more precise you can be, the better the final product will look. Try to use a small brush and get as close to the subject as possible, sometimes having smoother edges is going to fit better with the scene, rather than sharp direct lines. Again this will take patience and a little practice. Zooming in close will also help with precision. Remember when using layer masks: Black erases, while white brings it back.
Note: It’s always good practice to name your new layers, especially when you have quite a few.
Once you've erased the excess parts of the image and smoothed the edges to fit, you will have a better idea of what size your item needs to be. Resize it again, if you feel it's needed. You may need to do a little more layer masking after this depending on how drastic the moves were.
Adjusting Colours and Tones to Make the Item/Person Fit More Naturally.
Now, to make sure the colors better match the scene you are working with. Most of these options are found in the fill or adjustment layer icon, right from the layer mask tab at the bottom right. There are several options you can use for this, Hue adjustment, levels adjustment and curve adjustment. To make the color changes only apply to this one layer, make sure you right-click on the new layer hues, Levels, Curves Ect and select Create Clipping Mask. Otherwise, all the colors and tones will apply to the entire image. Finally, add in shadows to make the photo look as realistic as possible. This should also be done on a new layer to keep your workspace tidy and easy to adjust. For shadows, a quick way is just using black and the brush tool, then slowly darkening the area shadows would normally fall. If this is your first time trying this technique it may seem a little hard, just keep practicing because you will get used to using these tools quite quickly.