If you are just starting out with Premiere Pro and would like to add some new templates, things like lower thirds, titles, call-outs, etc. This article will show you where to find some really good free Premiere Pro templates and how to add them to Premiere Pro so you can use them in your projects.

Related: How to fix Premiere Pro Unable to Render. (Accelerated Renderer Error fix)
Premiere Pro is one of the worlds most popular video editing tools, with tons of options, features, and just as many assets, templates, titles, call-outs, etc. The only problem with Premiere Pro is that it can be a little complicated for new users to get their head around. But if you’ve already spent a little time experimenting with the Essential Graphics section of Premiere Pro and found the default library of content rather lacking and outdated. You’ll probably want to add some fresh new content to your repertoire.
One of the best places currently available to get free graphics templates for Premiere Pro is Mixit. Although they don’t offer the biggest library of free content, the content on offer is some of the best. Traditionally free content is dull, unimaginative, and always feels outdated, however, the Mixit free category has a lot of stuff you’ll be very happy to use. You can access all of the free Premiere Pro content on Mixit here.
Quick steps to install templates, call-outs, etc in Premiere Pro:
- Download your desired content from your desired location.
- Extract the .zip file to your desired location.
- Open Premiere Pro.
- Change to the Essential Graphics tab (usually on the right side).
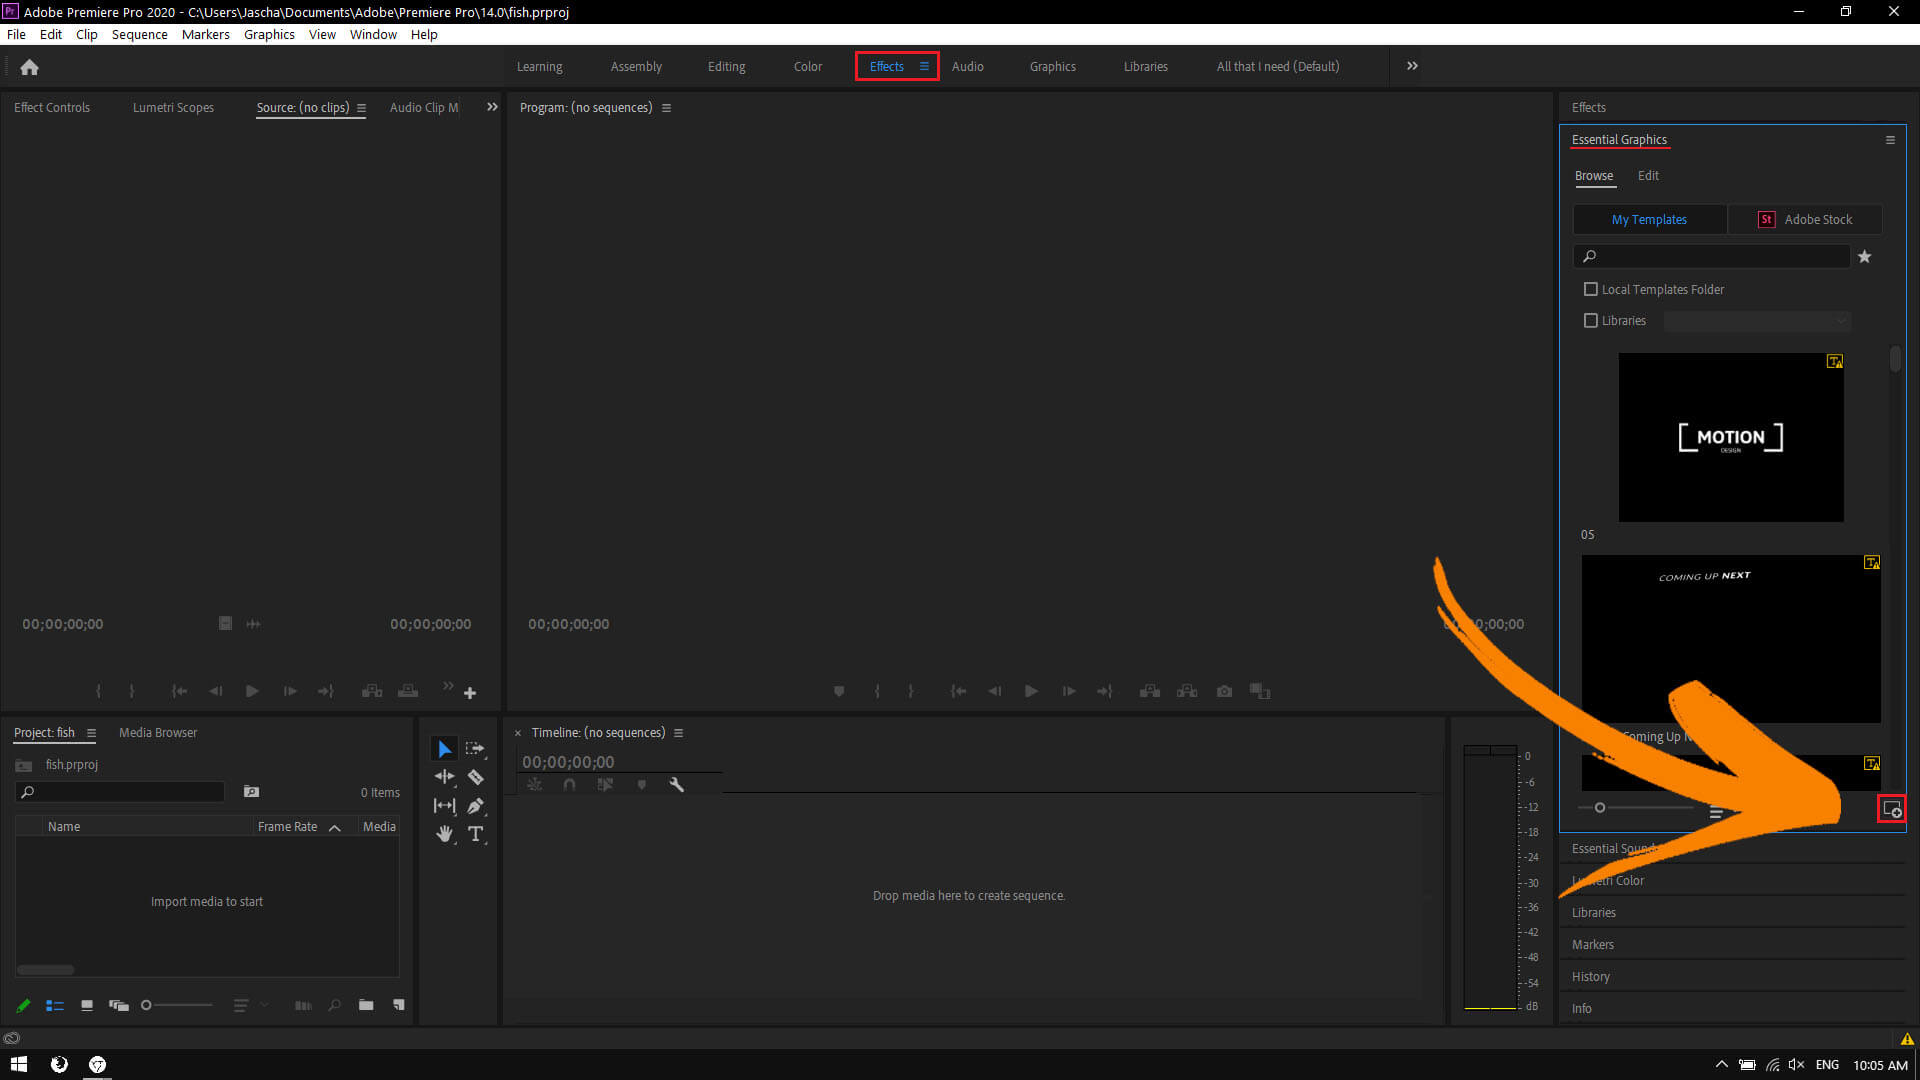
- Click the tiny Plus in a folder icon in the bottom right-hand corner.
- Find and select the .mogrt file for your asset.
- The Essential Graphics page will refresh and you’ll find your item in the list.
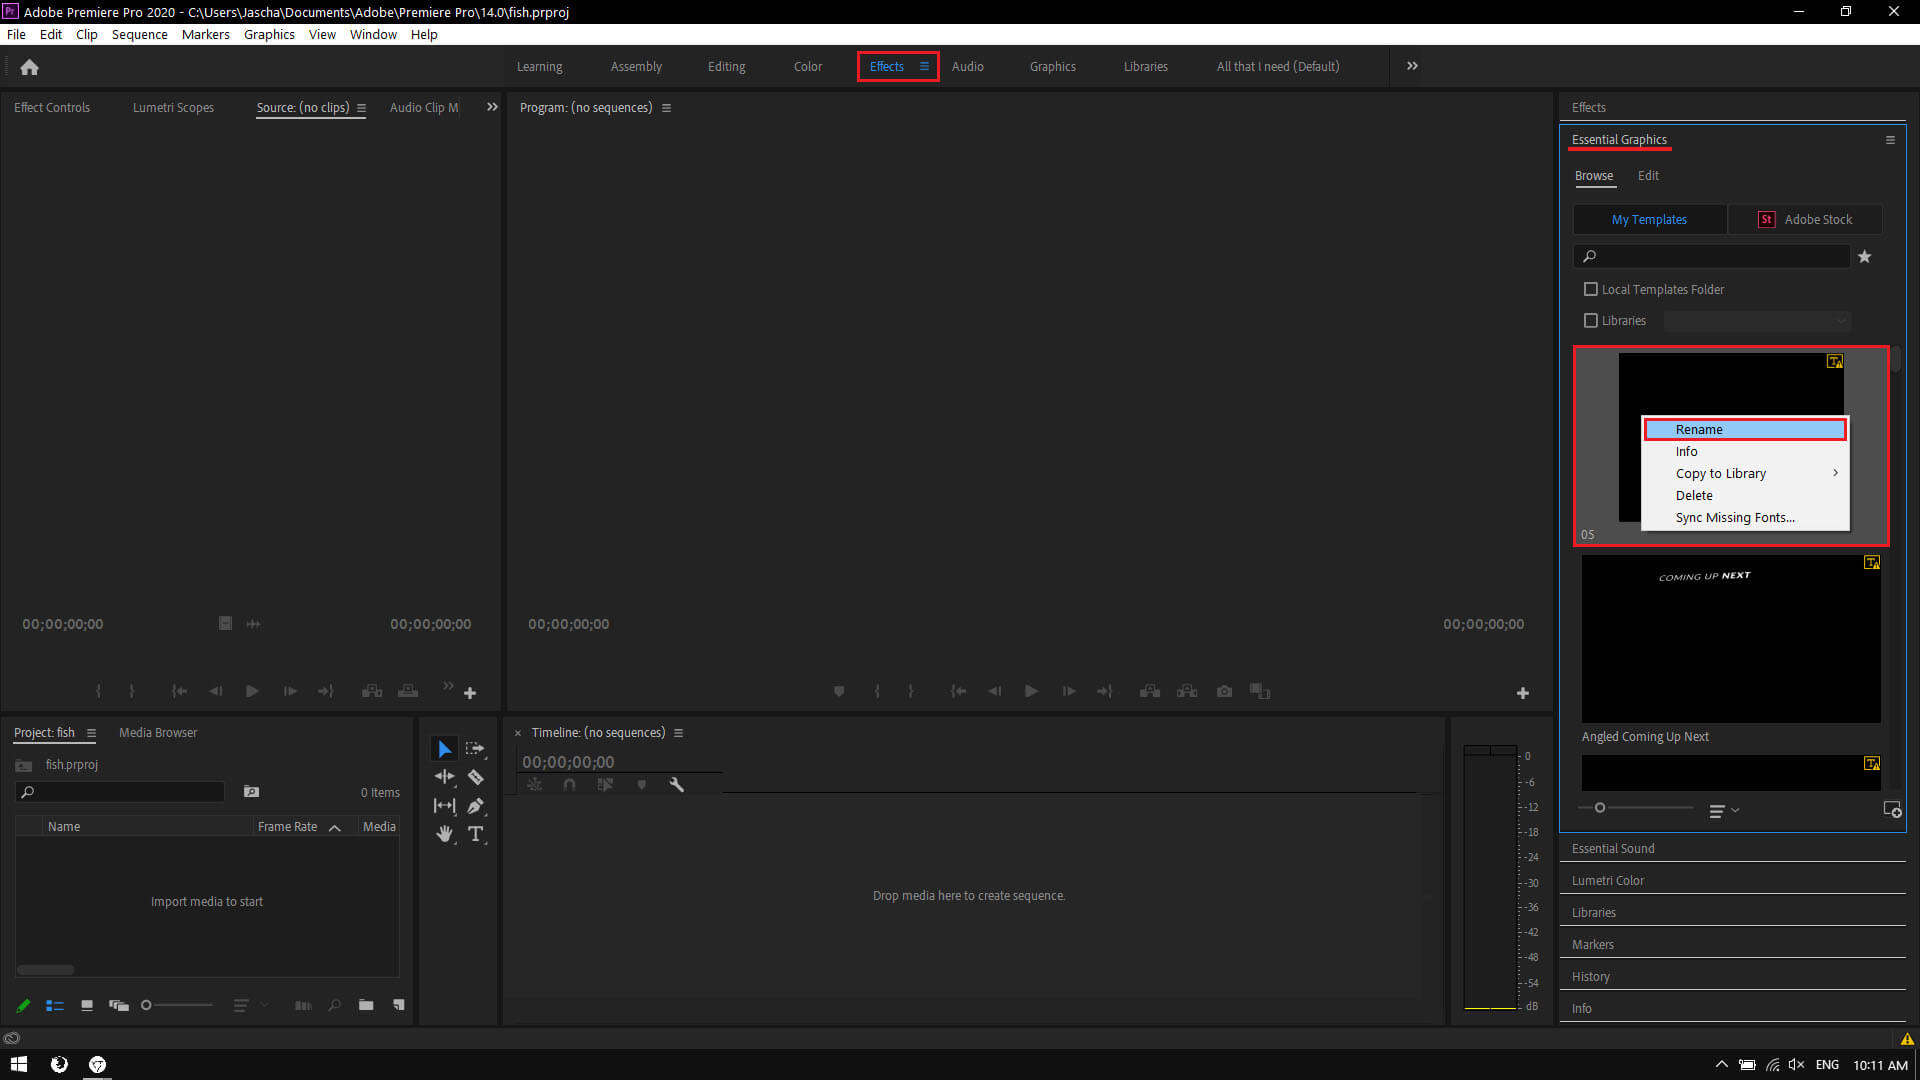
- Right-click on the item and Rename it if you wish.
How do you install lower-thirds, call-outs, titles, & openers in Premiere Pro?
Once you have downloaded some content for Premiere Pro the first thing you’ll want to do is unzip it into a location on your computer. Personally, I keep mine in a special Premiere Pro asset folder I created just for my collection. I also keep this on Google Drive as well just in case I switch machines. What you do is entirely up to you.
- Now that you have the files extracted, you can add them to Premiere Pro. To install a call-out, lower third or something else from the essential graphics category, do the following.
- Open Premiere Pro, then expand the Essential Graphics tap on the far right-hand side of the screen. (if you’ve changed the default layout you’ll find it wherever you’ve moved it too)
- At the bottom of this window, you’ll see a small icon called Install Motion Graphics template. Click this then add the .mogrt file.
- Once you have added the file, you should see the list flash once or twice as it refreshes. Now simply search the list for the new item. Unfortunately, the files are added with silly names, so even if you change the file name, they will still be added under a different name.
- Because of this, you’ll need to search through the list and find the content using the thumbnail image. When you find the content, simply right-click on it and select Rename, then change the name to something that works for you. After you’ve done this, the content will be organised in alphabetical order.