Table of Contents
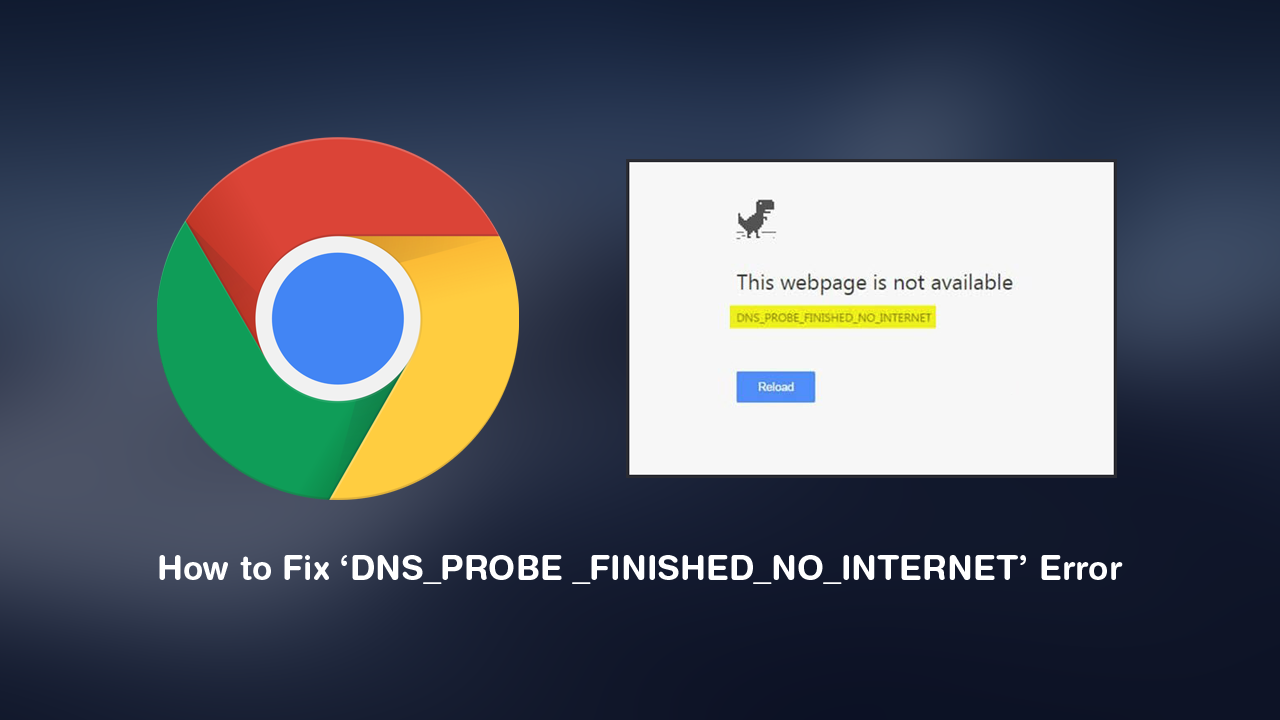
If you are using Google Chrome as your main Internet browser and keep getting error DNS_PROBE _FINISHED_NO_INTERNET. This article will guide you through several different problem-solving steps you can take to fix the issue.
How to Make File Explorer Use the Same Column Layout For All Folders on Windows 10.
Google Chrome has long been the world’s most-used Internet browser across all modern devices since dethroning Internet Explorer and now holds a massive 75% of market share. However, even though Chrome is the most popular browser available, it isn’t immune to bugs, errors, or a swath of other issues. Just like Edge, Firefox, Brave, and other browsers Chrome has quite an assortment of error messages up its sleeve. One of the most frustrating, yet unusual being: DNS_PROBE _FINISHED_NO_INTERNET.
Thankfully, just like all other Google Chrome errors, DNS_PROBE _FINISHED_NO_INTERNET can be fixed without too much hassle, so follow along as we guide you through all the currently known potential fixes. Before you begin, make sure you have at least tried Restarting your computer and your Internet modem/router.
Related: How to Stop Google Chrome Using Keyboard Media Keys. (Stop Chrome Taking Control of Media Keys)
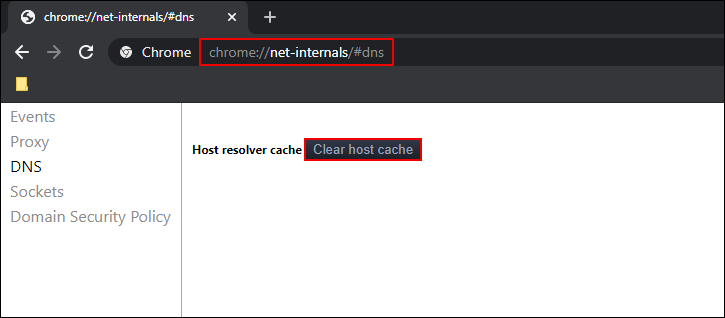
Clear Google Chrome DNS Cache to Fix DNS_PROBE _FINISHED_NO_INTERNET Error.
To kick things off, the first thing you are going to want to try is clearing your Chrome DNS cache in Chrome. To do this, open Google Chrome, then copy and paste: chrome://net-internals/#dns into the address bar and press Enter.
This will bring up a new screen with a heading called: Host resolver cache with the option to Clear host cache beside it. Once the process completes, Restart Chrome and everything should be working again.
Flush Your Windows 10 DNS to Reset Connections.
If nothing so far has helped, you should reset your Windows 10 DNS settings, then check to see if the error has been removed. If you aren’t sure how to reset your DNS check out the following guide.
How to Flush Your DNS to Reset Connection on Windows 10 and macOS.
Disable Google Prediction Services in Google Chrome.
If you are still having problems after trying everything above, you can try disabling Google Chrome’s Prediction Services. To do this go to Settings > Privacy and Security > More and flip the toggle next to Preload pages for faster browsing and searching to Off.
Reset Google Chrome to Factory Default.
If none of the above has helped so far, the next best option is to factory reset Google Chrome. This will reset Chrome back to its clean install defaults and should fix the issue. If you haven’t done this before check out our guide here. If after all of the above, including a full Chrome reset, you still have the issue. It’s best to cut your losses and uninstall and reinstall Google Chrome. Just make sure you run Ccleaner after removing Chrome, this will make sure you start from a completely clean slate.
On a Side Note…
If you are also keen to try some brand new Chrome features, make sure you check out the following article which will guide you through the process of enabling Tab Groups. A brand new feature of Chrome that isn’t enabled by default but allows you to better manage Chrome tabs you have open.
How to Enable and Use Tab Groups in Google Chrome.