If you are trying to update Windows 11 to the latest version but keep getting caught with update KB5031354. This article will show you how to fix the problem and get Windows to download and install the update properly. You’ll also find out one of the major issues within KB5031354 that may make you want to skip the update entirely.

Table of Contents
Related: How to change Timeline & Playback Resolution in Davinci Resolve.
Windows update KB5031354 has been quite a problematic update for users. As well as having major installation problems it also introduces a brand new issue that prevents mobile hotspots from working. Although this probably won’t come as a surprise for most people, it’s still annoying that a major update has two major issues like these.
Thankfully, there are quite a few different options you can use to fix the problem of Windows 11 not updating because of update KB5031354. Although I personally suggest skipping this update by pausing Windows updates for a while, if you’re adamant about installing the update you’ll need to follow the steps shown below in order to get it to install correctly. To pause Windows updates for a week just go to Settings > Windows Updates and click Pause updates. This will give you a week without updates. I would personally give it at least a month before trying any new updates.
How do you fix KB5031354 on Windows 11 failing to install? KB5031354 failing to install on Windows 11.
The first thing you should attempt to use to solve update problems on Windows 11 is the Update Troubleshooting tool. Unlike its predecessor on Windows 10, it actually has a decent success rate when it comes to solving problems. However, it still isn’t 100% successful.
- Open the Settings app by pressing Windows Key + I.
- Next, stay on the System tab and click Troubleshooting from the central pane.
- Here you will see a long list of troubleshooting options, however, the one you are looking for is near the top called Windows Update.
- Simply click Run next to this entry and follow the steps shown by the tool.
- After the tool completes its checks and fixes, you should be able to update your device.

Manually update Windows 11 using the Microsoft Update Catalogue.
If the Windows Troubleshooting tool doesn’t solve this problem the next best option is to manually update Windows 11 to KB5031354. Simply visit the Microsoft Update Catalogue website and download the update you are currently having problems with. Just make sure you get KB5031354 for your system specs. Don’t worry if you pick the wrong one, Windows won’t let you install it anyway.
Run the Windows SFC command.
Another good fix is to run the SFC command from Command Prompt.
- First type CMD into the Start menu then right-click Command Prompt and choose Run as administrator.
- When you have Command Prompt open type the following command into Command Prompt and press Enter.
sfc /scannow
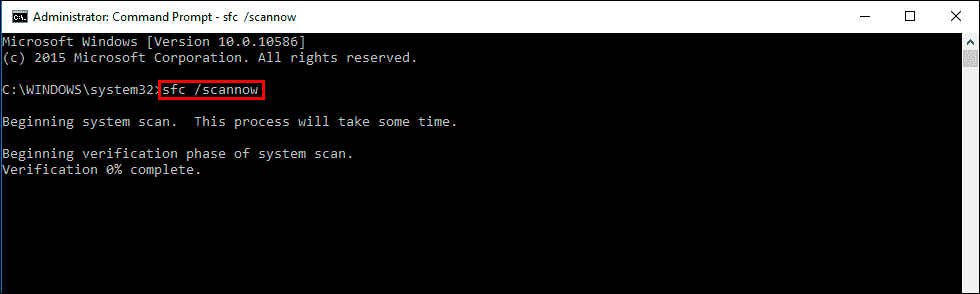
It may take some time to complete so be patient. If any errors are found they should be repaired automatically. If it doesn’t complete properly Restart your computer in Safe Mode and repeat the process.
Reset the Windows Update Components to fix Update error KB5031354
Another good fix is to reset the Windows Update Components. This is quite a lengthy process so we’ve left it until second last. Check out the guide below for the entire process.
How to Reset Windows Update Components to Fix Windows Update Issues.
Uninstall the late update you installed, then try to update to KB5031354.
Finally, if nothing so far has worked you can try to roll back the current update you are on. Then try installing KB5031354 when Windows reboots. If you aren’t sure how to do this check out our guide: How to uninstall a bad Windows 11 update. Rollback a Windows 11 update.