If you want to start recording a podcast or content for your YouTube channel you need to have good-quality audio. So follow along as we show you how to use Adobe’s brand new and completely free Microphone checker. Mic Check will check the correct distance to the microphone, gain, background noise and echo.

Table of Contents
Related: How to request access to Adobe Podcast. Previously Project Shasta.
Although it might not seem like it, good-quality audio is way more important than high-quality video. If you have average video quality but top-notch sound people are more likely to continue watching your content. However, if it is the other way around they are more likely to leave. And in the case of Podcasts, bad-quality audio is a deal breaker. No one is going to hang around for a podcast with terrible audio.
While you can go out and spend a ton of money getting a high-end microphone to improve audio quality, there are other free things you can also do. The first is setting up your microphone and testing it exactly how you intend to use it. While most recording software comes with some basic microphone setup tools, they don’t offer much in the way of diagnosis tools and just give you quick setup help. Which is fine but it’s not going to show you how and where to improve things. This is where Adobe Mic Check comes in handy.
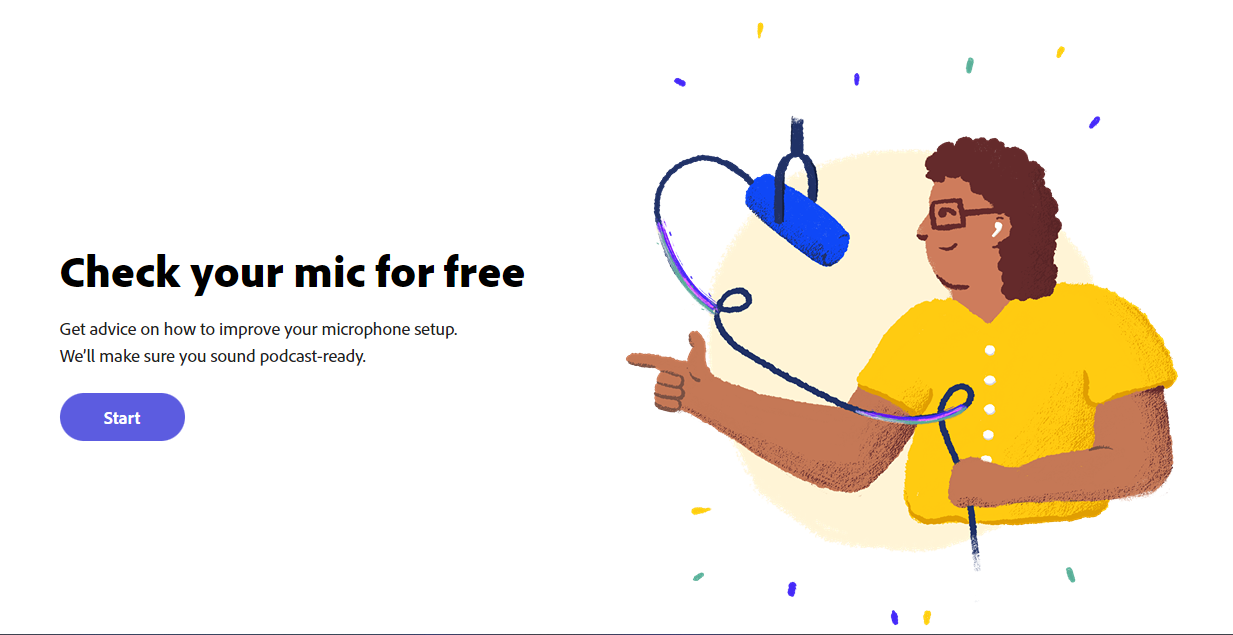
Adobe Mic Check is a free piece of software you can access from your browser. It's quick and easy to use and allows you to record test audio to find out exactly what is working and what isn’t working with your Microphone setup. It allows you to find the correct distance you need to be from the microphone, as well as gain, background noise and echo coming from your environment. With this info, you can fine-tune things to get the best possible sound from just about any microphone.
How do you use Adobe Mic Check to get perfect audio from any microphone? Free Microphone quality checker.
- To begin, head on over to the Adobe Mic Check website and sign into your Adobe account. If you don’t have one you’ll need to create one.
- Once you have an account click the Start option and give your browser access to your microphone by clicking Allow when the prompt appears. If it doesn’t appear don’t stress it may pop up in the next step. If you don’t do this the tool won’t work.
- This will take you to a new screen where you will need to click Test Mic. Once you have clicked Test Mic just use your microphone as you normally would to get the best feedback. I suggest recording something for a least a minute to get a well-rounded set of data.
- When you stop recording the tool will analyse your clip and show you what is working and what isn’t You can then use this information to adjust your microphone settings or change things in your environment.
- From this point, you just need to adjust things and then repeat the process until you get everything within the green boxes. Even cheap microphones can sound decent when everything is set up correctly.

That’s all there is to it. However, if you aren’t recording live content you can also gain a little quality boost by running your recording through Adobe Enhance Speech software to get another little quality boost.