If you have recorded something and noticed that there are some issues with voices or other random background noises and sounds. This article will show you a few different tools you can use to remove voices from audio files and show you how to clean up the audio to get high-quality sound even with average microphones.

Table of Contents
Related: How to Fix Netflix Audio and Video Out of Sync. (Sound Faster than Video)
Recording audio is highly dependent on the environment you are recording in. For example. the slightest background noises or interruptions can ruin any chance of having high-quality sound and the best-sounding video or podcast around. Thankfully, there are now quite a lot of tools on the market that allow you to fine-tune your recorded audio and remove any unwanted voices, or background sounds.
That said, you should aim to make sure you have the best possible recording environment where possible, especially if you are recording indoors. For vlogs and videos on the go, this is a lot more complicated so this is where some of these tools will become really useful. Keep in mind none of these is a one-step fix so you will probably have to use multiple options in tandem to get the best results.
How do you remove voices from audio and video files but still keep everything else?
To remove voices from an audio or video track you have quite a few options, with AI doing most of the heavy lifting in this space nowadays. After testing quite a few different services we found the perfect one-stop shop for you.
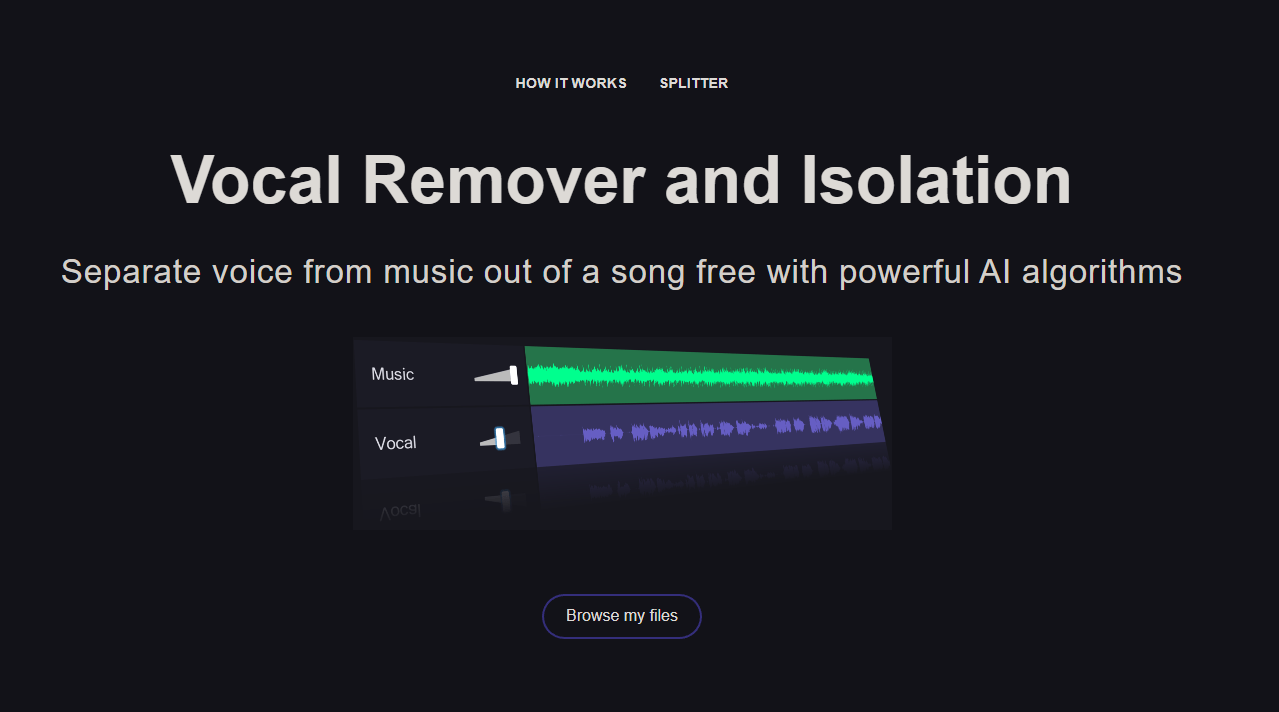
The tool is called Vocal Remover and Isolation [AI] and does an incredible job of removing voices from any kind of audio track. Although it is designed for removing voice from music tracks it works really well on just about any other kind of file. Simply upload your audio file and wait for the process to complete. Once it completes you will be given two new files. One with the audio separated and one with everything else.
Another decent option you can use is called Media.io vocal remover. Which does almost the exact same thing. Simply upload your audio file, wait for the process to complete, and then download the track.
Ok, so you’ve separated or removed voice from your audio file. What about improving speech and voice?
Now that you have separated your voice files from everything else you can enhance the quality or simply delete it and keep the other track. If however, you decide that you want the voice track, you can make huge improvements to it using a new tool from Adobe called Enhance speech. This tool will work absolute magic on your file and can make even the cheapest microphone sound amazing! You can check out our full guide on Adobe Enhance using the link below.
How to Enhance audio quality for YouTube videos and Podcasts using Adobe Enhance Speech.
Problems with your Microphone? Make sure you’ve set it up correctly. (AI Microphone tuning)
Another really important aspect, probably the most important aspect is to make sure your microphone is set up correctly in the first place. This seems pretty straight forward but you’d be surprised how much you may need to change once you get it checked properly. This is where Adobe Mic Check comes into play helping you set up your Microphone to get the perfect sound for your environment.
How to use Adobe Microphone Check. Free Microphone checker.